

I've struggled with tight hips for as long as I can remember. Despite being well-acquainted with my foam roller, a pro at pigeon pose and a regular Pilates student, my hips are chronically tight. So, when I heard that doing yogi squats every day not only boosts mobility, but flexibility in the pelvis, too, I was sold.
The simple move, which is currently trending on TikTok with over seven million posts, seemed like the answer to all of my prayers. You see, I work out regularly, and so incorporating daily mobility work is pretty essential to ensure I don't end up injured.
While it may feel like a bit of a hassle to do daily mobility training on top of your regular workouts, there's heaps of research to indicate that it's key to maintaining overall health, flexibility, and wellbeing. Think about it - workouts, while essential for our overall health, can often leave us with stiffness and tension, as can long hours spent sitting at a desk and carrying heavy shopping bags. Stretching, mobility exercises and certain yoga poses, on the other hand, work to ensure that this tightness doesn't result long term in any issues or injuries.
While I'm fairly adept at my recovery regime - I'm a big fan of the foam roller - I'll be the first to admit that there's always room for improvement, and I was keen to give yogi squats a go to see if they'd ease muscle tension and tightness, but improve my flexibility and general wellbeing, too.
Why now? Well, my hips have been super tight in recent months, so much so, I haven't actually been able to squeeze in my normal weekly workouts. This made me more motivated than ever to find a longer-term solution to my troublesome hips.
Would a week of daily yogi squats leave me looser and more limber? Keep scrolling to find out. And if you're looking for more yoga workouts you can try from home? We've got you. Read our guides to the best morning yoga flows, yoga flows for strength, and yoga for flexibility, plus a complete guide to yoga for beginners, here.
I tried yogi squats every day for a week - and was very surprised at the results
What is a yogi squat?
For the uninitiated, a yogi squat (also known as Malasana) is, essentially, a very deep squat.
"A yogi squat, or Malasana, is a deep squatting position in yoga that stretches the hips, groin, and lower back while strengthening the legs," explains yoga instructor and founder of Circé Yoga, Kate Váchová. "In this pose, you squat with your feet slightly wider than hip-width apart, keeping your heels on the ground, and bring your palms together at your chest, pressing your elbows against your knees. It's a beneficial pose for enhancing flexibility, balance, and opening the hips."
As you may expect, it requires good ankle stability as well as hip flexibility - beginners might want to build up to it - not to mention solid leg strength for standing back up again!
When was the yogi squat invented?
While it may be trending on social media, the yogi squat is far from a modern phenomenon.
"Malasana is an ancient yoga pose that has been practiced for centuries," explains Váchová. "Its exact origins are difficult to pinpoint, but it is rooted in traditional Indian yoga, which has a history spanning thousands of years. The pose has been depicted in historical texts and sculptures, suggesting its use in ancient practices. It is a fundamental pose in yoga, often used for meditation, relaxation, and preparing the body for more advanced asanas."
@pushuptostrong ♬ original sound - Elena || Yoga + Fitness
What are the benefits of doing yogi squats?
As you might expect from a traditional yoga pose, the benefits of a simple Malasana are manifold, and they're not simply limited to mobility and flexibility, either.
"The yogi squat offers several benefits," agrees Váchová. "Not least, they improve hip flexibility by deeply stretching the hips, helping to increase flexibility and mobility in the hip joints."
Other benefits include:
1. It stretches your lower back
The forward tilt of the pelvis in Malasana helps to gently stretch the lower back, alleviating tension and promoting spinal health.
2. It improves your posture
By encouraging a straight spine and open chest, the pose helps to improve posture and alignment.
3. It strengthens your lower body
It strengthens the thighs, calves, and ankles, supporting the muscles needed for stability and movement.
@yogyatri ♬ original sound - Yog Yatri
4. It can aid your digestion
The squat position can help to stimulate the digestive organs, promoting better digestion.
5. It engages and strengthens your pelvic floor
The deep squat engages and strengthens the pelvic floor muscles, which can be beneficial for both men and women in maintaining pelvic health.
6. It boosts mindfulness and relaxation
Last but by no means least, holding this pose requires balance and focus, promoting mindfulness and helping to reduce stress and anxiety.
How to perform a yogi squat
As with any move, you'll only reap the maximum benefits of a Malasana if you're able to achieve and maintain good form.
"To perform yogi squats correctly, you'll have to focus on a few different aspects," explains wellness expert and founder of Paola's Body Barre, Paola Di Lanzo. She recommends the following:
- Start standing with your feet about hip-width apart or slightly wider, toes turned slightly out.
- Bend your knees and lower your hips down towards the floor. Keep your heels on the ground as much as possible.
- Make sure your knees track over your toes and don't cave inward.
- Bring your hands together in a prayer position at your chest, with your elbows inside your knees. Use your elbows to gently push your knees outward.
- Keep your back straight and chest lifted. Avoid rounding your back.
- Hold the position, breathing deeply. You can stay in this pose for several breaths or longer, depending on comfort.

I tried doing yogi squats every day for a week - here's my thoughts
Days one to three
Full disclosure: I'm no yogi. I'm far more partial to Pilates, but trust me when I say my lack of yoga prowess had no bearing on my experience in this challenge. I'm no stranger to a Malasana, having done them fairly frequently for a few years now, but having never attempted them every day I was intrigued to see how my hips reacted.
And, true to form, I started the week nursing a (slight) hip complaint, induced (I think) by an over-enthusiastic barre class the previous week. However, despite being in a bit of pain, it made absolutely zero difference to my ability to perform a pretty decent (IMHO) yogi squat.
On the first day, I worked some Malasana into my post-spin class cool down and stretch, and it proved the perfect way to ease the tension out of my joints after some heavy cycling. If I have any advice, it would simply be not to attempt the pose cold - your ligaments and muscles will be much more responsive to the squat when they're warm (plus, you won't struggle to get back up again!)
Later that evening, I incorporated some light yogi squats into my evening stretch as I brushed my teeth - and felt accomplished at my multi-tasking. Plus, I noticed after a few nights of the same that I was less bloated - whether it was a result of the yogi squats or simply conincidence, it's hard to know for sure - but either way, it was a win.
On days two and three, I attempted to hold the pose for longer, but noticed my left foot lifting slightly as I squatted. Ever the perfectionist, I turned to the experts for their advice.
"It's important to note that not everyone has the necessary hip or ankle flexibility for this stretch," PT and founder of FlexFit, Mandy Wong Outram told me. "If you find your heel lifting as you squat, it may indicate limited ankle mobility; in that case, try placing a weight plate under your heels for support. On the other hand, if you're unable to achieve a deep squat due to hip tightness, it's best to modify the stretch and work on improving your hip mobility first. Have something to hold on to in front of you for support and lower yourself as far as your hips comfortably allow."
Slim weight in place, I found I could focus on my squat rather than my errant left foot: result.
And I was surprised to notice that by day three, my hip pain had subsided a little, even to the point of being able to go for a (much needed) run.

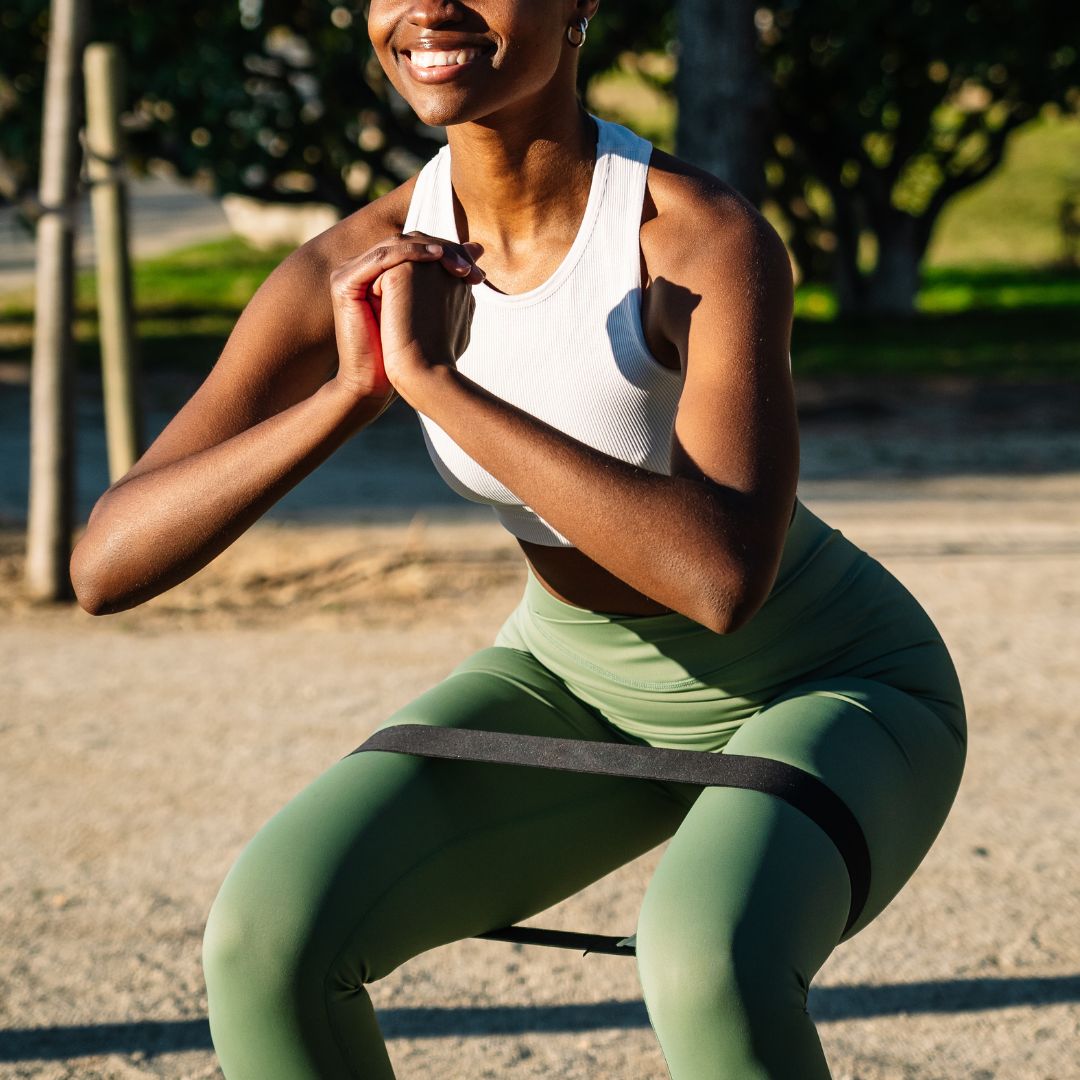
Anna during her yoga challenge
Days four to seven
By this stage my hips were definitely beginning to feel a little looser, with the pain mostly gone. And I felt more stable in the pose too, even progressing to moving my feet a little closer together to deepend the stretch in my Achilles.
But I was slightly frustrated when my attempts at my stretching nemesis - threading the needle - proved as challenging as ever: I wasn't anywhere near as flexible as I had thought I might be. However, this is completely normal for someone with as much hip tightness as me.
"For those with particularly tight hips or limited flexibility, it may take time to see significant improvements," advises Di Lanzo. "Consistent practice, proper form, and gradual progression are key to safely increasing flexibility and loosening tight hip flexors."
Did I see clear results after seven days? Well, as is so often the case, I did - and I didn't. While my hips were looser and less painful, I still have restricted movement - but having got the lowdown from the experts, it's clear that this has to be a long-term project for me. As beneficical as a week of yogi squats has been, I need to carry on incorporating them into my daily routine for maximum results. Ask me again in a year, and maybe, just maybe, I'll be pigeon posing in complete comfort. Unti then, it's back to regular and consistent stretching and foam rolling, proving once again that there really are no short cuts, when it comes to fitness.

Anna enjoying the sunshine after completing her challenge.
Shop MC UK's go-to stretching essentials here:

Another favourite, the stamina sports bra provides medium support with a comfortable, four-way stretch. Seamfree, you'll move from pose to pose in comfort.

A consistant and clear winner with team MC UK, these leggings are specifically designed for yoga, so you can flex into thos yogi squats in style.

Every athleisure wardrobe worth it's salt needs a solid pullover for when the temperature drops after class. This Alo Yoga offering is cosy and comfortable, as well as bang on trend.
Are there any variations on the standard yogi squat?
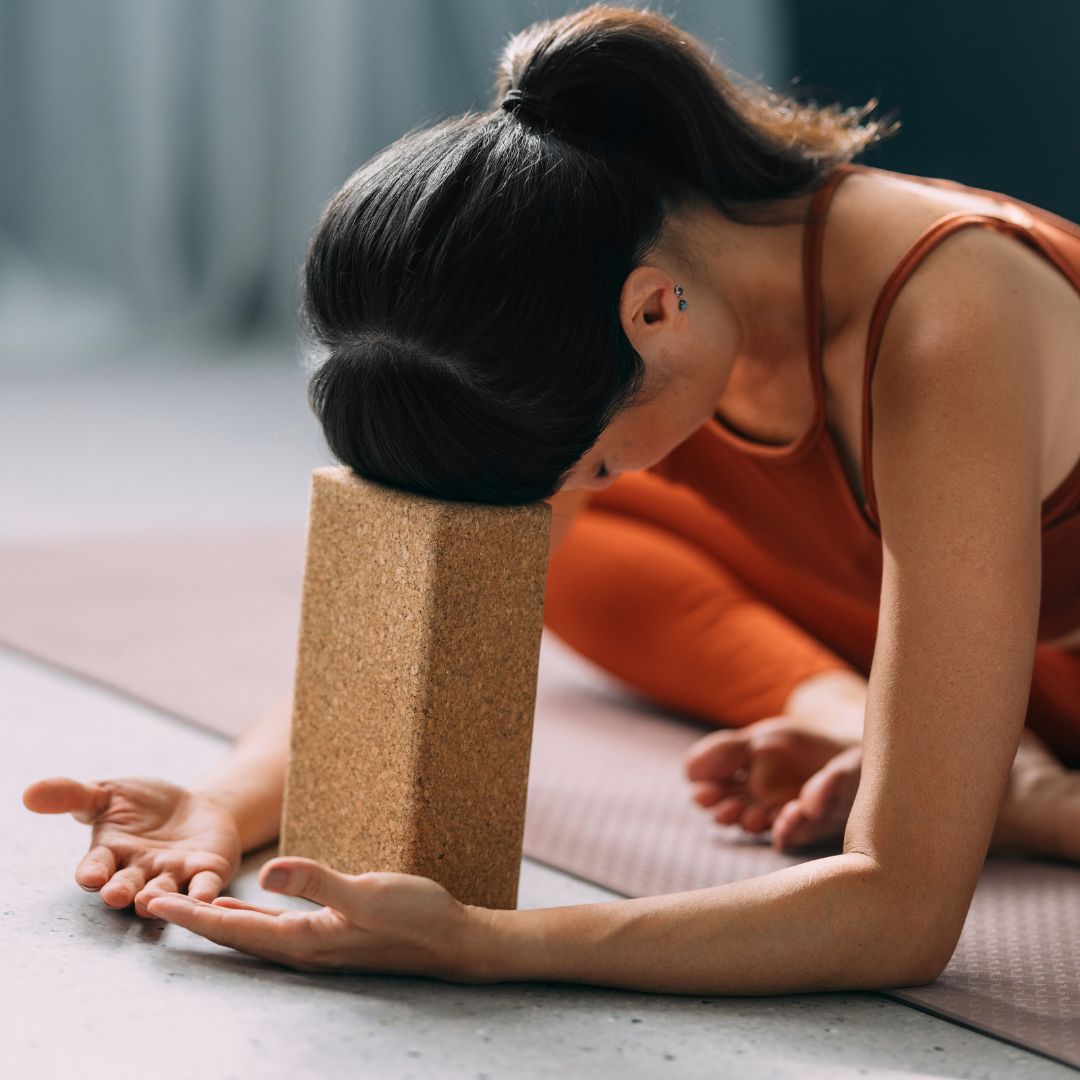
"There are several variations and alternatives to the yogi squat to accommodate different levels of flexibility and strength," says yoga instructor and founder of Circé Yoga, Kate Váchová. If you're struggling to maintain a full squat, she recommends the following. Try either a supported yogi squat - where you use a yoga block or rolled blanket under your heels, providing extra stability and comfort - or a half yogi squat - where instead of lowering fully, you squat halfway, reducing the strain on your knees and hips
You can also try chair pose, also known as Utkatasana, which is another alternative that strengthens the legs and opens the hips without requiring as deep a squat. This pose involves bending the knees as if sitting in an invisible chair while keeping the feet together and arms raised.

-
 Ties are the unexpected cool-girl accessory to invest in this season
School is in session
-
 This is not a drill: you can now shop Alexa Chung's actual wardrobe on Vinted
Own a piece of sartorial history
-
 New Look’s spring collection has dropped—as a picky fashion editor, I’m seriously impressed
Spring trends at affordable prices


-
 Short on time but keen to boost body and mind? Top experts share their go-to 10-minute yoga flows
Guaranteed to make you feel grounded.
-
 Jump training workouts are being hailed as the best longevity workout you can do - a top personal trainer shares their guide
Jump to it...
-
 It's the must-have bit of fit kit of the year - a fitness expert shares their 5 top tips for choosing a walking pad
This year's fitness must-buy.
-
 I tried Pilates roll-downs every day for a week - and was amazed at how quickly it eased years of stiffness
Consider my spine more mobile than before.
-
 Spring has finally sprung - 6 best outdoor workouts that are totally free and boost both body and mind
Soak in the nature and boost Vitamin D *and* endorphins.
-
 Fan of low-impact sessions? These are officially the 7 best Pilates apps for boosting strength, tone and mood
You can thank us later.
-
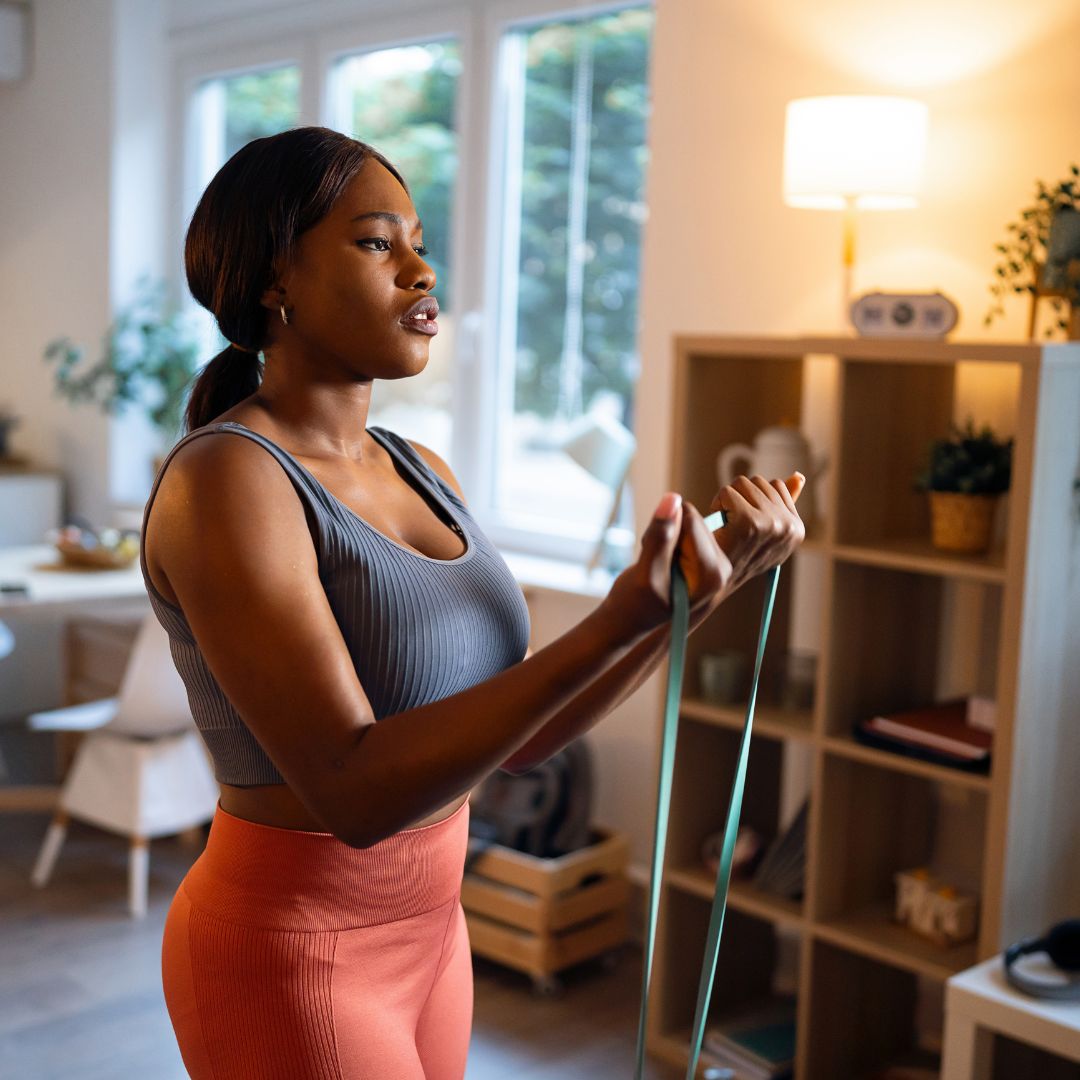 Eager to get strong from home? 6 advanced resistance band full body workouts that'll boost tone, balance and flexibility
Yes, you can get strong without weights.
-
 Loving your home workouts this year? 5 best YouTube resistance band workouts that are free *and* effective
Save these for later.


