I wish I'd tried the viral 'glass skin' trend before—I can’t remember the last time my skin looked so good
A little extra work made a huge difference to my face
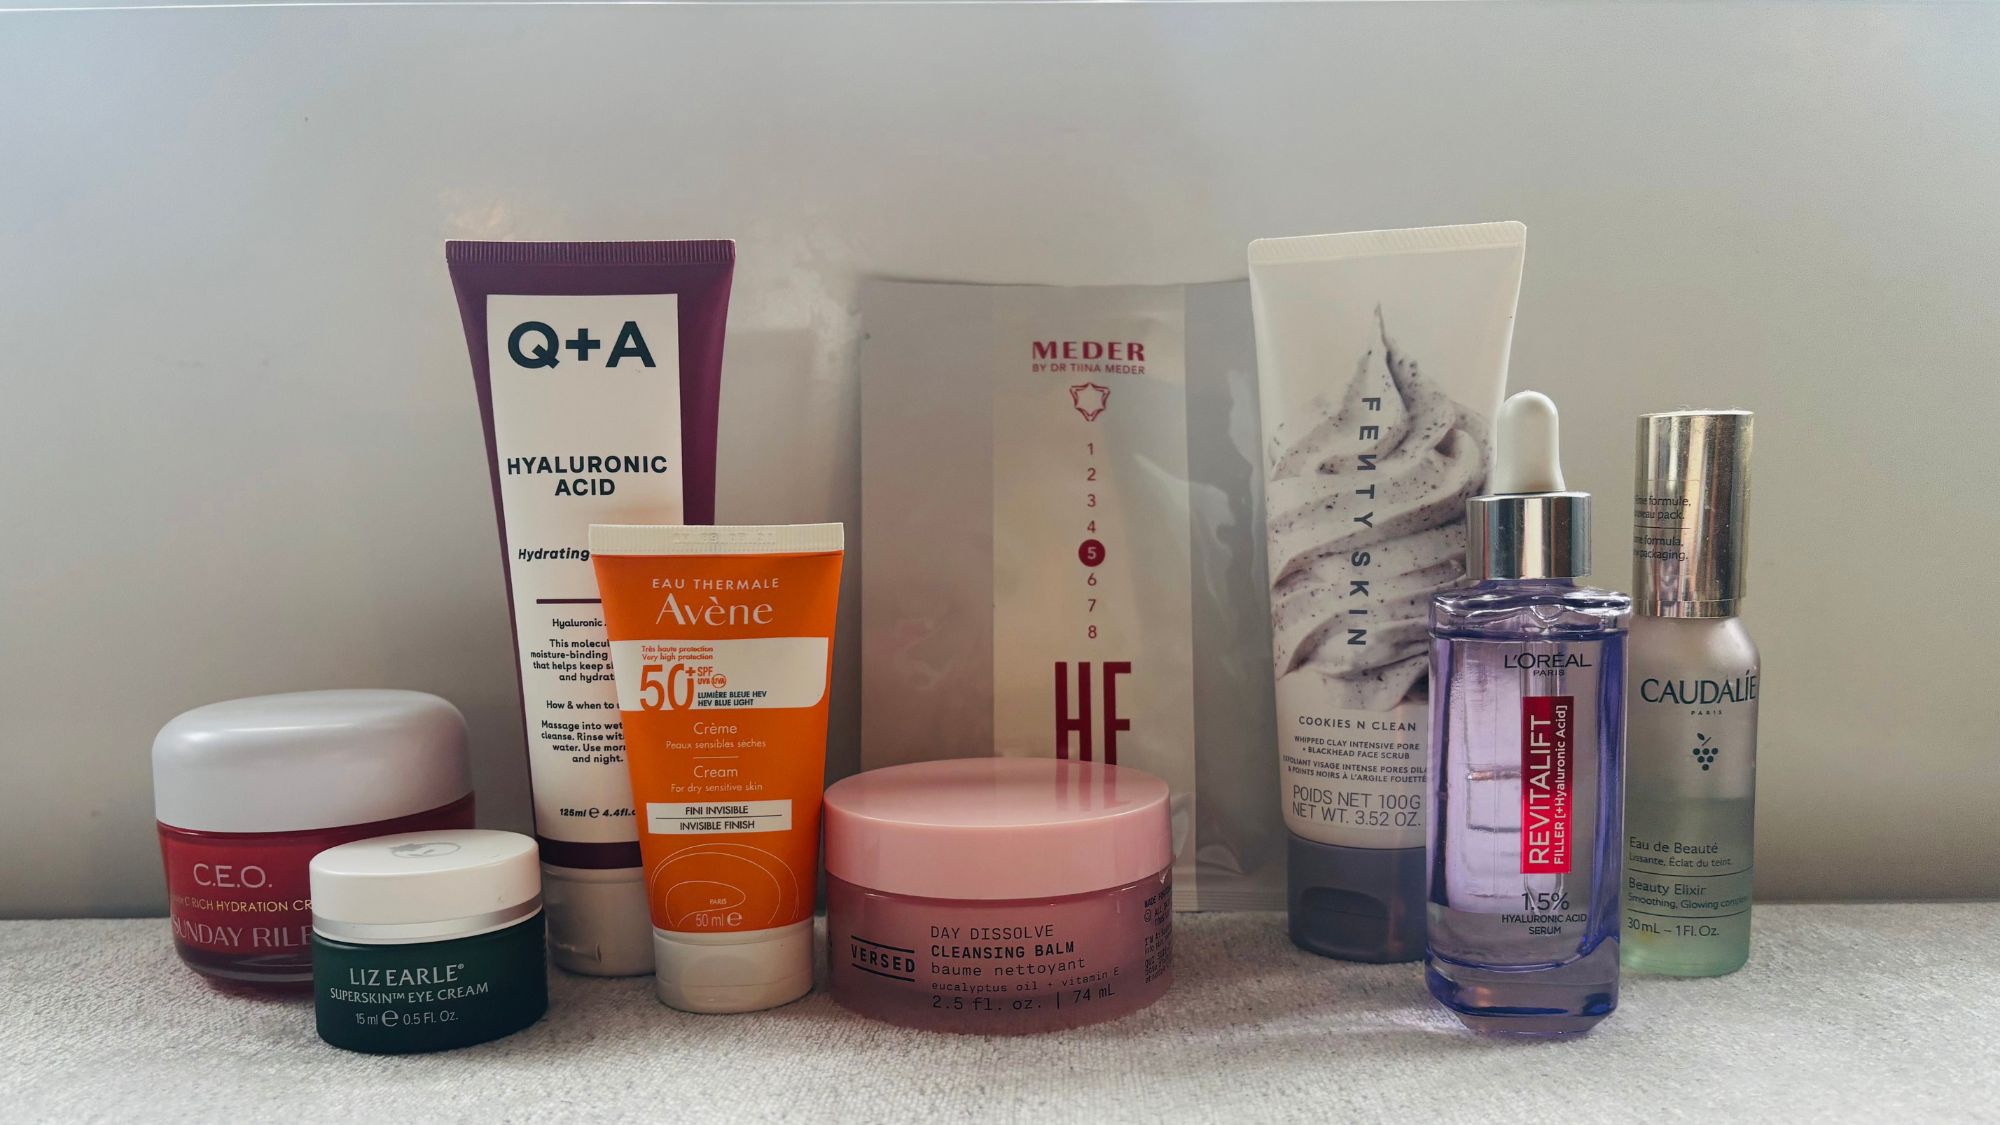

While most viral beauty trends come and go, there are some that stick around and continue to keep growing in popularity, and one of those is ‘glass skin’. As the name might suggest, it’s all about adding a seriously shiny and reflective feel to your face, and with over 3.9 billion views of the hashtag #glassskin on TikTok last year, it’s clearly a look that most of us want to achieve.
I have spent far too much time scrolling through and watching influencers slather their faces in the best moisturisers and serums to create an ethereal-like glow, but in all honesty, I didn’t think I’d be able to do it at home. I thought it would be a bit of a faff to layer up all the products, and as a tired mum of two in my mid-30s I wasn’t fully convinced that I’d get the same results as a fresh-faced TikTok star in front of a ring light.
I decided to give the trend a go as my skin has been looking sorry for itself after a long winter. I had low expectations but was genuinely shocked by how well it worked and how fresh and happy my skin looked. It took less effort than I expected and I don’t remember the last time my skin felt so nourished and looked so dewy.
My skin before...

My skin after...

How do you achieve glass skin?
There are lots of ways to get glassy cheeks, but essentially it’s about taking a little extra time with your skincare routine and layering up multiple hydrating and brightening products. This should give your skin a massive moisture boost and leave it looking bouncy, with a wet-look sheen. Remember to use gentle and hydrating products that drench cheeks in moisture, rather than any harsh acids or strong active ingredients. You want your products to layer up easily and be compatible to avoid any irritation or flare-ups.
I’ve listed my glass-skin kit below, and while it may seem like a lot of products, I use most of these daily anyway and I think adding a couple of extra steps is worth it for the results. I was thrilled with how my skin looked and felt straight after. Plus, the glossy finish on my complexion shone through my make-up all day. I am totally sold on the whole glass skin vibe now—I’m just annoyed that I didn’t try it sooner.
My ‘Glass Skin’ Routine
1. Cleanse With An Oil-Based Cleanser
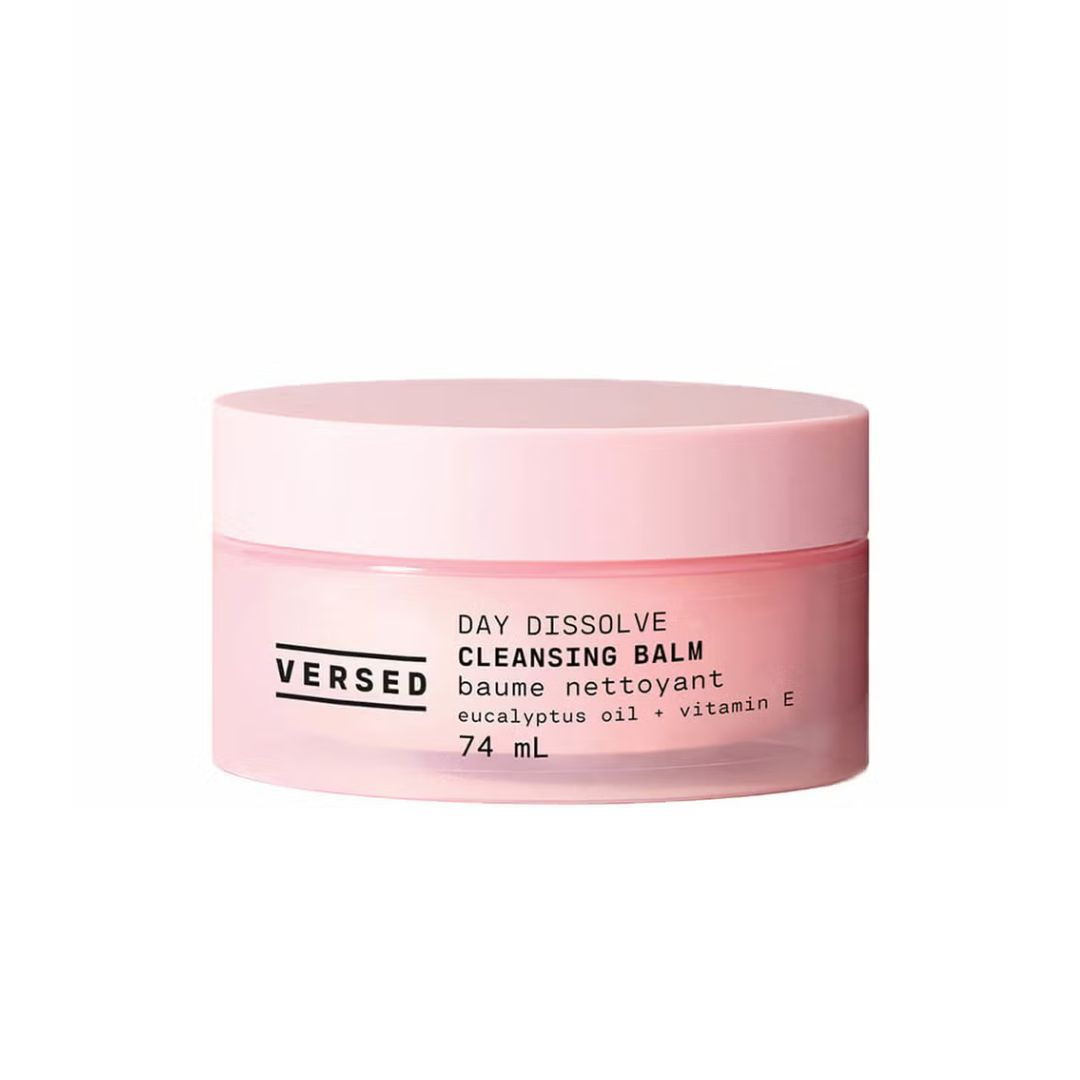
Versed Day Dissolve Cleansing Balm
Our expert review:
Reasons to buy
Reasons to avoid
You'll want to make sure your skin is clean and clear for this look, so starting with a double cleanse is always a good idea. When it comes to double cleansing, it’s best to start with an oil-based product to melt away any products and SPF. I started mine with this gorgeous cleansing balm, as it dissolves grime and any make-up easily and leaves my skin feeling silky soft. I massage a grape-sized amount over dry skin and then rinse away. It’s one of my absolute favourite cleansers and is super gentle on skin.
2. Follow Up With a Hydrating Cleanser
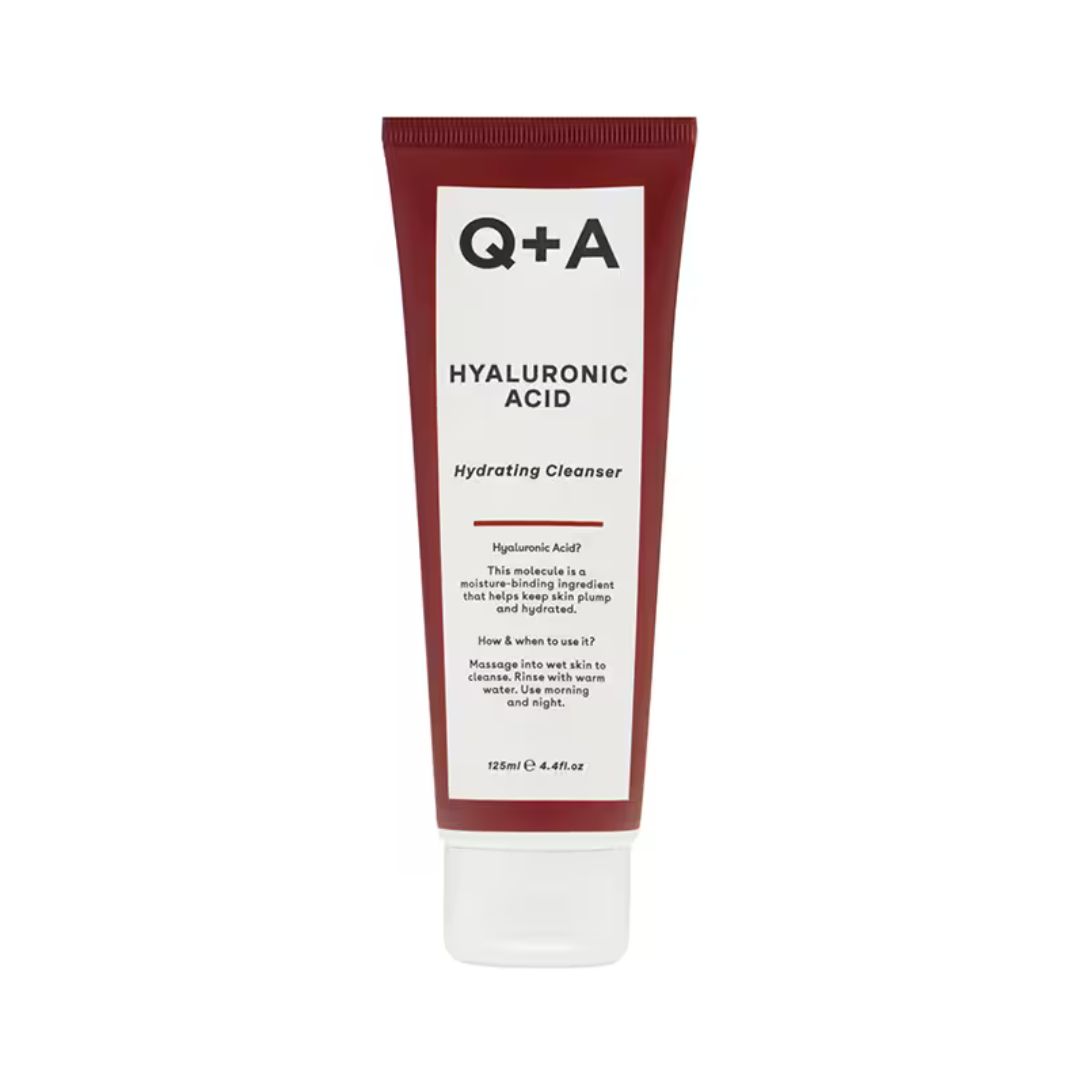
Q+A Hyaluronic Acid Hydrating Cleanser
Our expert review:
Reasons to buy
Reasons to avoid
Next up, your second cleanse should always be with a gentle and hydrating face wash to deep down clean while topping up moisture. I opted for this one as the light gel texture is packed full of hyaluronic acid (which cleverly holds onto water to keep dehydration at bay) and leaves my complexion feeling squeaky clean and baby-soft without too much hard work.
Marie Claire Newsletter
Celebrity news, beauty, fashion advice, and fascinating features, delivered straight to your inbox!
3. Buff With An Exfoliator
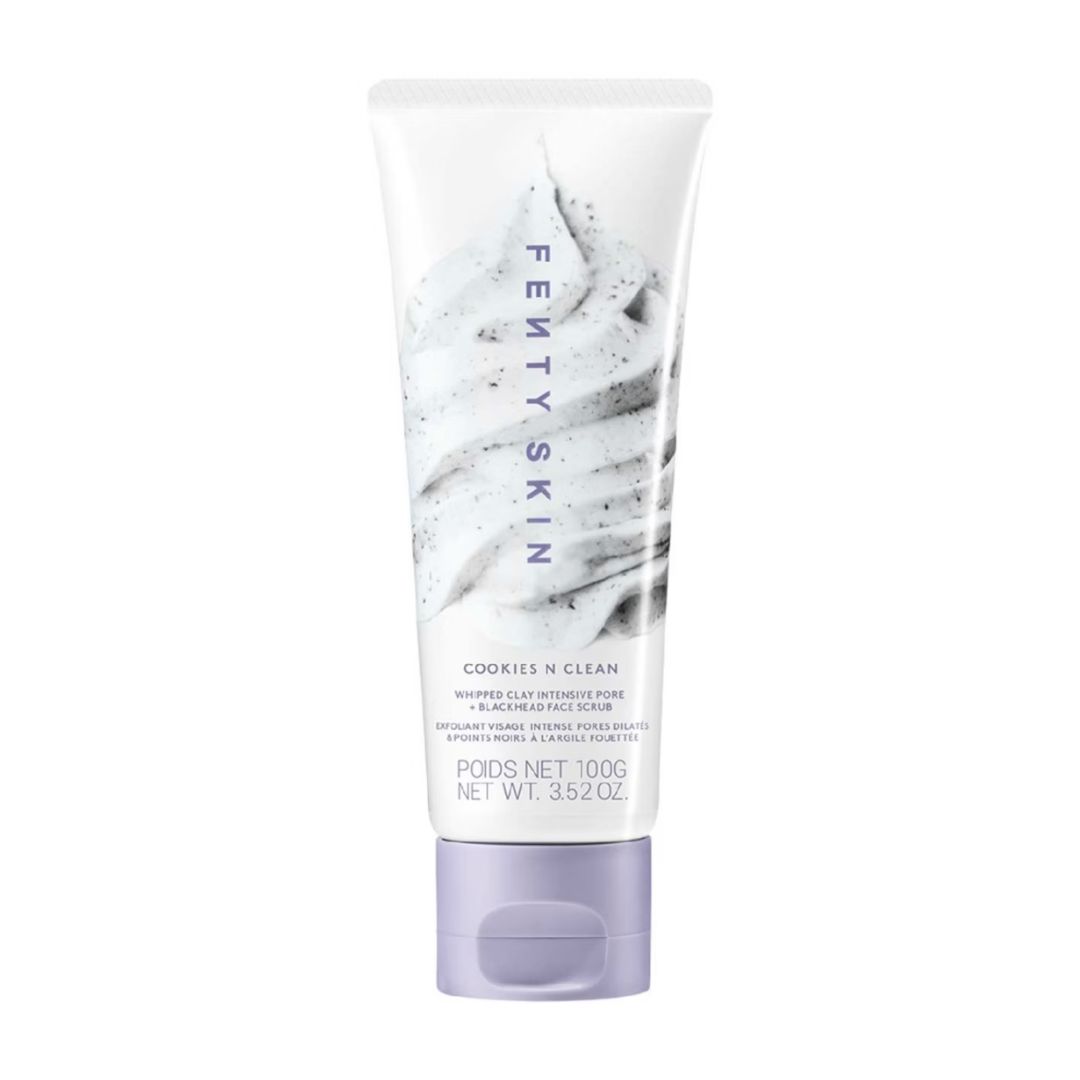
Fenty Skin Cookies N Clean Intensive Pore + Blackhead Face Scrub
Our expert review:
Reasons to buy
Reasons to avoid
The aim here is to have bright and clear-looking skin, so you’ll want to buff away any dead skin to keep dullness at bay. I used this gorgeous exfoliator after cleansing and it instantly freshened up my complexion without feeling harsh. It uses a blend of volcanic sand and charcoal to exfoliate and the whipped clay draws out impurities and excess oils to leave my face refreshed and clear. Remember to avoid exfoliating too much though as this can cause damage to your skin's natural barrier—opt for a scrub just 2-3 times a week.
4. Treat With a Mask
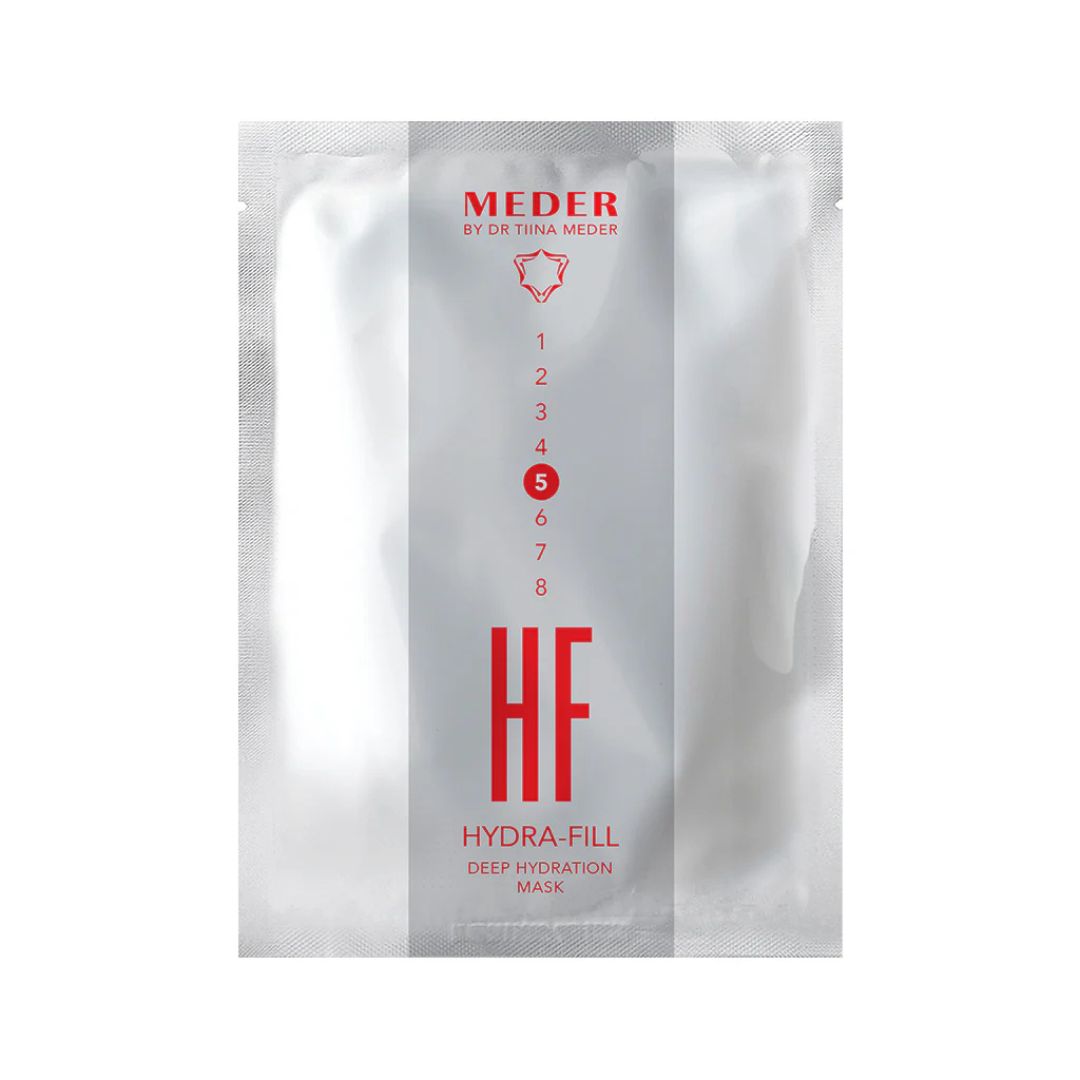
Meder Hydra-Fill Mask
Our expert review:
Reasons to buy
Reasons to avoid
Of course, there isn’t always time to apply a hydrating mask, so this step is optional, but I thought I’d go all out to try the trend properly and apply this deeply nourishing sheet mask for 15 minutes. The impressive line-up of ingredients including hyaluronic acid, marine algae and tranexamic acid work to soften, hydrate and brighten. The cleverly designed mask comes with hoops to go over the ears to stop it from sliding off. I love how quickly it lifts my complexion and although it is more expensive than my usual masks, it’s a great one for applying before a special occasion or when your skin is in serious need of TLC. If you don’t have time to mask up in the morning, you could always apply the night before too.
5. Apply an Essence
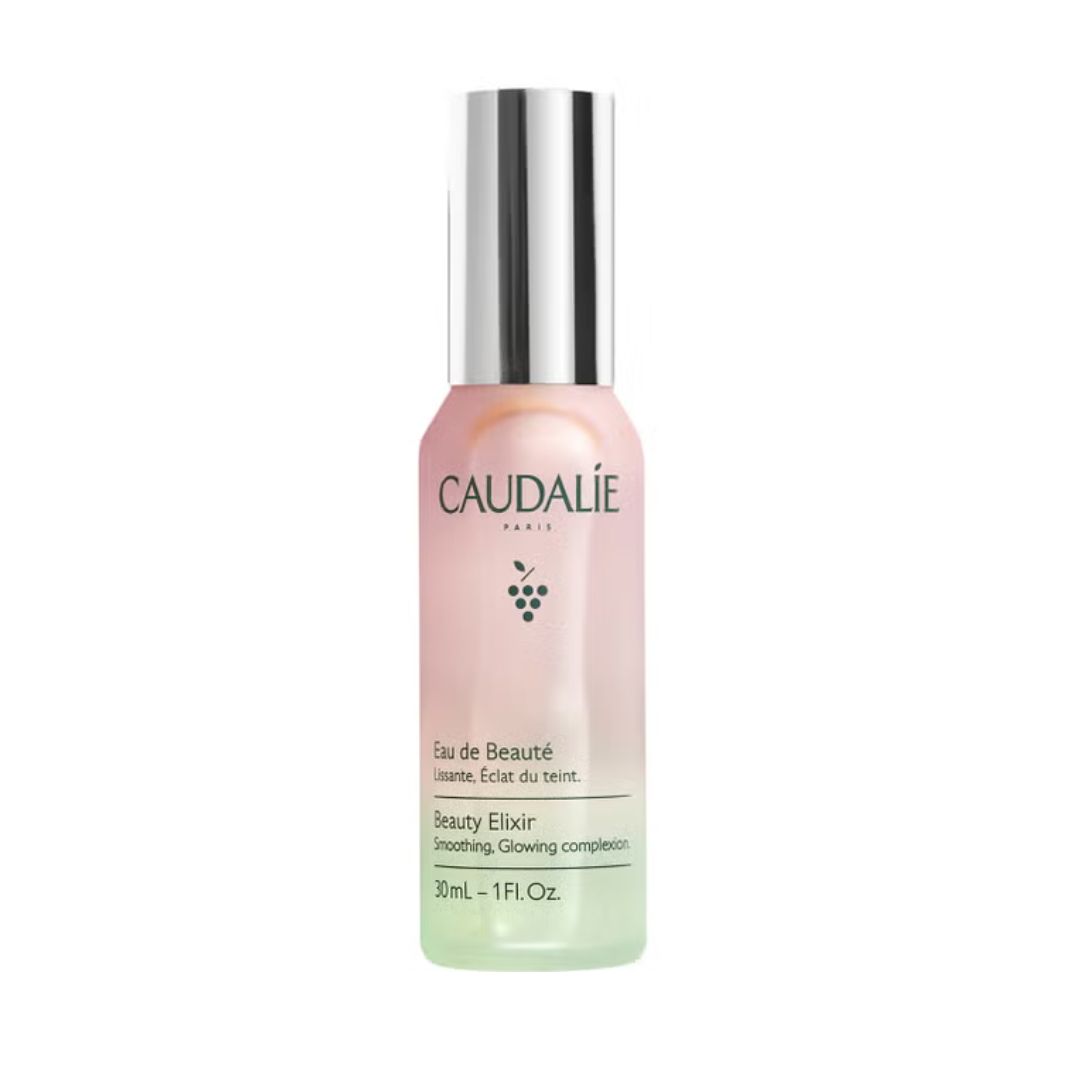
Caudalie Beauty Elixir
Our expert review:
Reasons to buy
Reasons to avoid
Here’s a step I wouldn’t usually do in my usual morning routine, but after doing some research, it seems that adding a hydrating toner or a quick spritz of essence at this stage can help towards the glass skin goal. I opted for my beloved Caudalie Beauty Elixir, which I usually use for a pick-me-up later in the day, but I found it gorgeously cooling on freshly washed skin and it instantly added a dewiness. The iconic botanical scent is always such a treat to use too.
6. Hydrate With a Serum
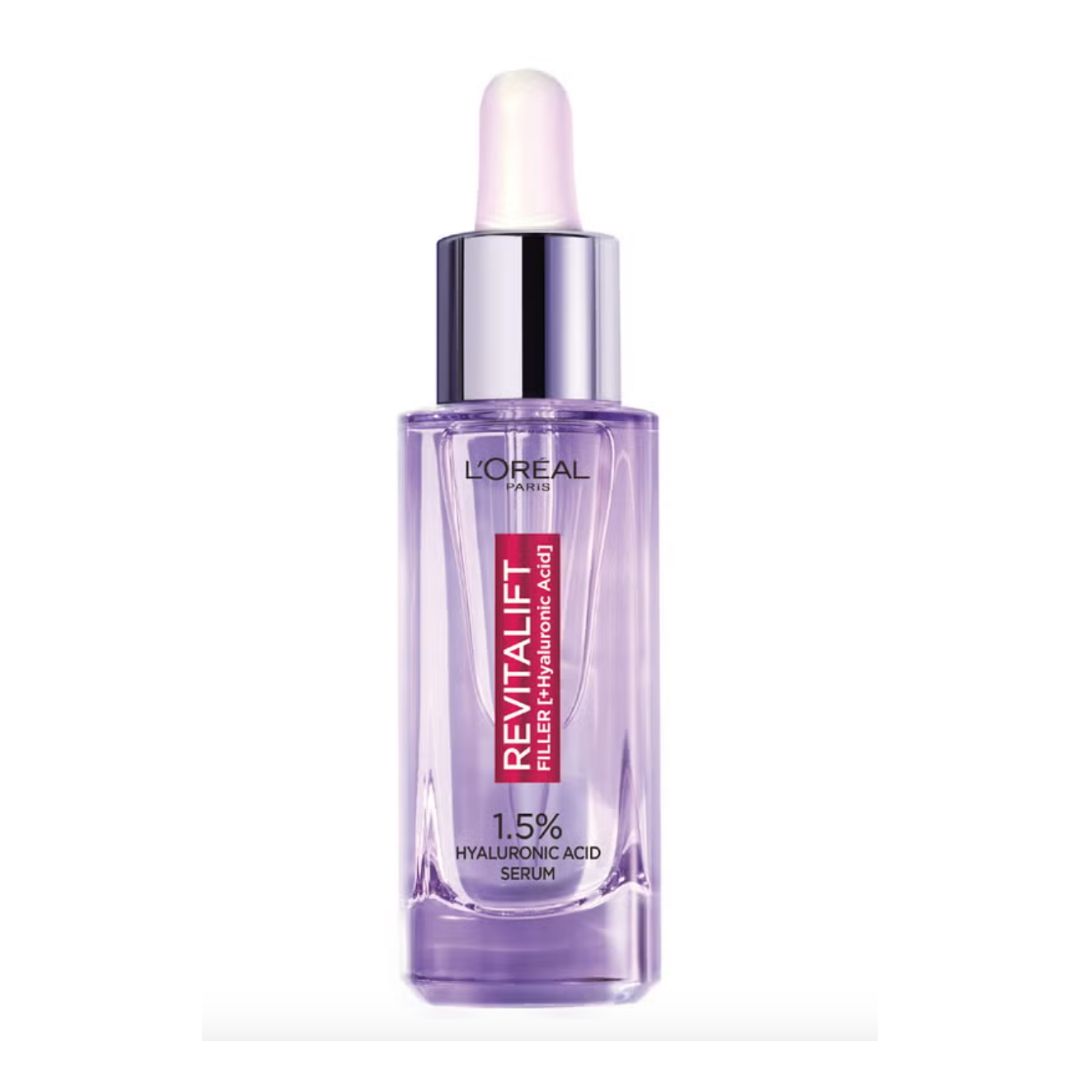
L'Oréal Paris 1.5% Hyaluronic Acid Revitalift Filler Serum
Our expert review:
Reasons to buy
Reasons to avoid
As mentioned previously, this look is all about drenching skin in hydration and you’ll struggle to find ingredients that boost those levels as well as hyaluronic acid. L'Oréal's thirst-quenching serum is packed full of the stuff and I’ve been using a couple of drops of it daily over the last few years to keep my skin plump and soft. It’s very lightweight, absorbs brilliantly fast and adds a gorgeous glow to skin that lasts.
7. Nourish With a Moisturiser
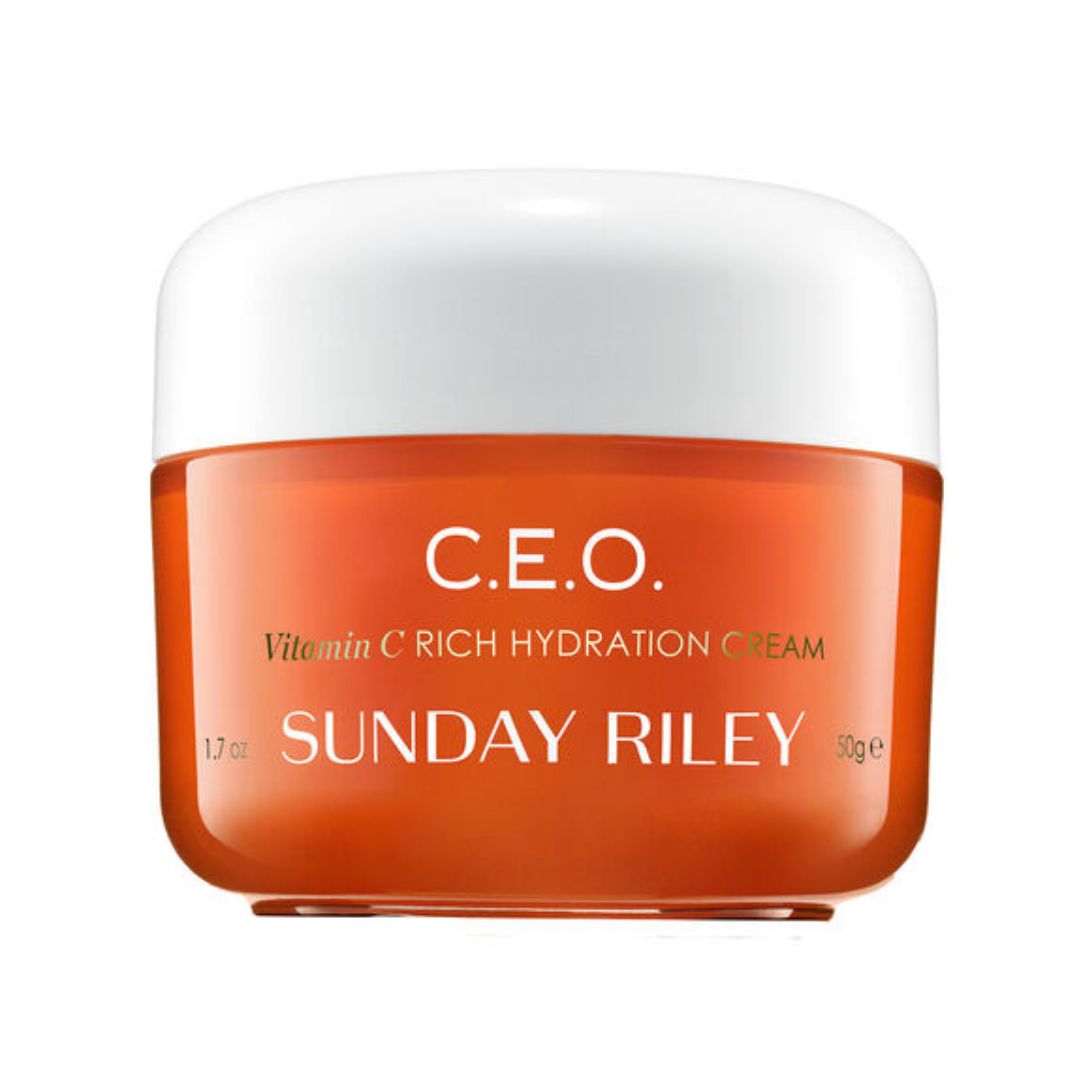
Sunday Riley C.E.O Vitamin C Rich Hydration Cream
Our expert review:
Reasons to buy
Reasons to avoid
Next up, I add a generous amount of moisturiser. This luxe cream is infused with vitamin C which is a great ingredient for brightening while being gentle and soothing. This silky lotion is always a winner for perking up my face, and when applied over my serum, it creates a lit-from-within kind of dewiness that I love. A little goes a long way to cover my face and neck too.
7. Brighten Tired Eyes
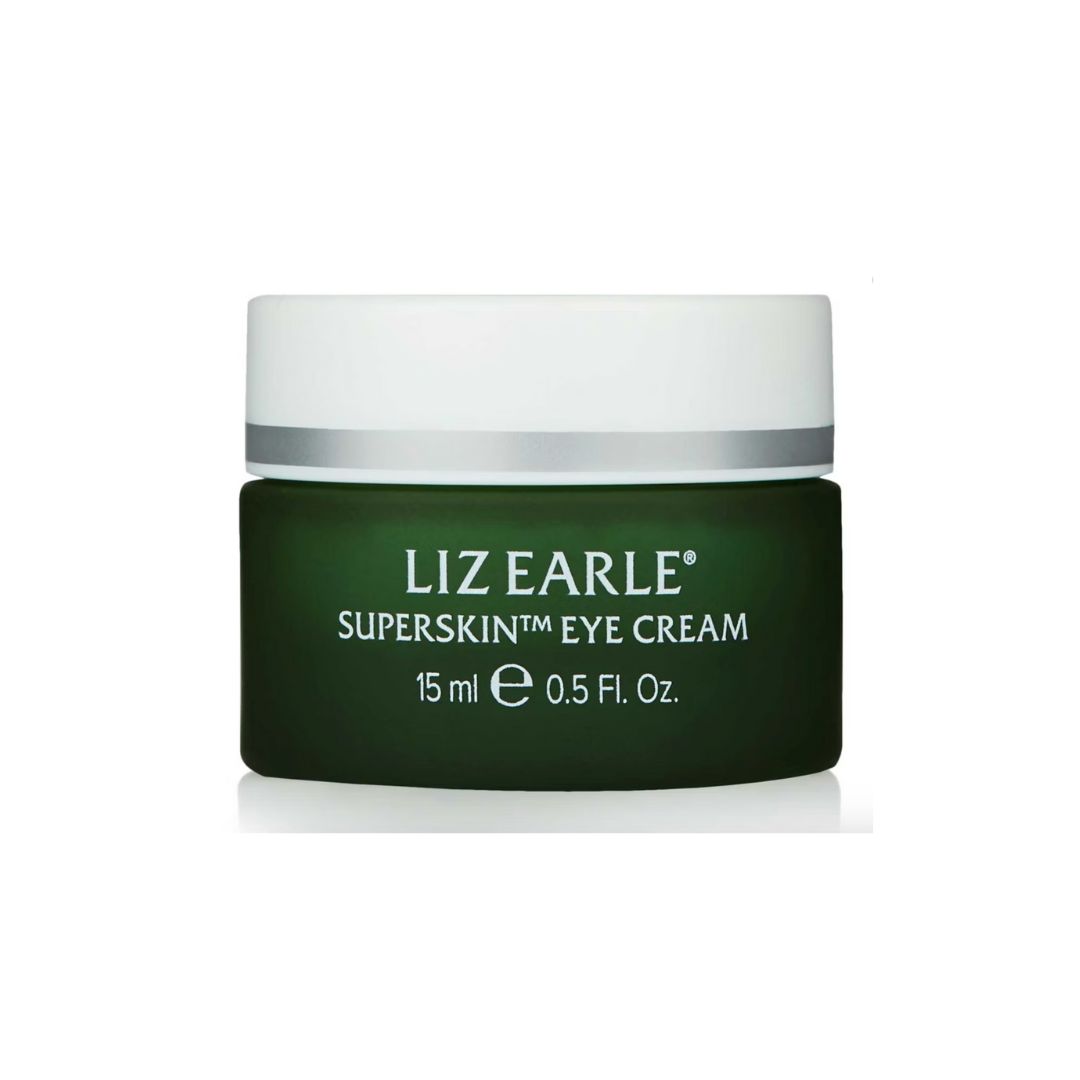
Liz Earle Superskin Eye Cream
Our expert review:
Reasons to buy
Reasons to avoid
Don’t forget your eyes in this routine, as every step works towards the overall glassy glow. I really like this smoothing eye cream as it hydrates and softens while adding a bright feel to sleepy peepers. It works well to calm and de-puff, and makes me look refreshed even when I’m lacking on my beauty sleep. I dot a small amount under eyes and use my ring finger to gently pat it into skin.
8. Protect With SPF
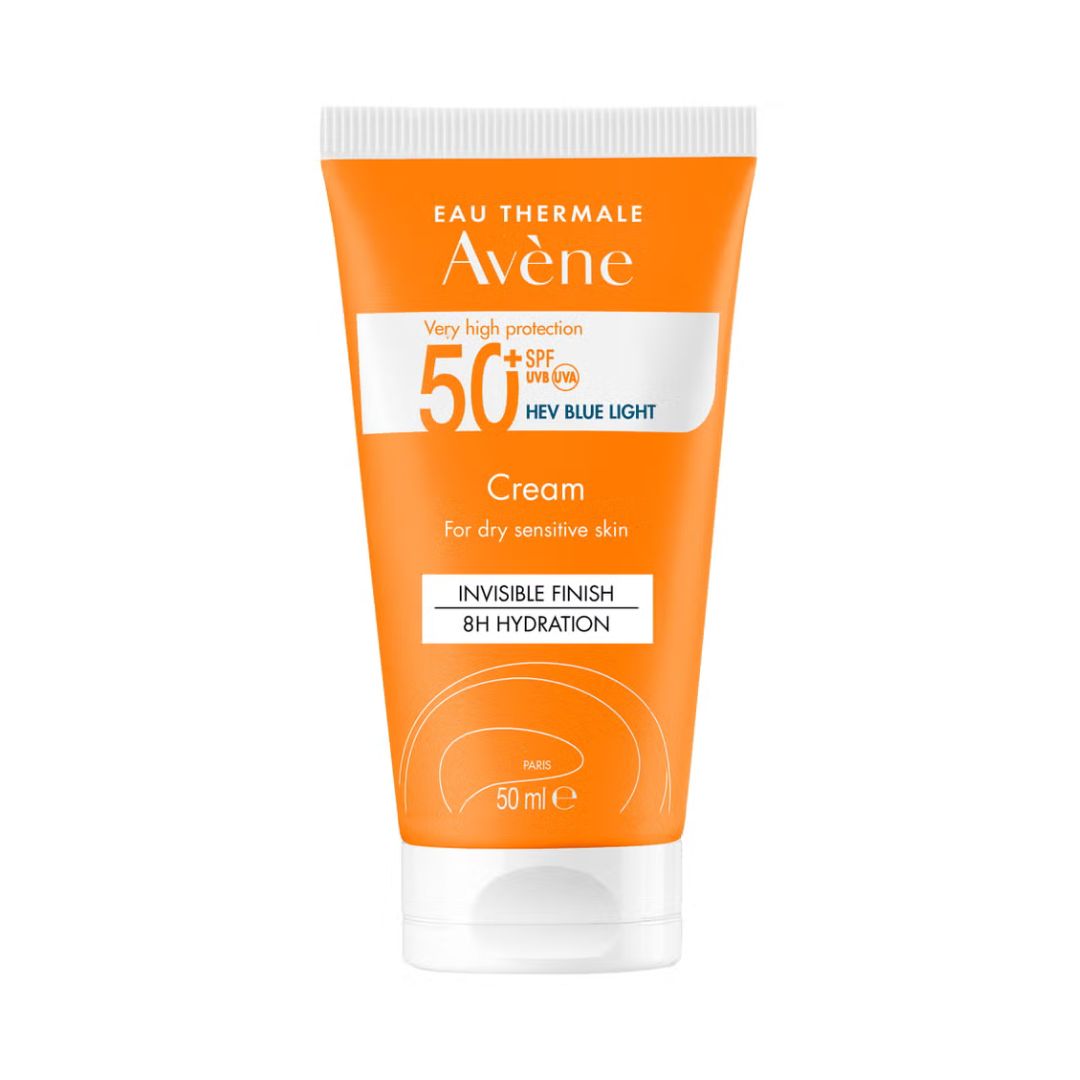
Avène Very High Protection Sun Cream SPF50+ for Dry, Sensitive Skin
Our expert review:
Reasons to buy
Reasons to avoid
Applying SPF to your face every day (and I mean every day) is important to stay protected from damage and keep early signs of ageing at bay for longer. This one is a great option, especially if you have sensitive skin as the formula is very gentle. It's super light to wear, so never feels greasy, and manages to stay put on even the hottest of days. It has an invisible finish without any white cast but leaves a hint of sheen that adds to my glass skin goal.
9. Finish With An Illuminator
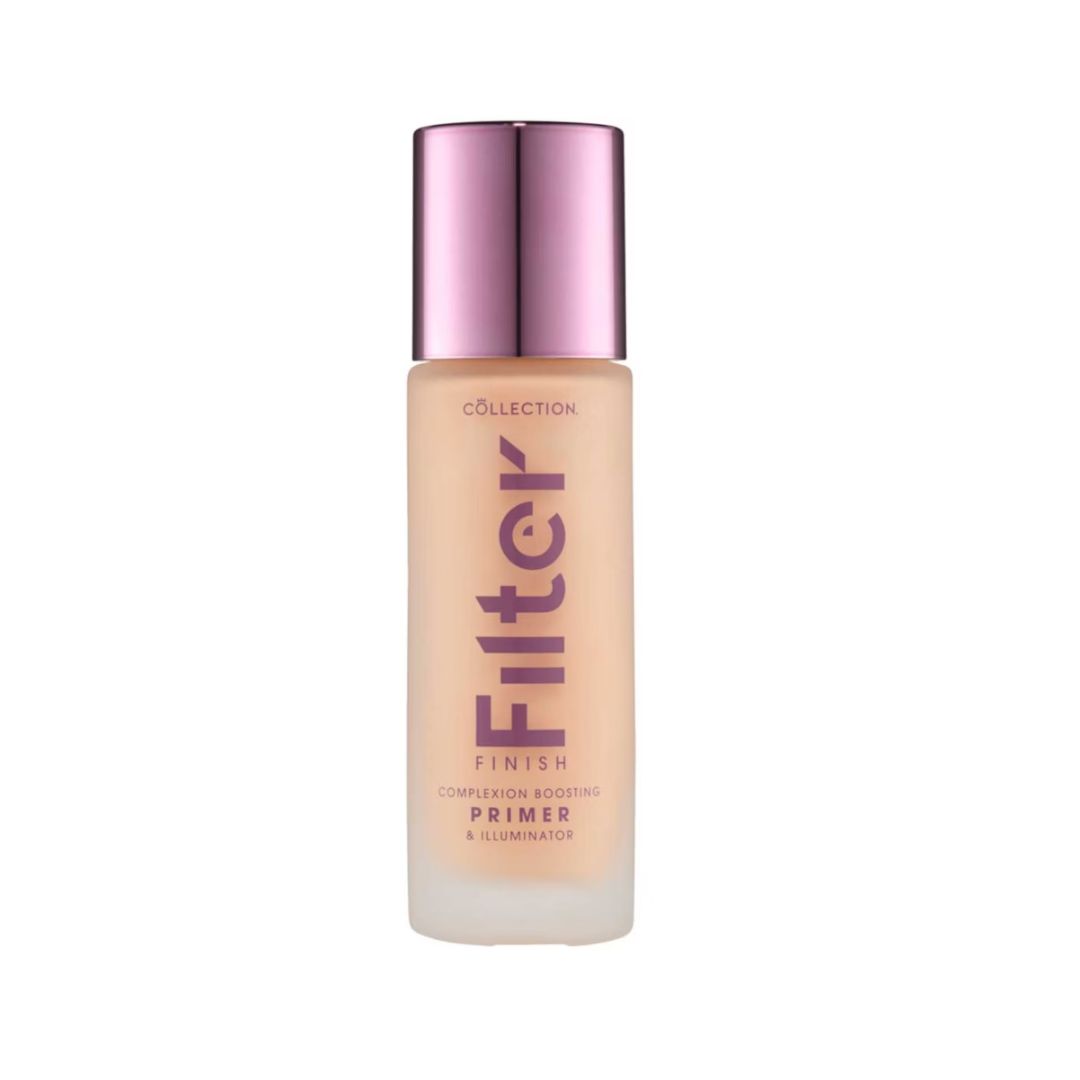
Collection Filter Finish Primer & Illuminator
Our expert review:
Reasons to buy
Reasons to avoid
While my skincare routine did perk things up beautifully, I found that adding a little bit of illuminator like this one upped the ante and made my face look a little smoother with plenty of high shine. This one acts like one of the best primers too, so it was perfect for dotting and blending before I added my base. It has a subtle tint to it that blurs pores and evens out any redness so my cheeks look much more flawless.

Matilda Stanley is a freelance style editor with over fifteen years of experience in the industry, covering all things fashion, beauty and interiors. She writes and styles for both print and online and will happily report on everything from the latest catwalk trends to bargain skincare buys.
-
 Anya Hindmarch has just launched a fantastical diving shop in central London
For those who would rather be beside the seaside...
By Sofia Piza
-
 Blake Lively’s legal team has criticised Justin Baldoni’s “scorched earth" approach
By Jenny Proudfoot
-
 Aimee Lou Wood has called out Saturday Night Live for its “mean” joke about her appearance
By Jenny Proudfoot