Terrible at doing your own nails? I just tried a paint-free, long-lasting technique that's proving very popular
I'm impressed!
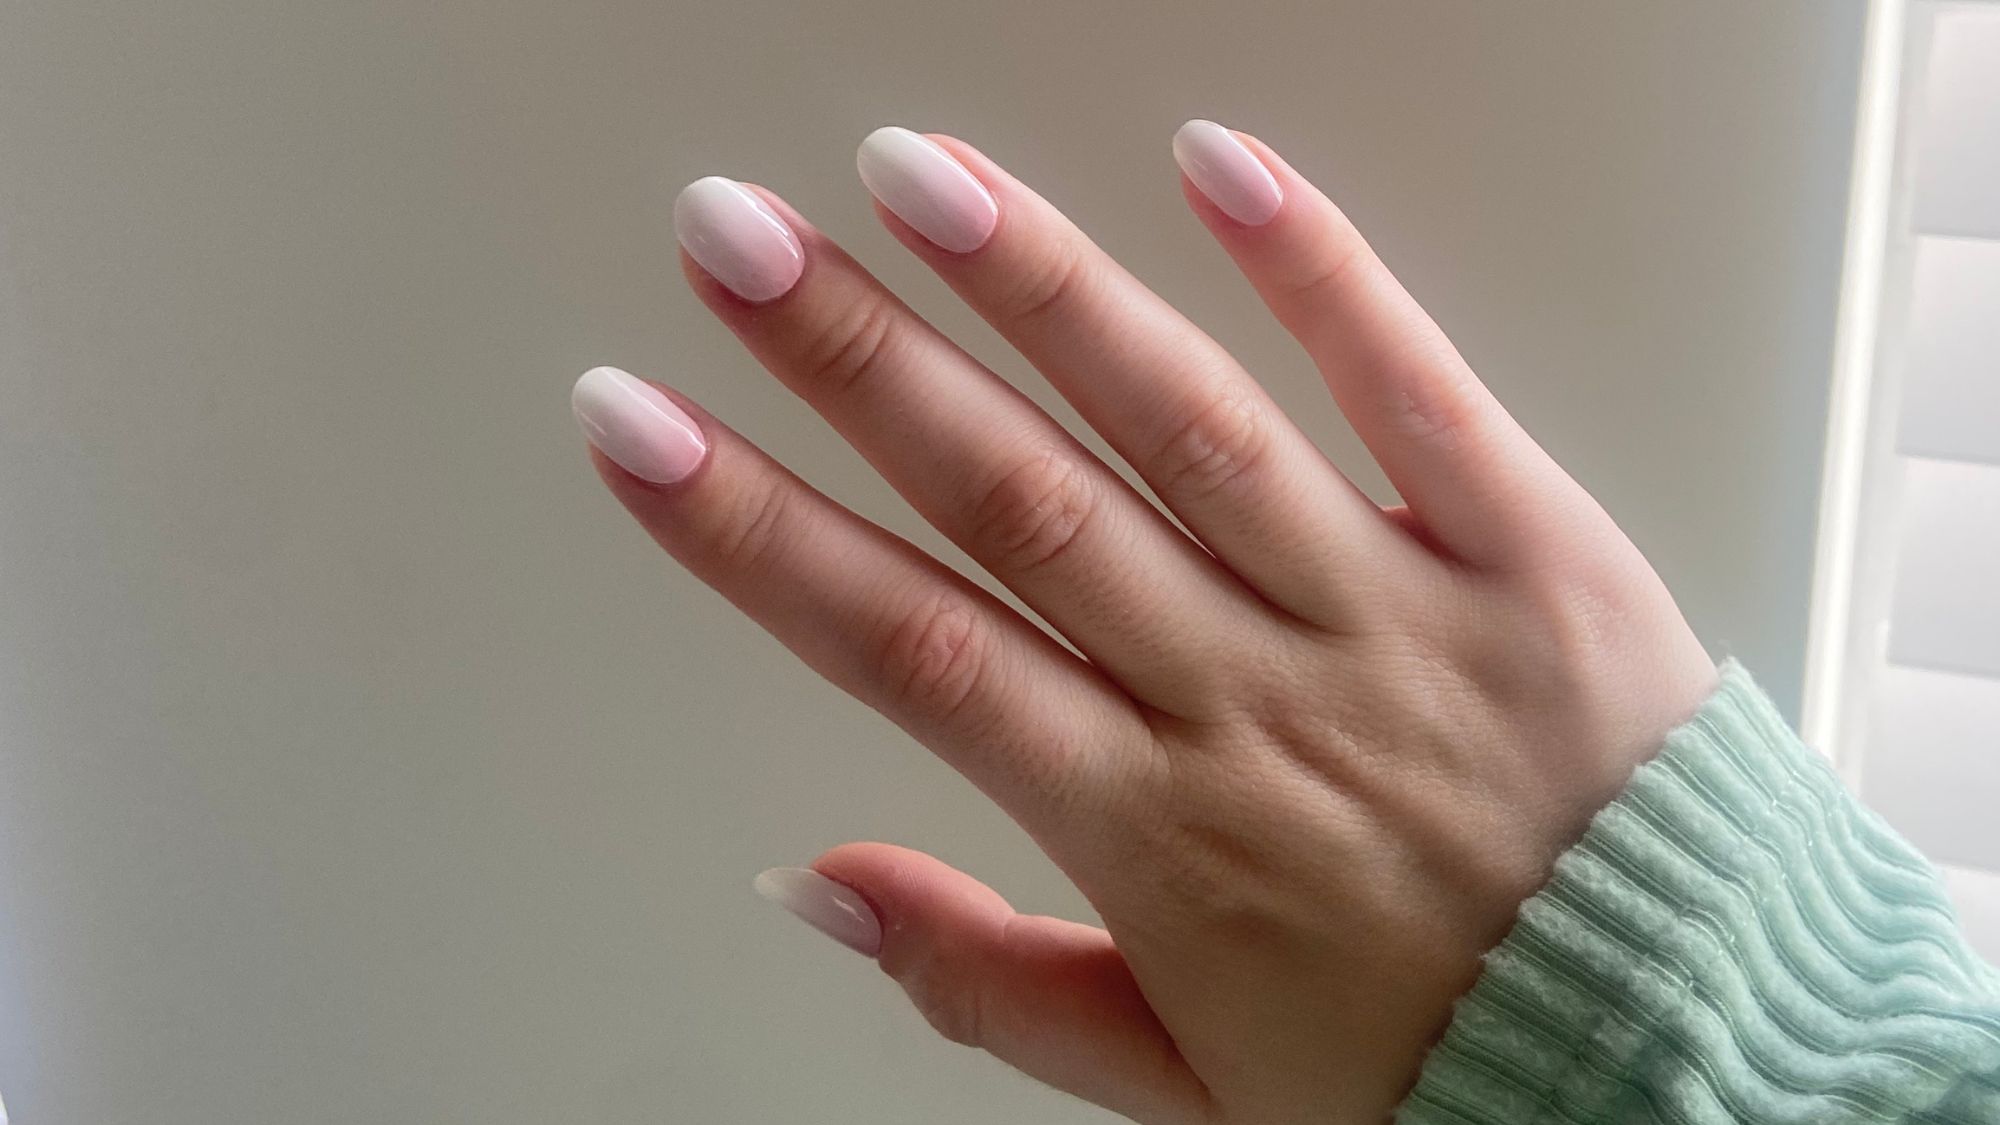
If you’ve spent any time on #NailTok over the last few weeks, you’ll likely have come across gel strip nails. Essentially, they’re a hybrid between the classic gel manicure and stick on nails. That’s where Maniko comes in. There are so many different types of manicures to choose from, but I've not seen anything like this before.
As a nail tech, I believe there’s nothing quite like seeing all of your nail art ideas comes to life with a traditional gel manicure done in a salon by a professional. But I get it, we don’t always have the time or money to spend getting each talon meticulously tended to. Sometimes, we just need a quick fix. Add to that, some people are just terrible at painting their nails (and there's no shame in that—it’s a lot harder than the pros make it look). And in my opinion, if you can’t paint your nails without getting polish on your skin, you definitely shouldn't be doing gels at home—it’s a one way ticket to a gel allergy.
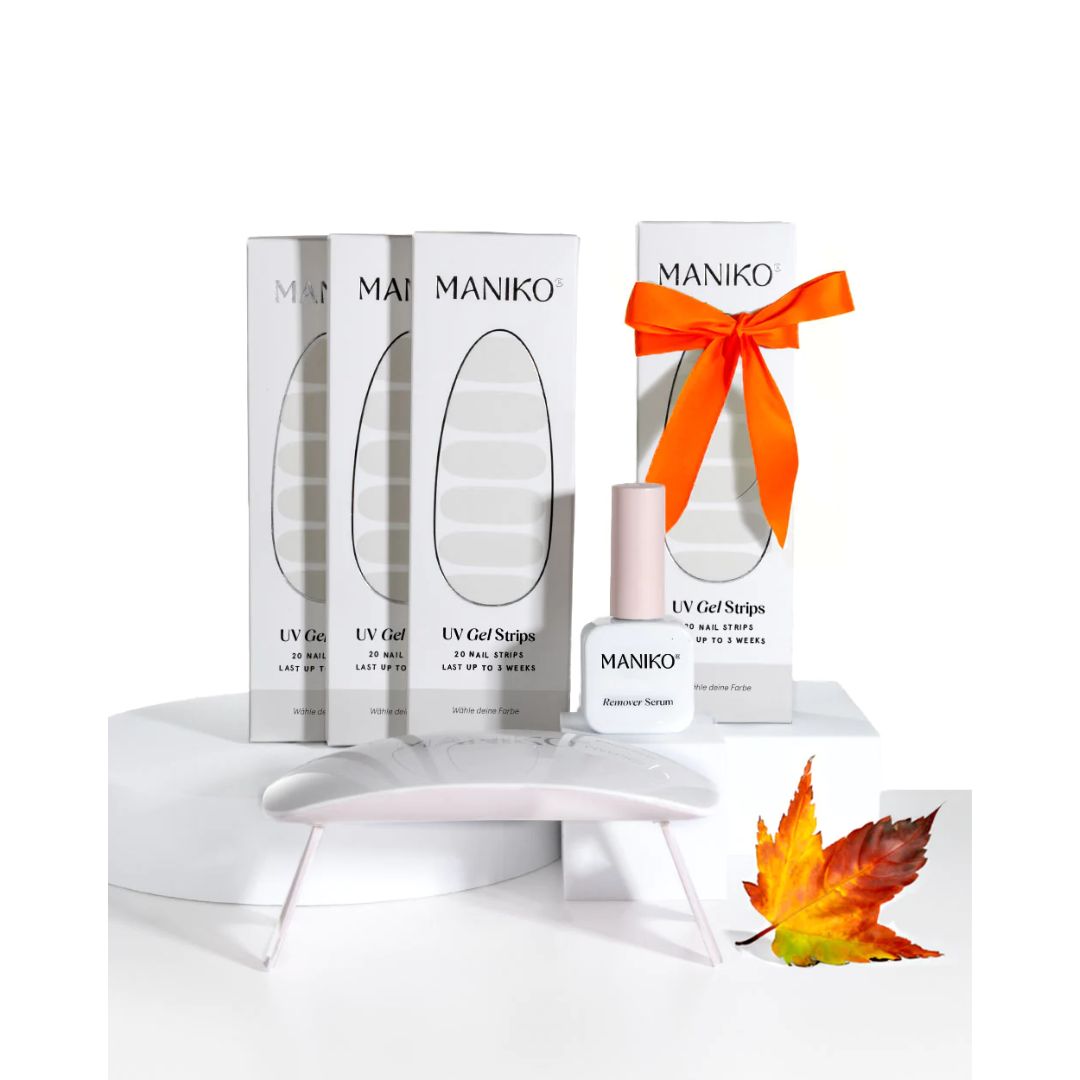
Maniko Nails UV Gel Starter Kit
I was sceptical before trying this gel strip system. I couldn’t see how it would give great results, simply because it seemed too easy. But I was proven very wrong, the results are marvellous and it truly is the answer to your at-home gel concerns.
Here, I dive into everything you need to know about strip gel nails and how I got on trying Maniko.
Maniko UV Gel Nail Strips, reviewed by a beauty editor
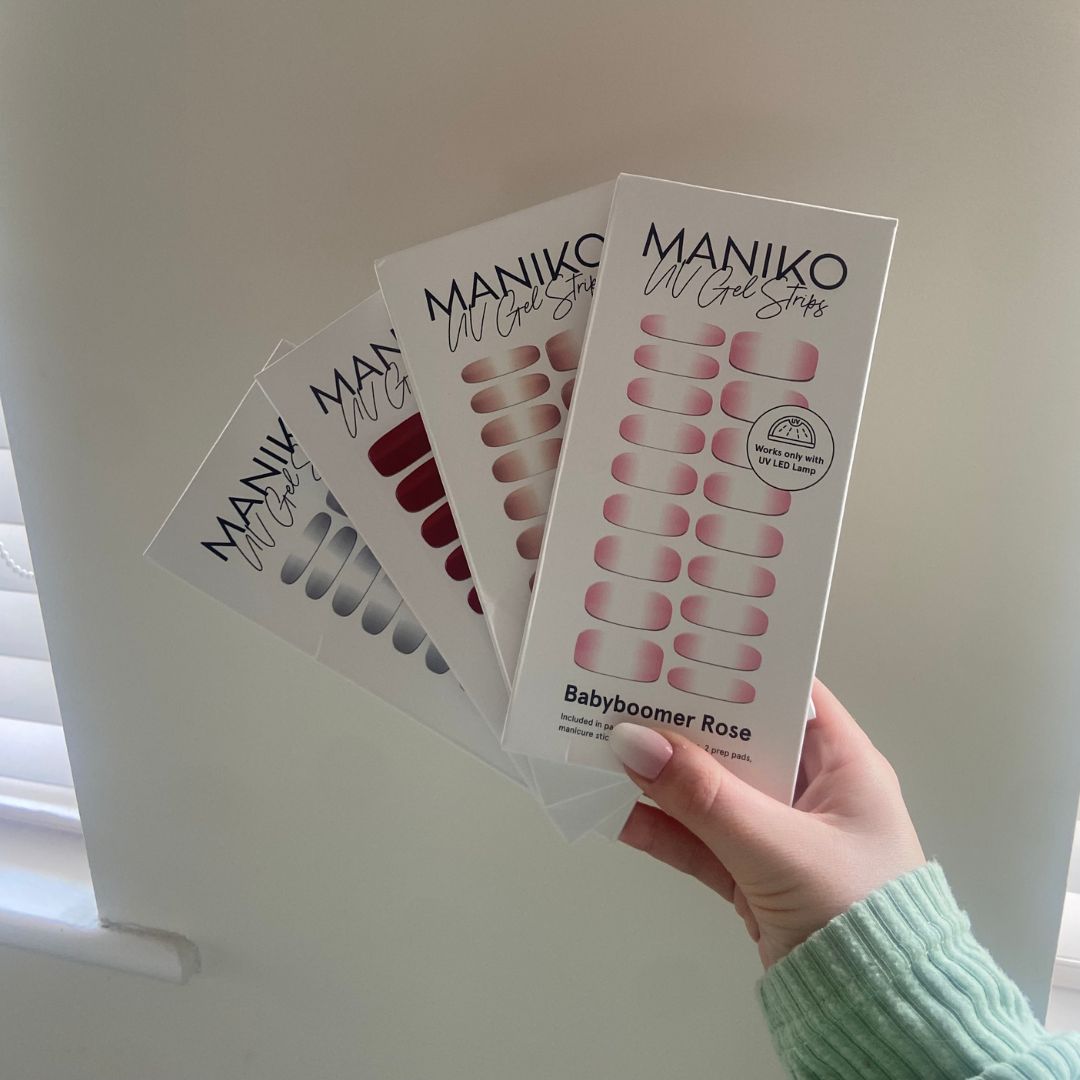
How do Maniko UV Gel Nail Strips work?
Maniko promises to be the “worlds easiest manicure” and honestly, they’re onto something—and I don’t say that lightly. There is no drying time, no brushing and the brand is vegan, cruelty- and HEMA-free.
Maniko strips are real gel polish, that are 60% cured, moulded into your classic nail sticker shapes on a tacky strip. Once you’ve stuck them onto your nails (they have a sticky underside) and trimmed the excess at the top, you cure them under a UV lamp. Under the light, they fully cure and set, giving them that classic hard finish. Finally, file off the edges to leave a smooth, free edge and you’re done. No smell and no painting!
How long do they last?
As with regular gels, they can last up to 3 weeks, depending on how you look after them. For example, someone who washes the dishes daily without wearing gloves is going to find their nails don’t last as long as someone who doesn’t do those things.
Marie Claire Newsletter
Celebrity news, beauty, fashion advice, and fascinating features, delivered straight to your inbox!
I wouldn’t say they last as long as regular gels you’d get done in a salon, but they definitely last longer than regular polish and you don’t get any chipping.
How are they removed?
The removal of Maniko nails is also easier than gels. The kit comes with a Remover Serum which you apply around the edges of your nail plate, as well as to the orange wood stick that comes in your kit, and you gently lift the sticker from your nail. I was initially a little worried about removal, since it goes against everything you should do with regular gels with filing and soaking off. But they really did ping off incredibly easily and left zero marks or damage.
What are the flaws?
The main downside of these strips are the fit at the base of each nail. I don’t personally think there are enough sizes within a pack to sufficiently fit the average nail size. You only get 18 in a pack and I can’t guarantee you’d be able to get enough sizes to fit each nail. That’s the only drawback, which can leave the nail looking a little false. A little like when you apply stick-on artificial nails and can see a little bit of your natural nail peeping through.
The website and language used by the brand is definitely still in its infancy too, which can make it a little confusing to navigate.
A step-by-step guide to apply Maniko UV Gel Nail Strips
1. Set up your station
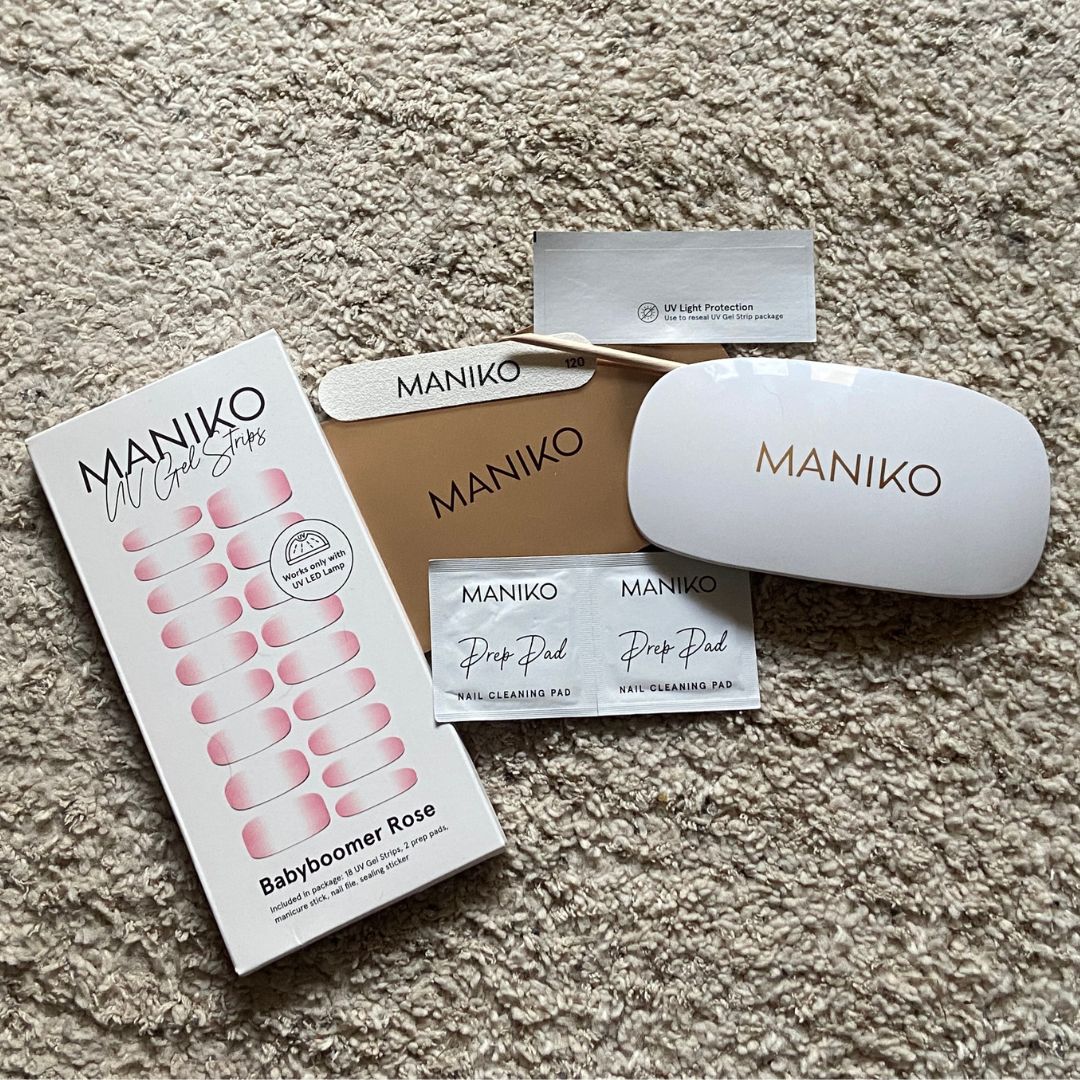
The first step in doing your own nails at home is making sure you've got everything you need. The Maniko Starter Kit comes with four sets of UV strips of your choice, a small portable UV lamp (which even has cute foldable legs), prep pads, nail file, orange wood stick and a UV light protection seal to keep the strips uncured until you need them.
2. Prep your nails
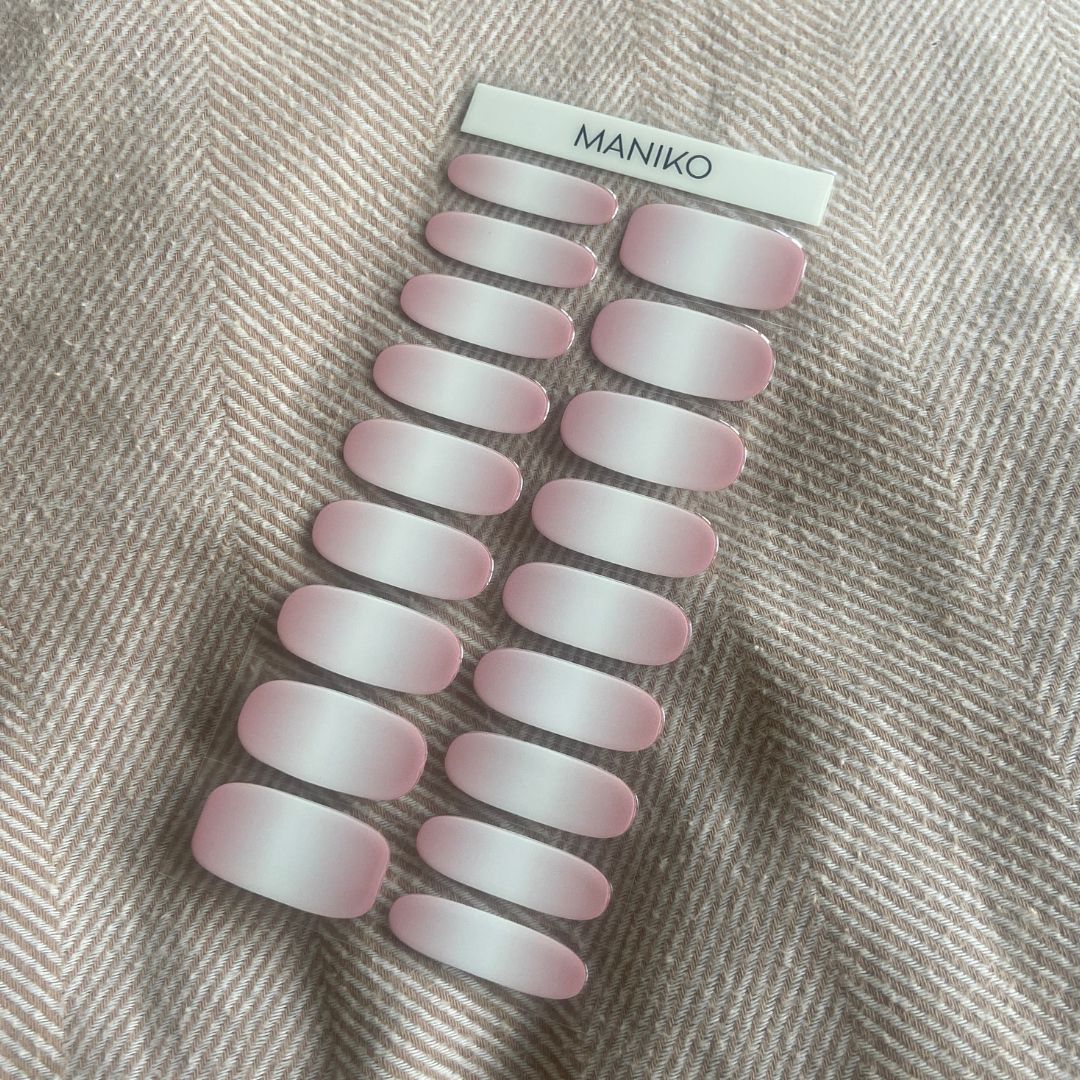
Remove all leftover gel or nail polish, push back your cuticles if needed and swipe the prep pad over your nail.
3. Measure and stick your strip
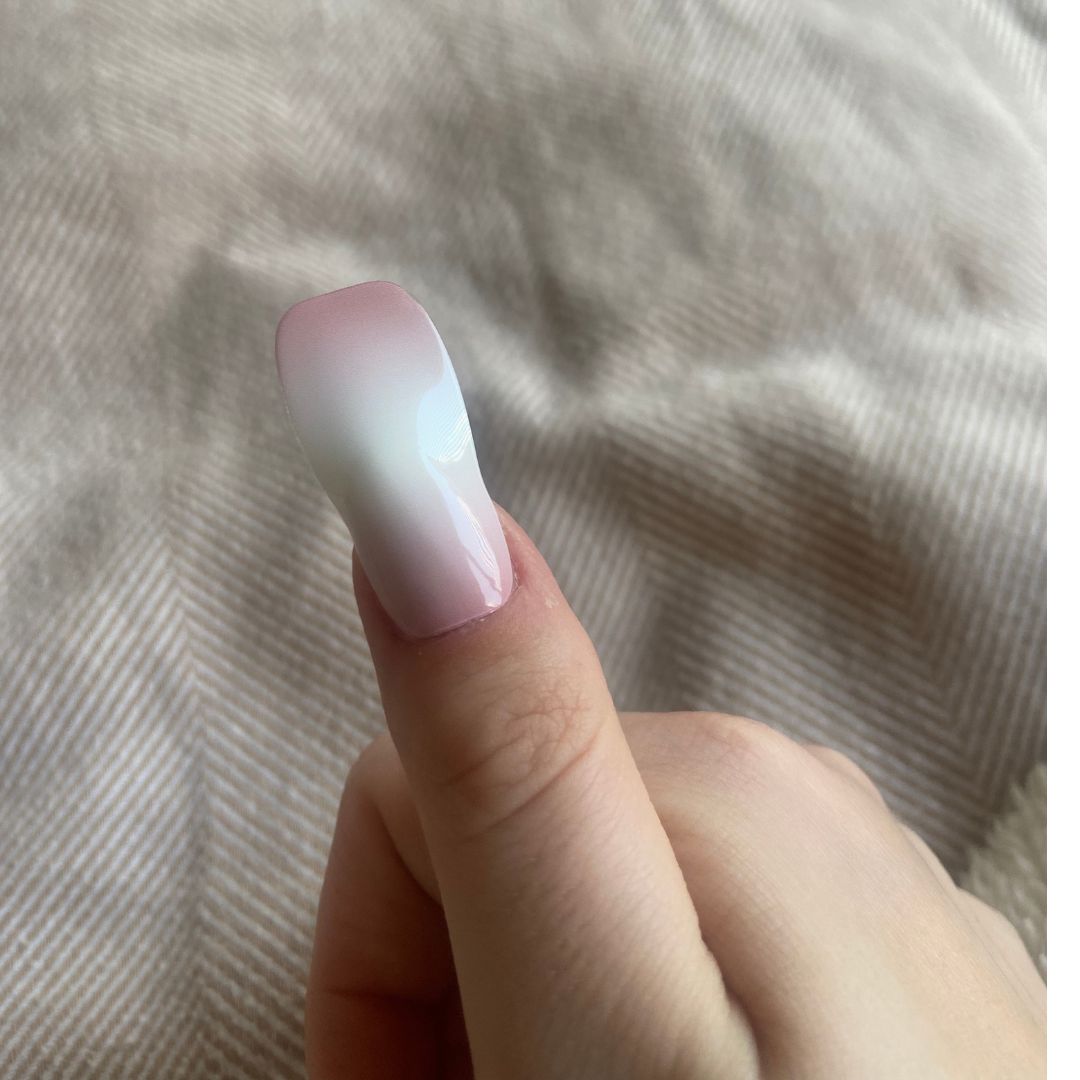
Roughly measure out which sticker you're going to need and carefully peel it off the backing. I'd recommend peeling it from the end you're not going to use as some of the colour can scratch off as you pull it. Stick onto your nail, making sure to avoid your cuticle. This is where I found it tricky because I didn't find the stickers quite big enough to fill either side of my nail but next time I'll use bigger sizes and trim them.
4. Trim and file the excess
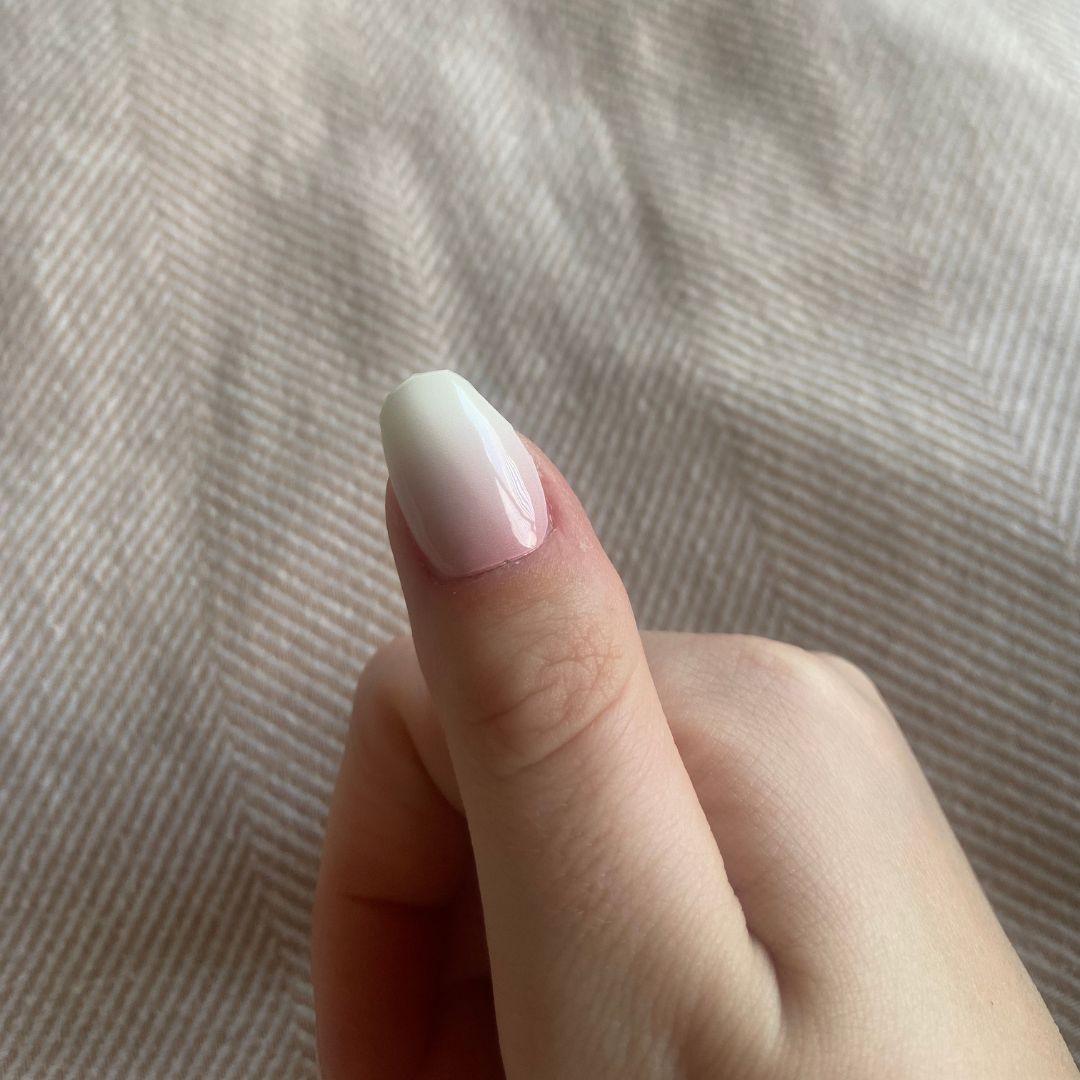
Next up is obviously trimming all of that excess and then filing around the free edge to give it a smoother finish. Don't worry if it doesn't look completely perfect yet, you can tidy it up later. Give your nail one last good stick before curing.
5. Curing time
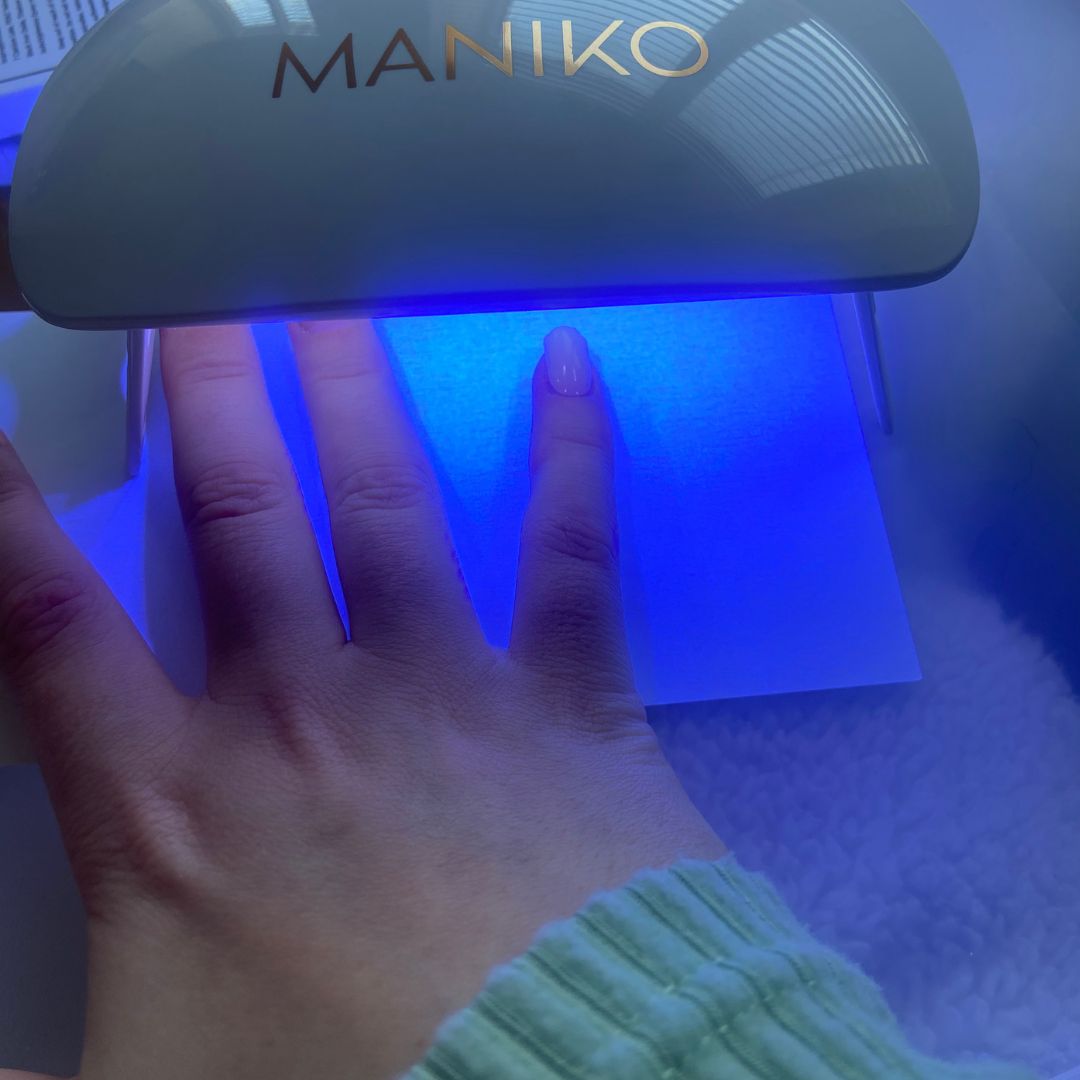
Next is where the magic happens; taking the strip from flexible and 60% cured to solid and 100% cured in 60 seconds.
6. The final result
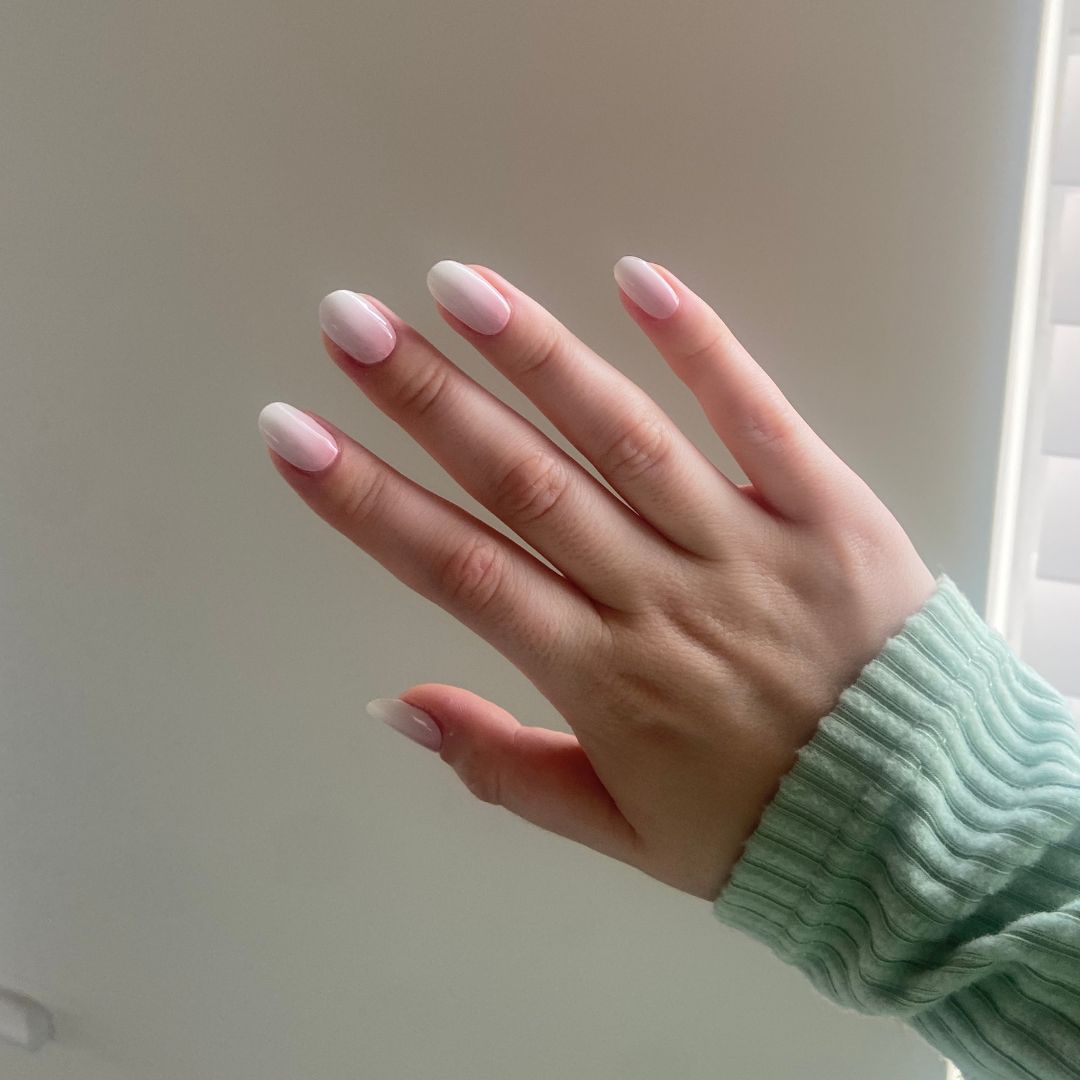
Finally, all you need now is to tidy your work up with a little filing. No need to wait for anything to dry. The results are actually pretty impressive, and I was surprised how quickly I could get a full set done.
The verdict
Maniko UV Gel Strips are really good and super easy to use, making them a great alternative to traditional gels at home. You can truly do these nails on-the-go as there is no smell or mess, plus the lamp is tiny and portable.
They last a decent amount of time and aren’t a total faff to remove, which is what turns many people off gels. The only downside is the lack of sizing, but once you know which colours you like and sizes suit, you can cut them to shape to make sure they’re covering your entire nail plate.
Tori is a freelance beauty journalist and contributor for Marie Claire. She has written for various titles, including Allure, Glamour, Elle, Refinery29, Brides, and more. Currently training to be a nail tech, Tori is a total nail enthusiast and always has time to talk all things nail art. When she’s not writing about beauty and testing products, Tori can be found walking her rescue dog Pip, drinking great coffee, and eating as many croissants as humanly possible.
-
 Ties are the unexpected cool-girl accessory to invest in this season
School is in session
By Sofia Piza
-
 This is not a drill: you can now shop Alexa Chung's actual wardrobe on Vinted
Own a piece of sartorial history
By Penny Goldstone
-
 New Look’s spring collection has dropped—as a picky fashion editor, I’m seriously impressed
Spring trends at affordable prices
By Jazzria Harris
-
 Feeling whimsical? Soft blue nails are the dreamiest manicure look this spring
According to pros
By Lucy Abbersteen
-
 All the cool girls I know are wearing 'stained glass nails' for spring
Try something different at the salon
By Rebecca Fearn
-
 A nail expert just confirmed that *everyone* will be wearing butter yellow nails this spring—and I’m obsessed
Here's how to choose the best shade for you
By Mica Ricketts
-
 This expensive-looking nail shade is a favourite of Selena Gomez—I predict it’s the colour of the season
It screams spring
By Nessa Humayun
-
 I was in a rut until I discovered micro nail art—it's elegant, dainty, and so personalisable
Plus, all the inspiration you need...
By Nessa Humayun
-
 Every beauty editor I know is obsessed with the naked manicure—it's clean, precise and *expensive-looking*
Fresh and clean for spring
By Nessa Humayun
-
 Hailey Bieber’s nail shape of choice is elongating, chic and practical—I'll never get mine done another way
Plus, it suits a variety of colours
By Rebecca Fearn
-
 You heard it here first—this unconventional spring manicure colour is about to be everywhere
It's not what you'd expect...
By Nessa Humayun
