
I think we can safely say that it's spring now. The sun is shining, it's not pitch black come five pm, and well, there's that urge to incorporate some colour and oomph into your outfit choices... And your nails.
In recent weeks, we've seen all kinds of gorgeous shade combinations, spanning from pink French to satin and soap nails. But it was when I was scrolling Instagram I stumbled across some micro nail art manicures—pretty nude nails with a little accent, like a pearl—that I got really excited about going bold with my talons again.
Session and celebrity manicurist Sophia Stylianou, is an expert when it comes to micro nail art, so I bent her ear for all her best tips, tricks, and inspo. First up, it's not just me who's been going mad for micro nail art. Stylianou tells me that she's seen a surge of popularity in the trend of late. "It blends luxury, elegance, and creativity in a small, wearable form." Plus, she adds, "You can absolutely do it at home. By ordering various nail art accessories from sites like Amazon, you can have a lot of fun designing your own unique nail art."
How to do micro nail art at home
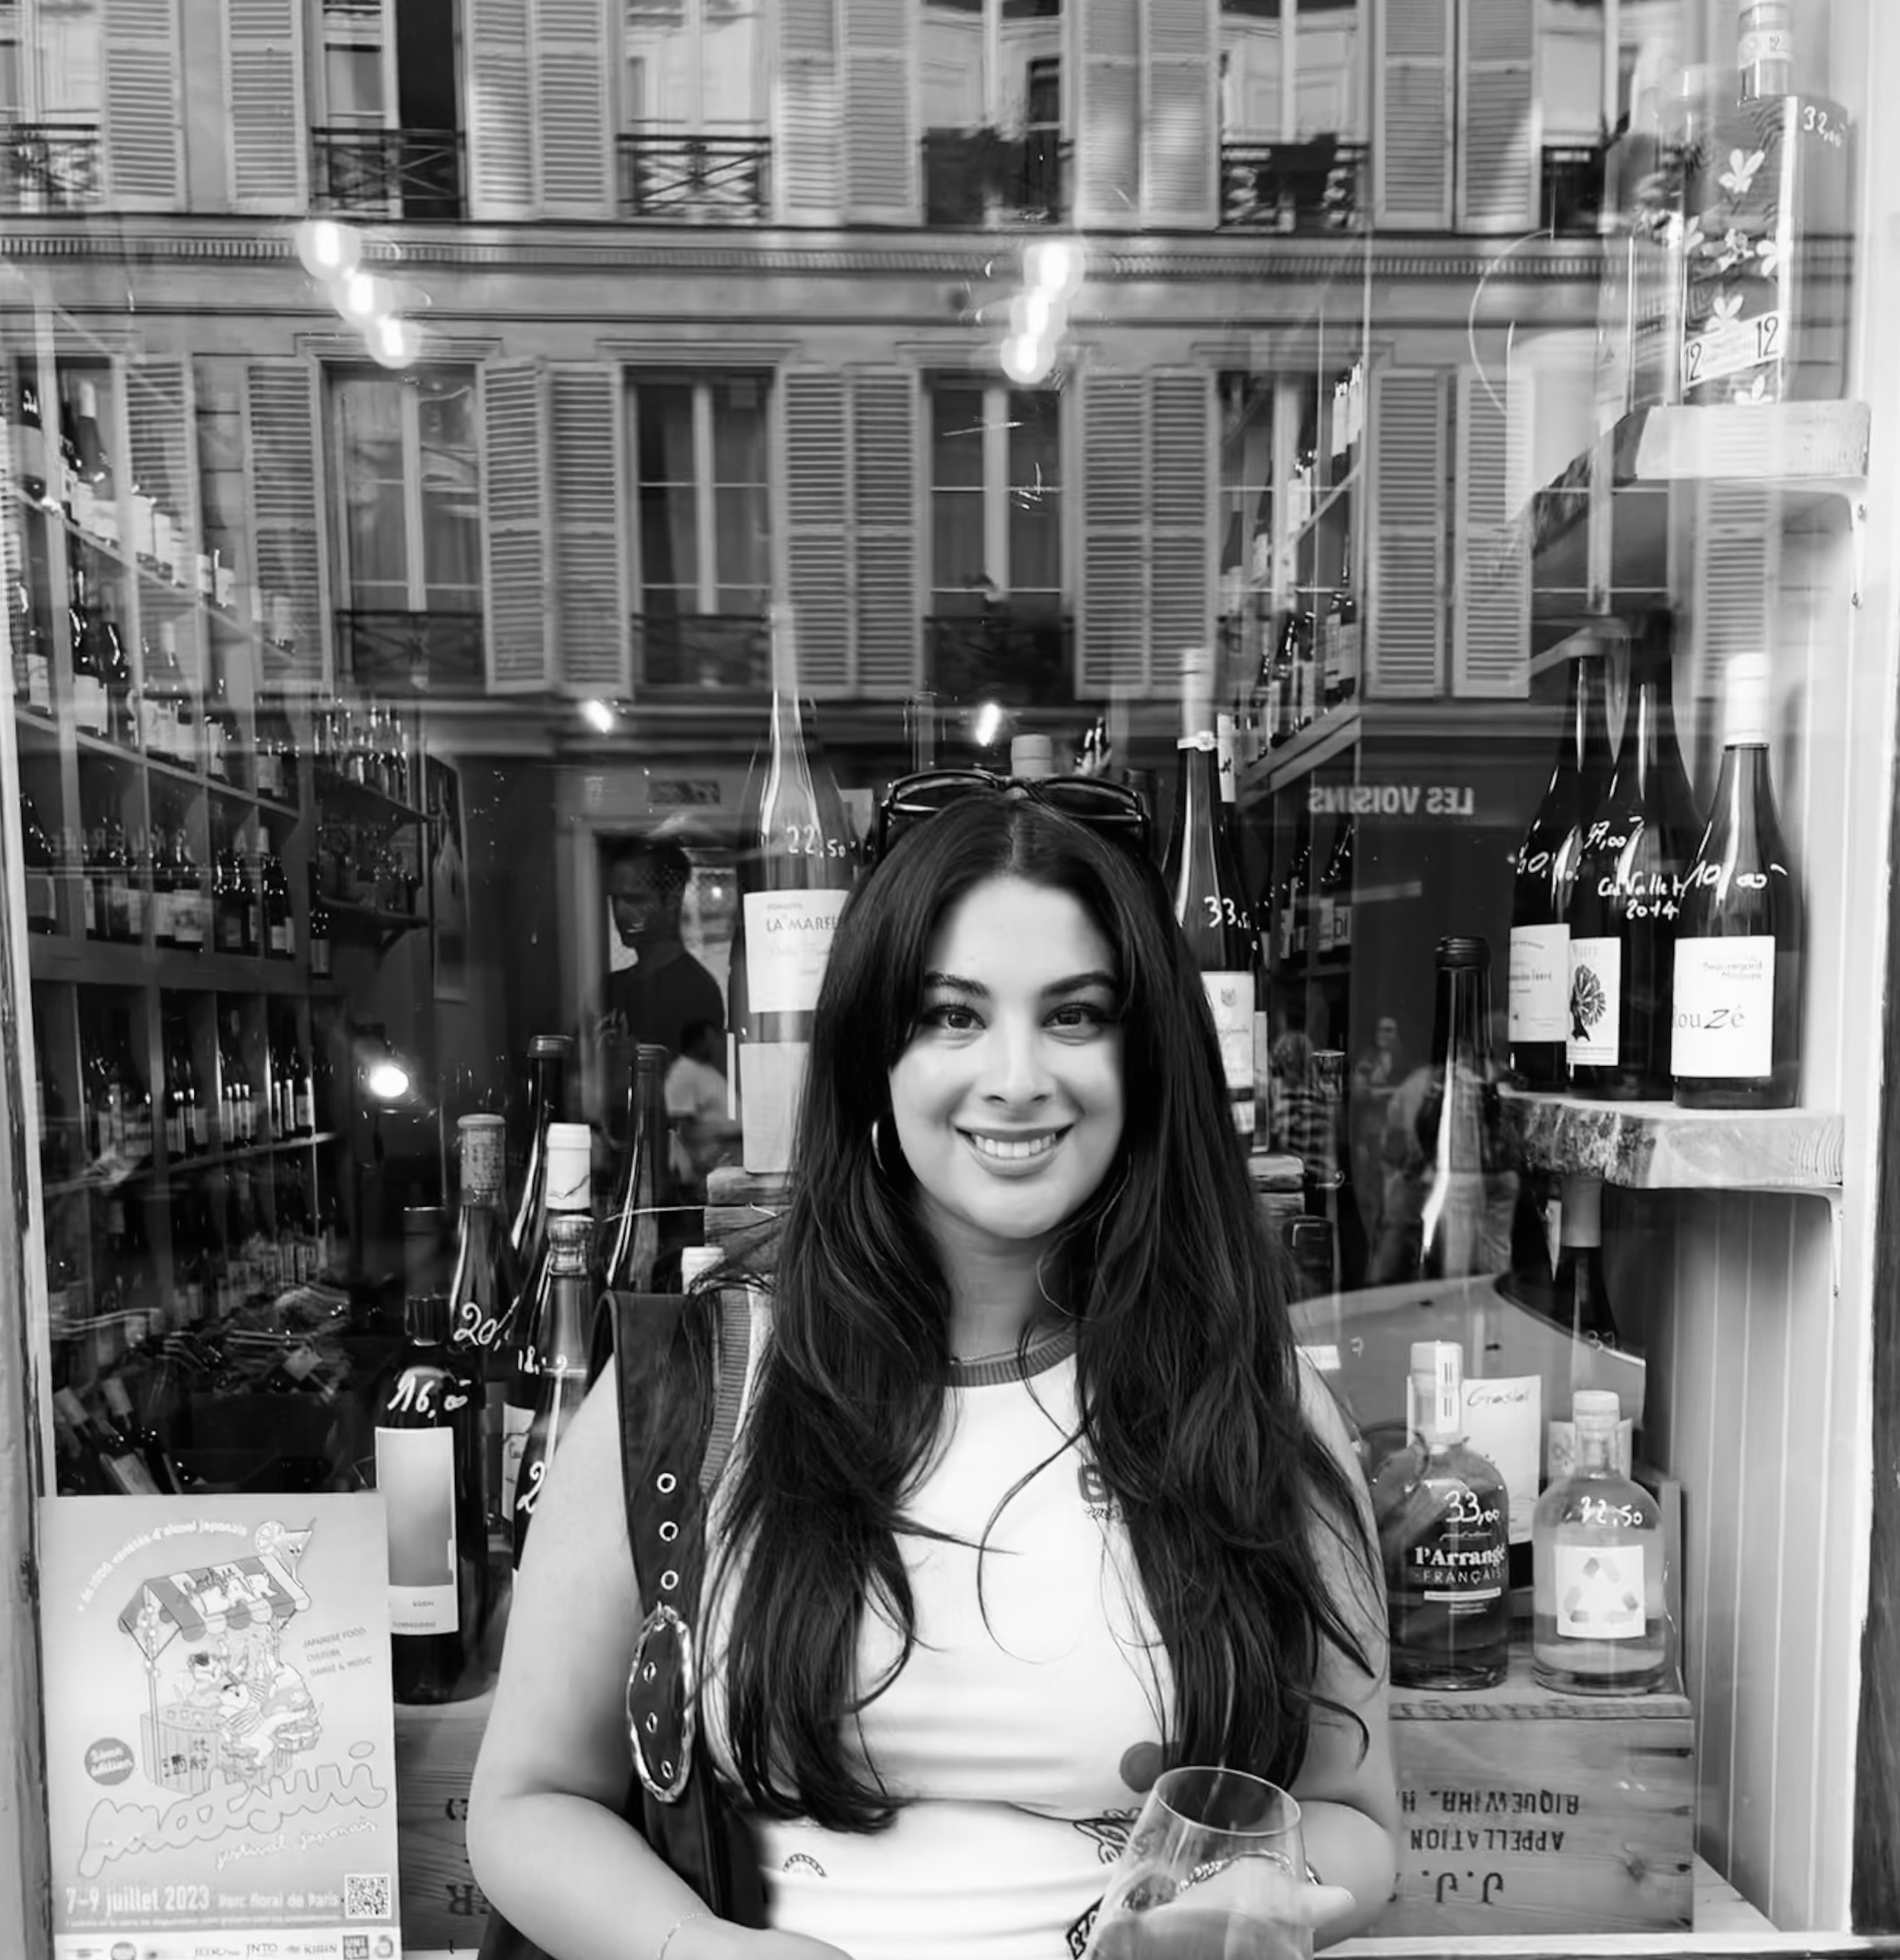
One of my favourite ways to wear micro nail art is by applying just one (or two or three) pearls onto the nail. You can accompany this with all manner of bases; colourful, nude, French tip... Whatever the heart desires, essentially.
"Applying mini pearls at home is super easy," the nail technician tells me. "Start by giving yourself a manicure, then apply a base coat followed by your chosen base colour. Apply a layer of top coat to the area where you want your nail art. Using an orange stick or rhinestone pick-up tool, pick up a pearl and gently place it onto the top coat, pressing it down slightly to make sure it sticks. Repeat this process until you're happy with the design. Allow to dry for a few minutes, then finish by applying a top coat over the entire nail.
Once you've got these basics down, you can apply them to all kinds of micro-nail art designs, says Stylianou. She loves creating 'evil eye' designs on the nails, as well as coloured dots and even little crescent moons that hug the cuticle. Scroll on for some micro nail art inspiration...
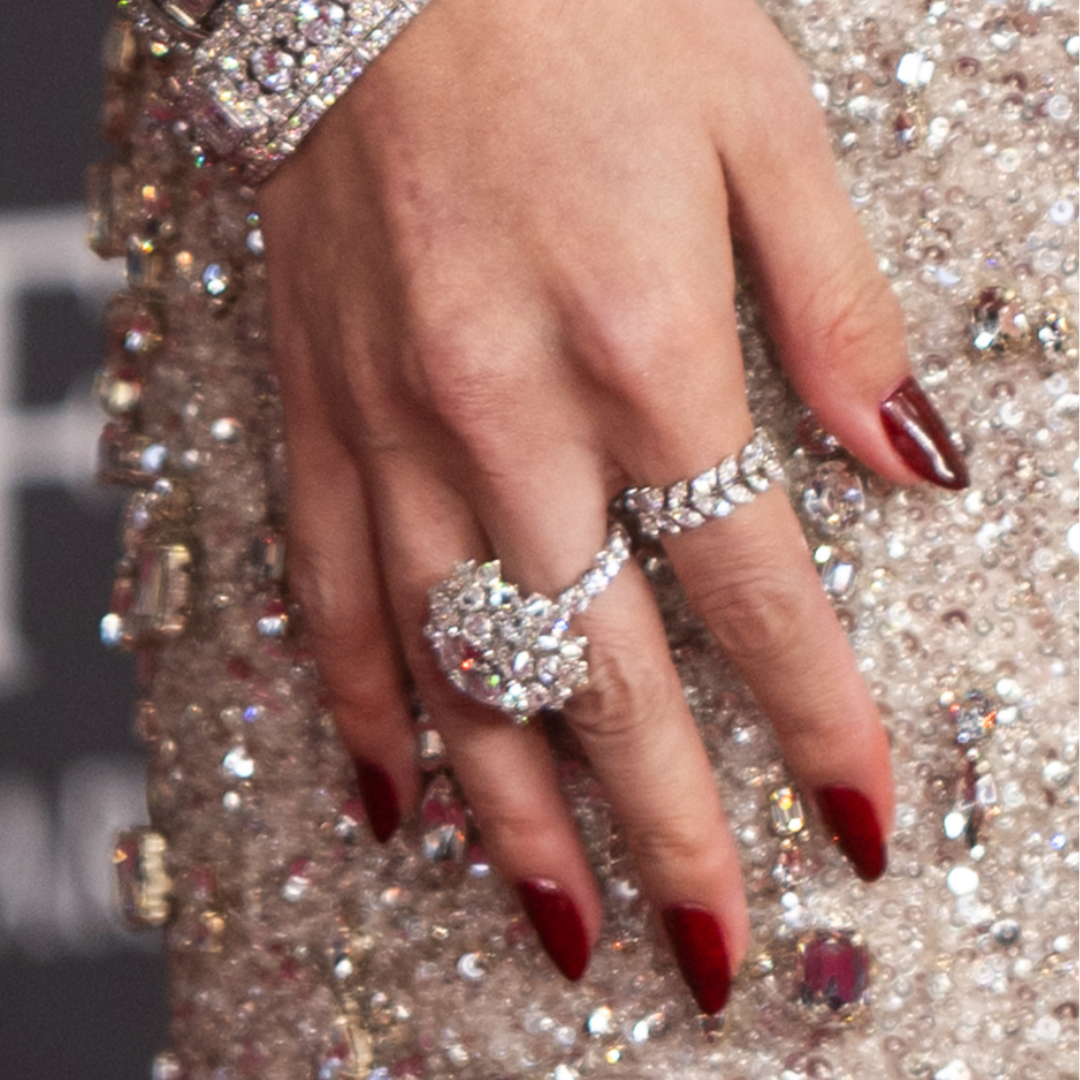
These little diamantes are so precious...
I love how understated this tiny, super cute evil eye is.
It looks equally cute on each nail.
These lime lines are perfect for spring.
Can't go wrong with a double dot...
So understated.
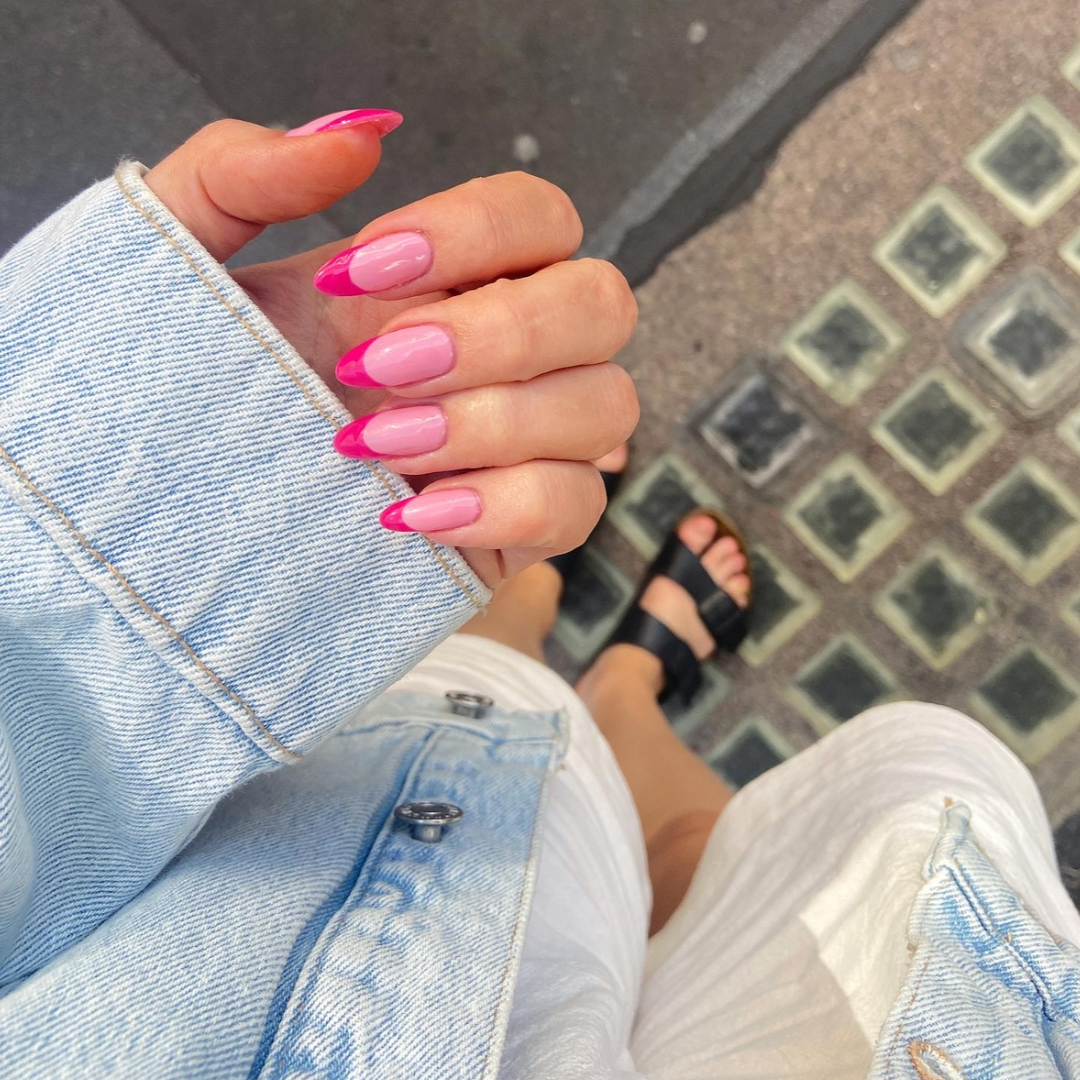
This is giving reverse French...
Sophia's favourite products for micro nail art


-
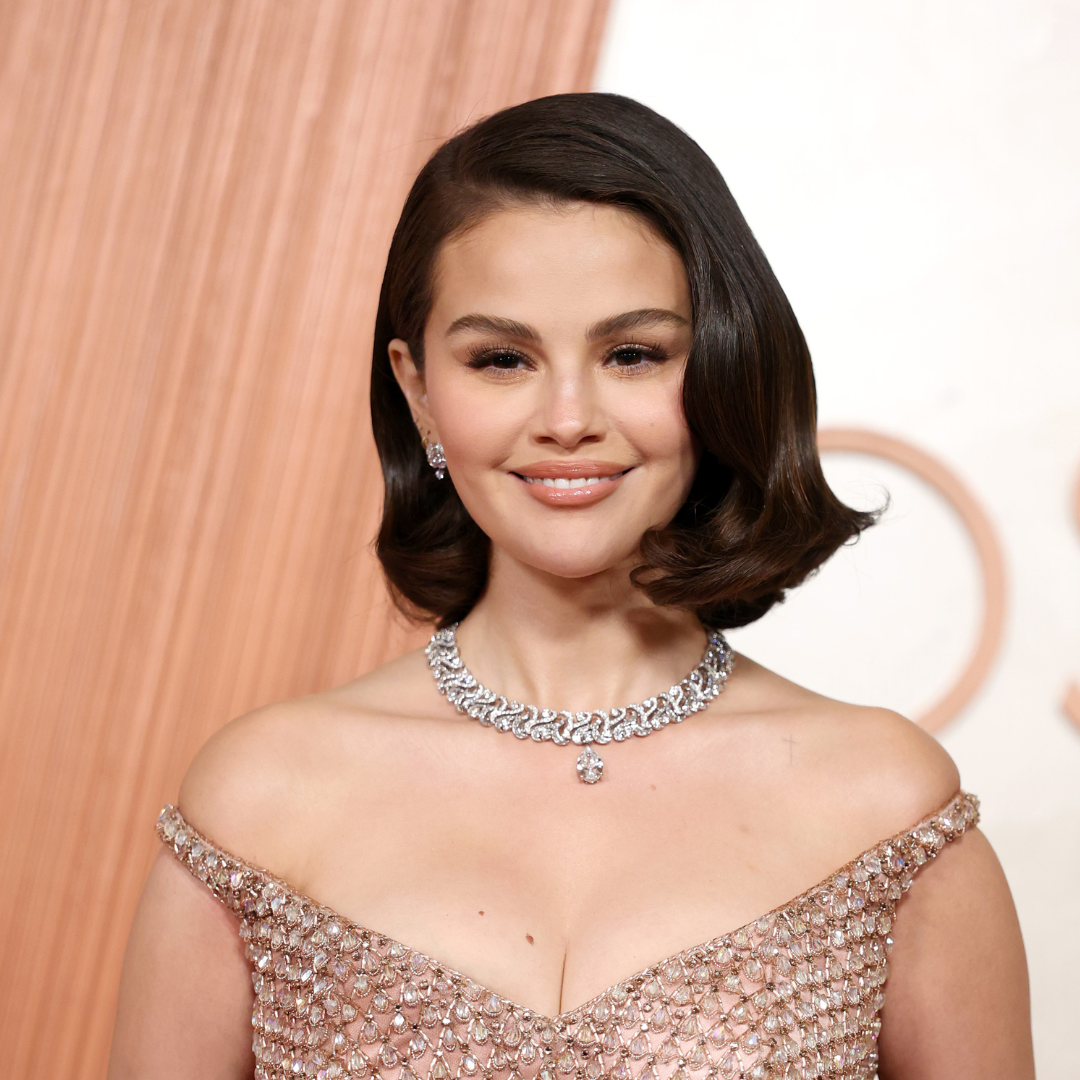 This expensive-looking nail shade is a favourite of Selena Gomez—I predict it’s the colour of the season
It screams spring
-
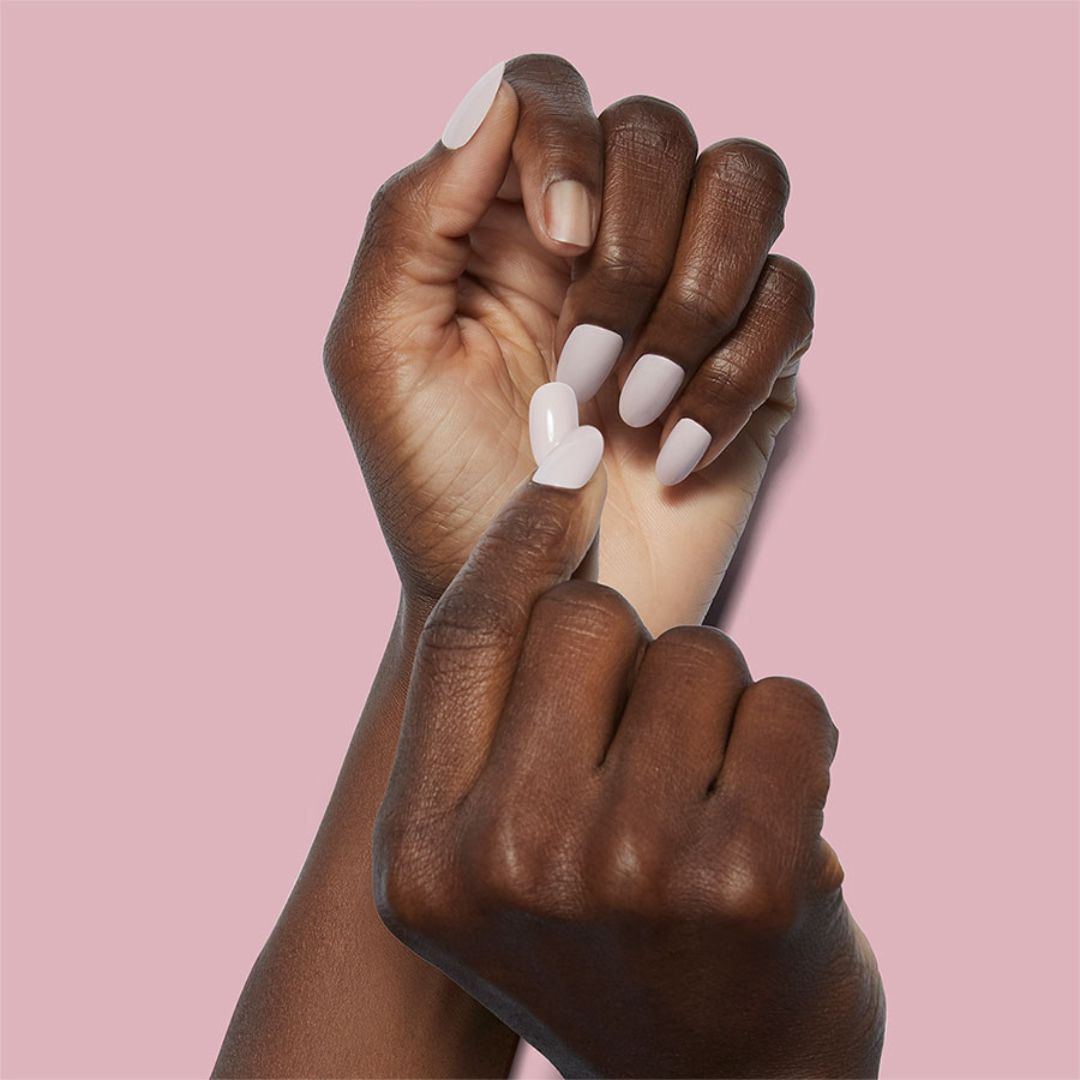
 Every beauty editor I know is obsessed with the naked manicure—it's clean, precise and *expensive-looking*
Fresh and clean for spring
-
 Hailey Bieber’s nail shape of choice is elongating, chic and practical—I'll never get mine done another way
Plus, it suits a variety of colours
-
 You heard it here first—this unconventional spring manicure colour is about to be everywhere
It's not what you'd expect...
-
 After years of gel manicures, my nails are dry, brittle and flaky—here’s what top techs advise for a total reset
A saviour after too many trips to the salon...
-
 Sorry, the colourful tip is dead—all the *cool girls* are asking for this twist on the French manicure
I hate to break it to you...
-
 I’m calling time on brown nails—trust me when I say this expensive-looking shade is the next big trend
So clean, so fresh...
-
 I've just found the perfect low-maintenance Valentine's Day mani—and it will cost you less than £17
Elegant press-ons that last for two weeks? Yes please


