Trust me, as a nail technician these are hands down the best manicure and pedicure tools I recommend for at-home use
They'll make your life easier—promise!
As a beauty editor and nail tech, my favourite pieces to write about, are thing like 2024 nail trends, like the Ukranian manicure and pastel pedicures. And my office is a haven of manicure and pedicure tools.
I pretty much tried all there is to try to perfect the at-home mani/pedi. From prepping to polishing and then maintaining, there are a few key things that I think your nail game benefits from. The best part? They aim to make your nail polish routine easier, not more complicated, so that you can focus on choosing your spring nail art designs and pedicure shade trends.
These are the 18 products that I always come back to for that perfect at-home manicure and pedicure.
Manicure Tools
How to prep for an at-home manicure
First up is the preparation, which is essential to any manicure—probably more so than you think. We're covering filing, nipping, pushing and wiping in this prepping segment. Understanding how to use a cuticle nipper properly, where and how to file, what on earth an orange wood stick is and the one step that most people miss, which is the key to a long-lasting, (almost) professional-looking manicure.
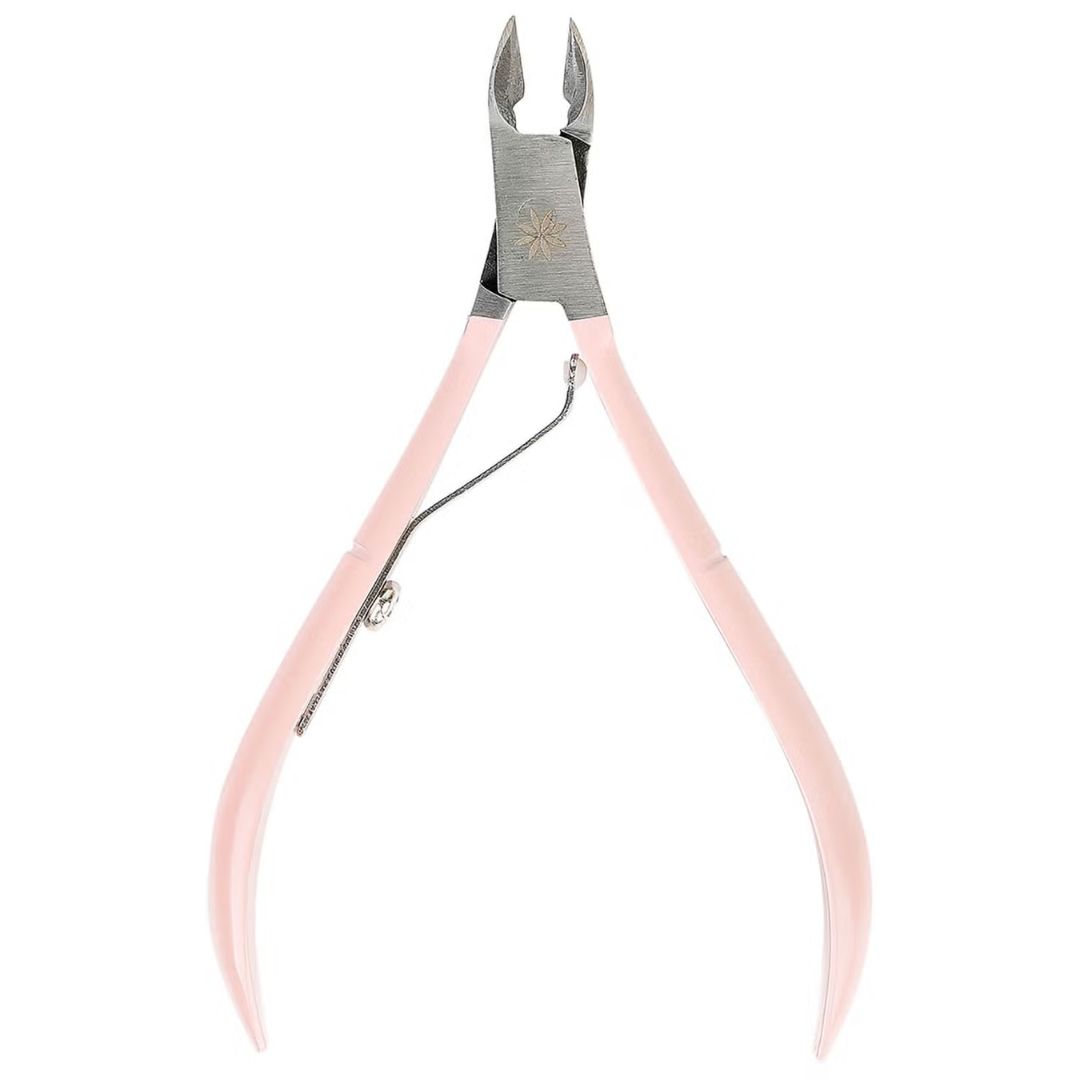
Cuticle nippers are a staple in any manicure routine, but they must be used with caution. This is not an invitation to clip off all of the skin around your nail like you see on TikTok, that's asking for an infection. Instead, nippers are used for visible loose hangnails and excess skin. Be careful to clip just dead skin versus your eponychium (read this guide on how to remove your cuticles) otherwise, you risk infection, which isn't exactly the key to a successful at-home manicure. When you use nippers, press down on the skin you want to remove and then release the pressure before moving your nippers away. This means you aren't tugging at your delicate skin, but more using a press-and-release technique.
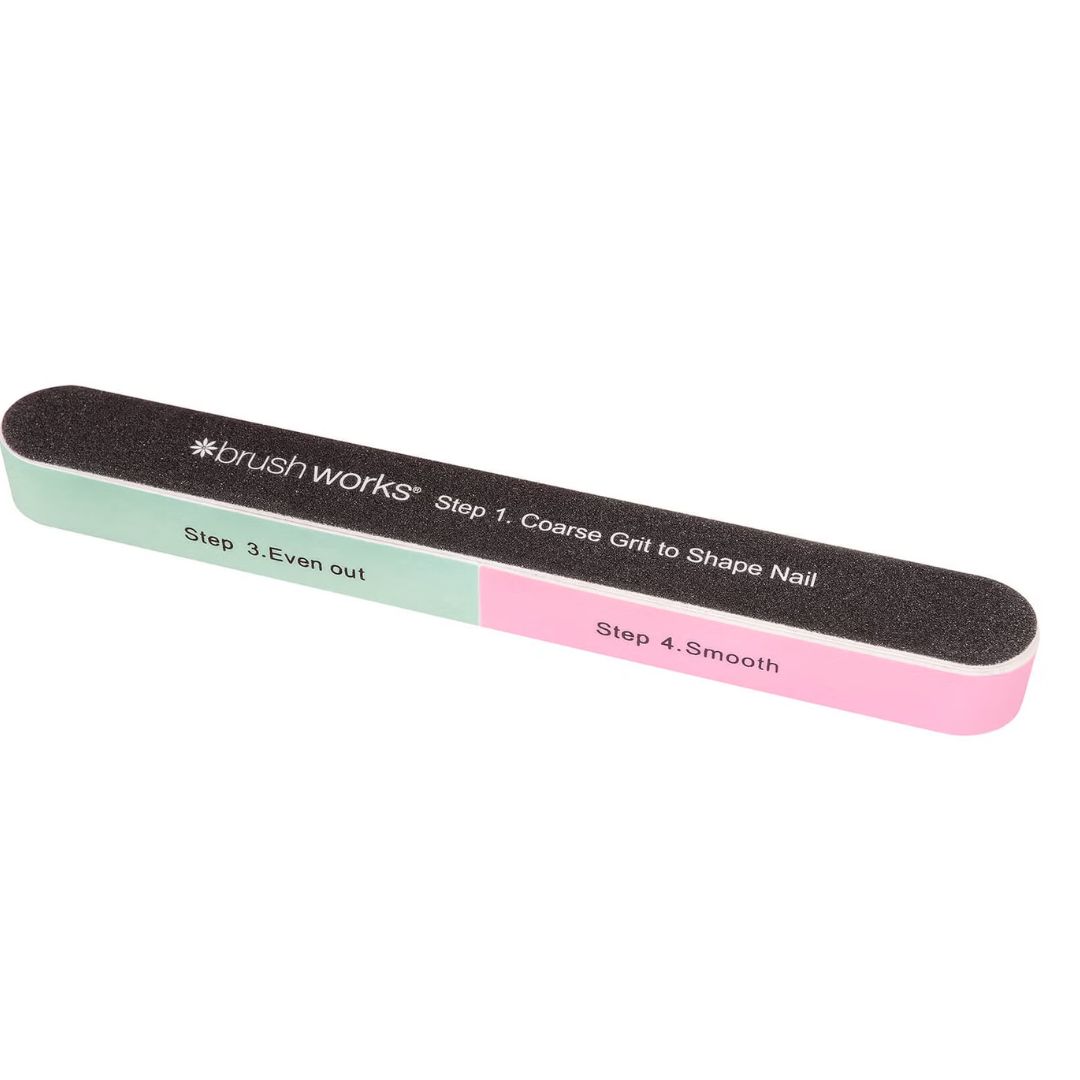
Of course, a big part of prepping the nails is filing. You can use a file to give your desired nail shape and prep the nail plate. This nail file is a bit of an all-in-one, but it's worth understanding which sides are to be used on which part of the nail. It has 6 sides going from 1-6 based on grit; which indicates how coarse each side is. The coarser the side, the more rough it's going to be. Step 1 is to be used to shape artificial nails (think: press ons you can to reshape), step 2 is for filing natural nails into shape and step 3 is a gentler filing side. Step 4 is for smoothing out any rough edges of the nail's free edge, step 5 is for buffing the nail plate, which is particularly helpful prior to gel application, and step 6 is to smooth it all out—ideal if you don't want to wear polish but want your nails to look naturally shiny.
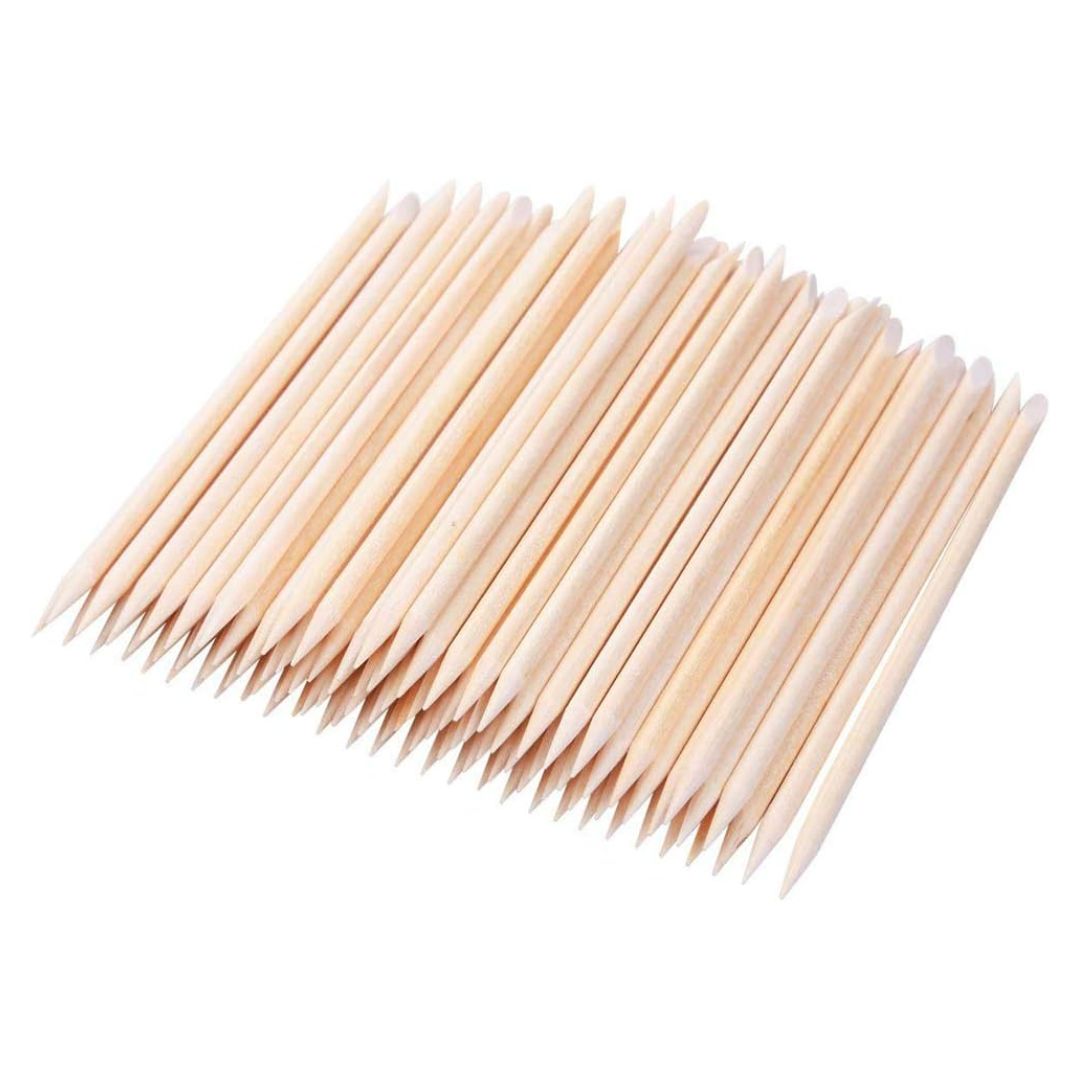
Orange wood sticks are exactly what they appear to be. Tiny wooden sticks that you'll find in almost every manicure. They're multi-purpose and can be used for prep, paint clean-ups, nail art and much more. I find they're great for gently pushing back the cuticles (using the angled end) without causing any trauma to the skin or nail plate.
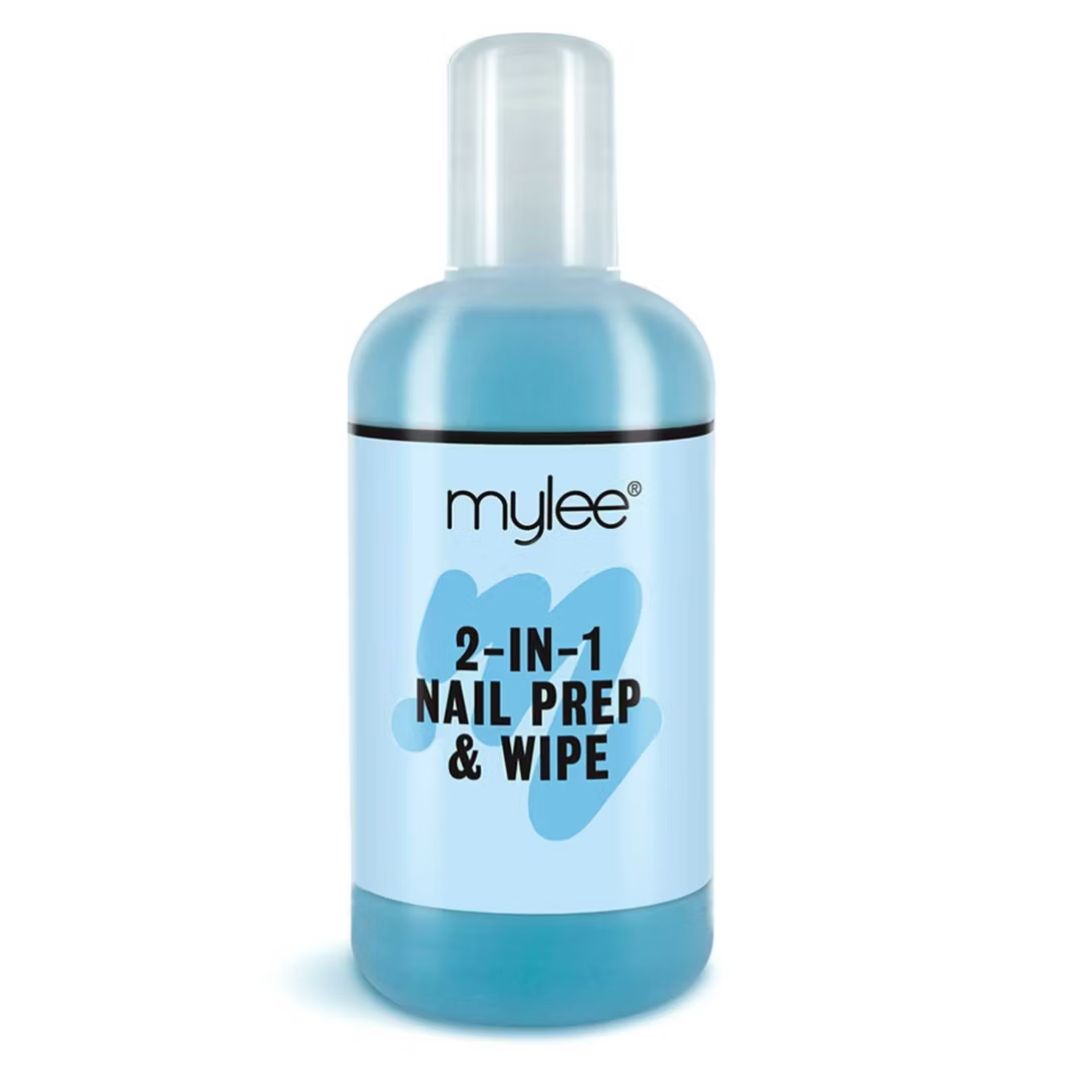
An often forgotten (but crucial) step in any manicure is cleaning the nail plate with acetone prior to polish application. Cleaning with an alcohol-based formula like this one from Mylee removes all of the leftover polish as well as any oils and residue on the nail plate that can interfere with the adhesion of the nails. Wipe clean with a lint-free wipe, to make sure you don't get any tiny pieces of thread stuck underneath the polish.
How to paint the nails
Now onto the fun part... painting. The trick to painting your nails well is patience, a flat surface, laying all of your tools out at the beginning, and clean-up tools. We've outlined a bunch of tools here you might need and exactly how to use them.
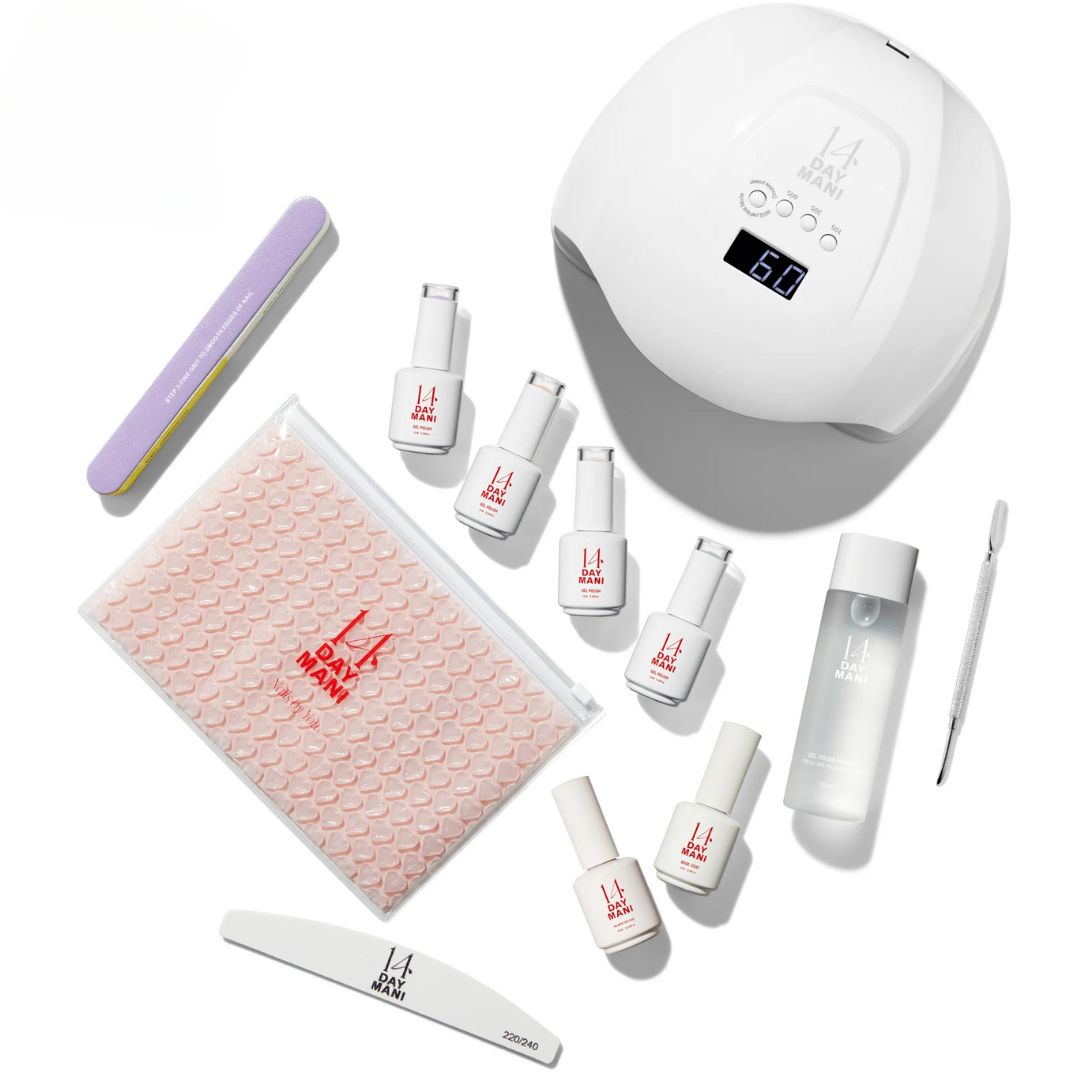
We'll always advise you to go to a professional for a gel manicure to avoid things like allergies and get the best outcome possible. However, we also understand that not everyone has the time or luxury to visit a salon but still wants a fun manicure at home. If you are going to try gels at home, the best thing to do is get a kit that uses an entire system together. This is because if you're using products from different brands, they haven't been tested together for safety so can be more likely to cause issues and not work as effectively. This starter kit from 14 Day Manicure is a fantastic place to start.
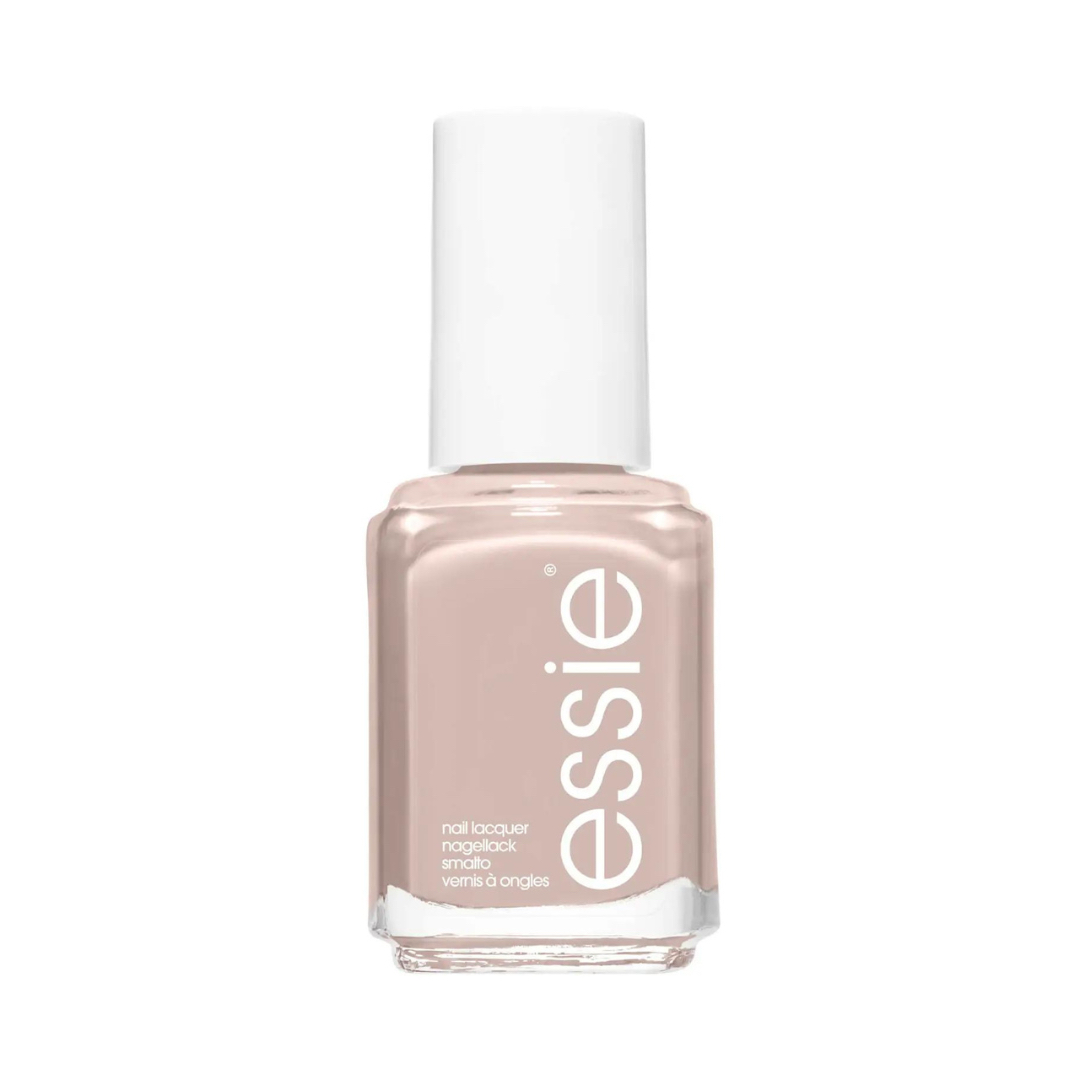
You can't go wrong with Essie when it comes to nail polish. Ballet Slippers is a core shade (it's one of the best expensive looking nail polish shades) that suits everyone. The formula is quick drying (provided you do thin layers) and with a high-shine top coat, lasts a decent amount of time.

The easiest way to make any manicure go from OK to perfect is in the clean-up. You can use acetone and a small nail art brush either side of the nail and around the cuticle (a flooded cuticle gives the game away of an at-home vs professional mani) to clean up any mistakes to give a flawless finish. There are also smart tools like this Mylee pen that do all the hard work for you. The tip is saturated with nail polish remover to undo those mistakes quickly and mess-free.
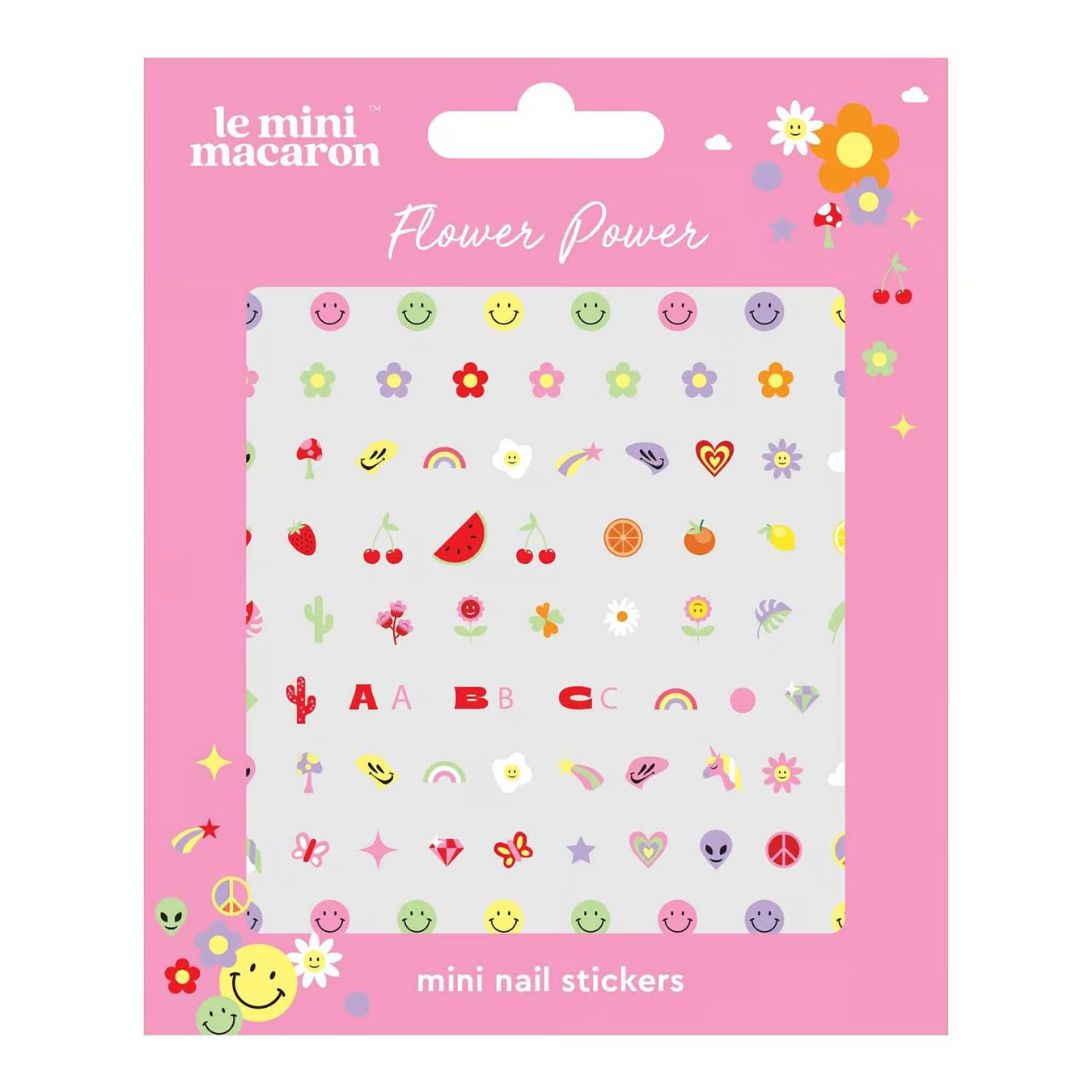
Nail stickers are one of the easiest ways to elevate any manicure with zero skills necessary. You simply stick them on top of nail polish, press firmly, seal with a top coat and you're done. It's a great way to add some art without any laborious painting if that's not your forte.
How to maintain an at-home manicure
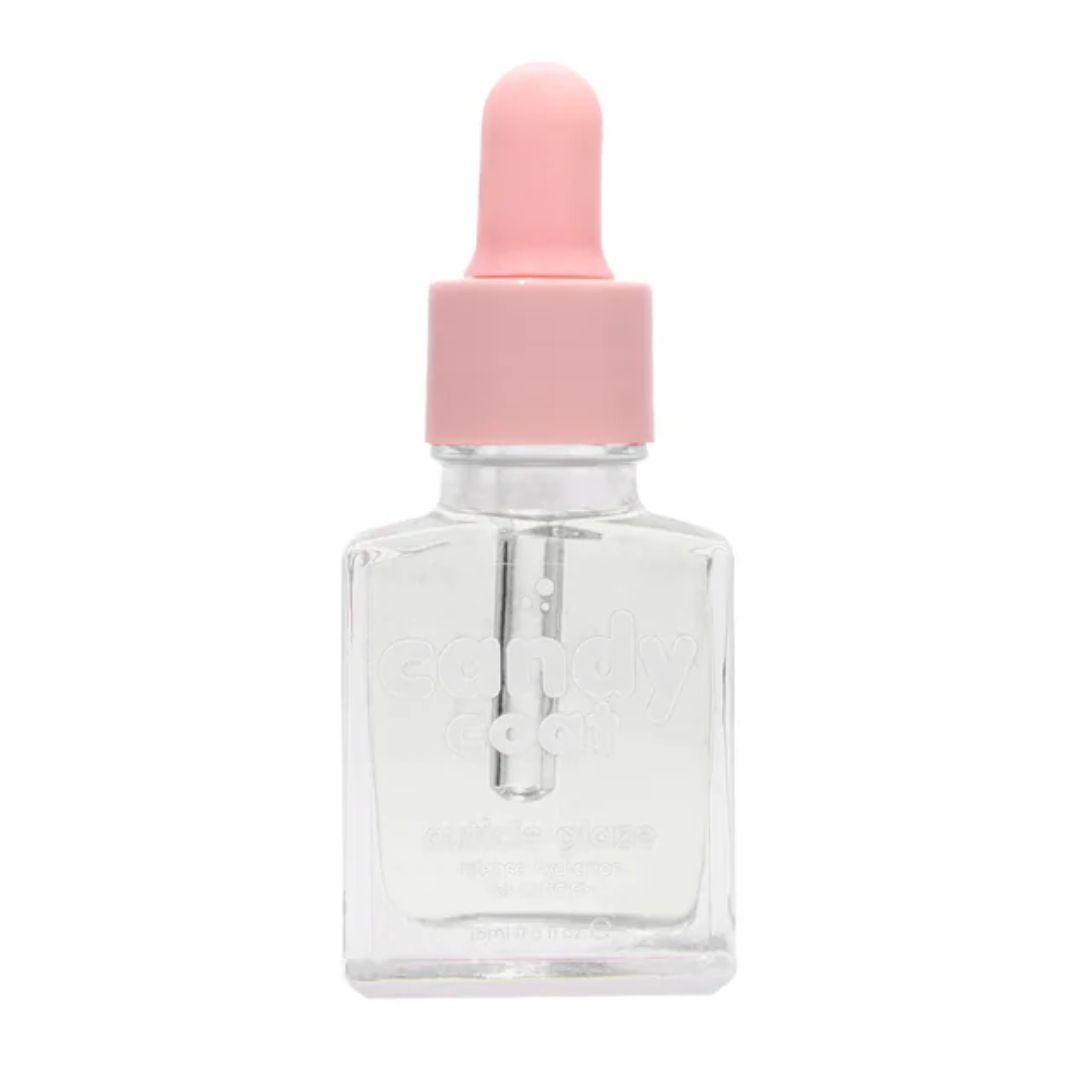
Once you've done the hard work in prep and polish, it's time to keep it well-maintained. The trick to doing that? Moisture. Keeping on top of applying cuticle oil ensures moisturised skin, resulting in less hangnails and it also makes your manicure last longer as your nails aren't drying out, which causes chipping. And then nothing beats a great hand cream to keep your hands looking moisturised but also looking and feeling flake and irritation-free.
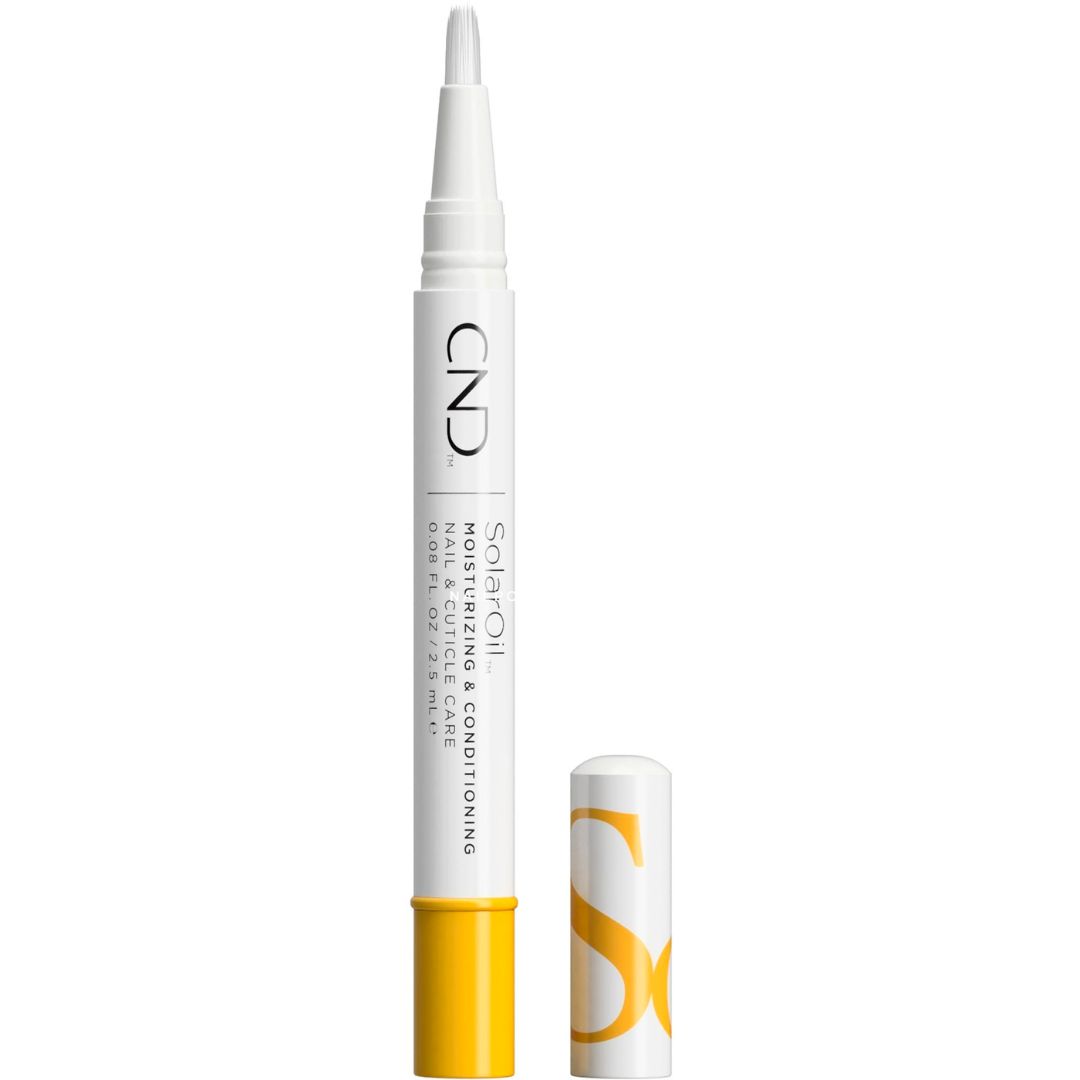
Cuticle oil is by far the best way to keep your nails looking in tip-top shape and making your manicure last longer. I particularly love CND's Solar Oil as it contains a blend of jojoba oil, rice bran oil, sweet almond oil and vitamin E making it lightweight, non-greasy and incredibly effective. With this handy twist-up pen, you've got no excuse to not top-up on cuticle oil at least twice a day.
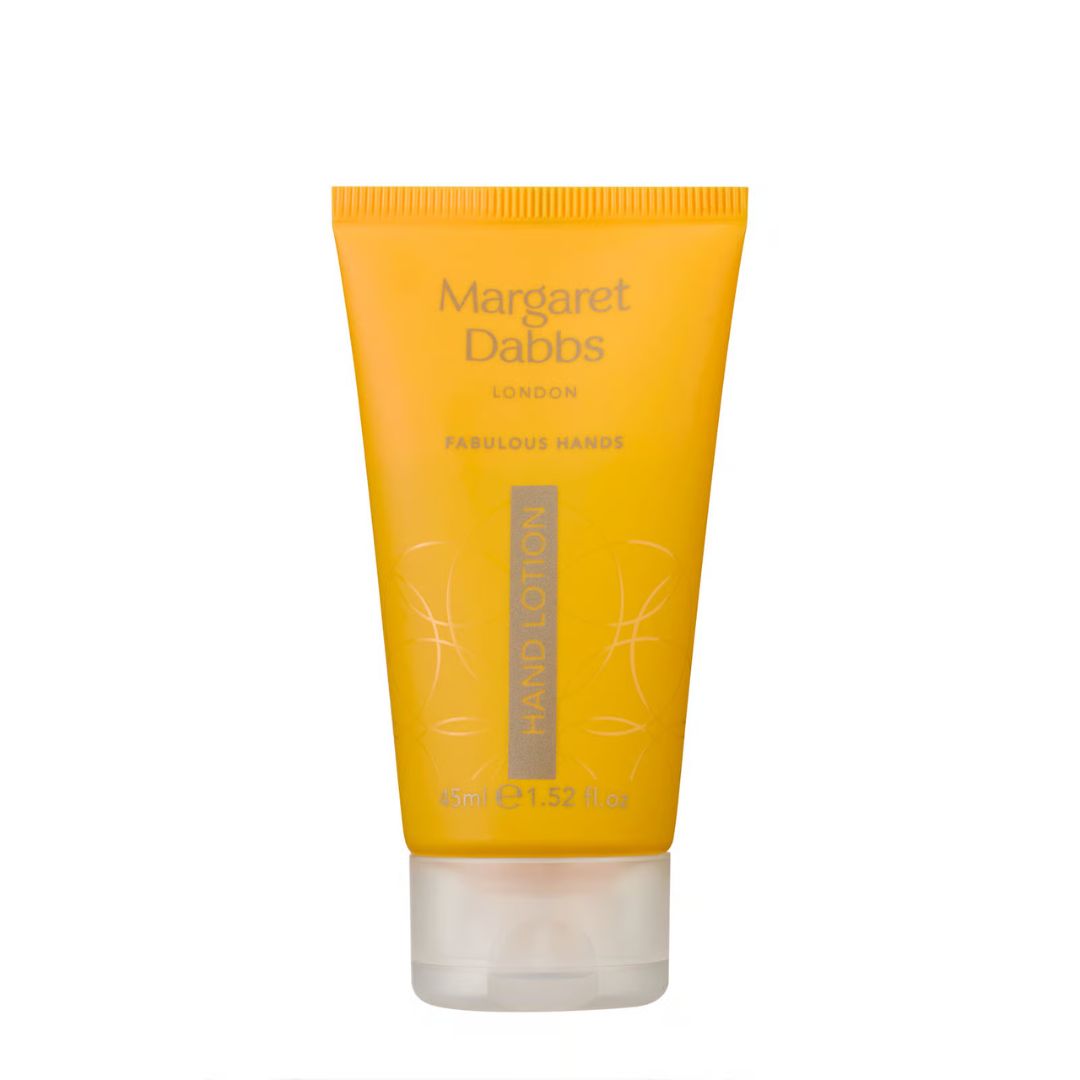
If there's one person who knows about foot and hand care, it's Margaret Dabbs. You cannot go wrong with this hand lotion if your hands are in need of some serious TLC. It's non-greasy and absorbs into the skin quickly. I slather this on before bed, along with some cuticle oil.
Pedicure Tools
How to prep for a pedicure
Just like a manicure, prepping for a pedicure is the key step in the process. You can do a physical or chemical exfoliation (sometimes both but proceed with caution if you do) to give a smooth skin base. You can use the same tools as your manicure with your pedicure (you might want to spritz with sanitising spray) to trim and file to create your ideal nail length.
Marie Claire Newsletter
Celebrity news, beauty, fashion advice, and fascinating features, delivered straight to your inbox!
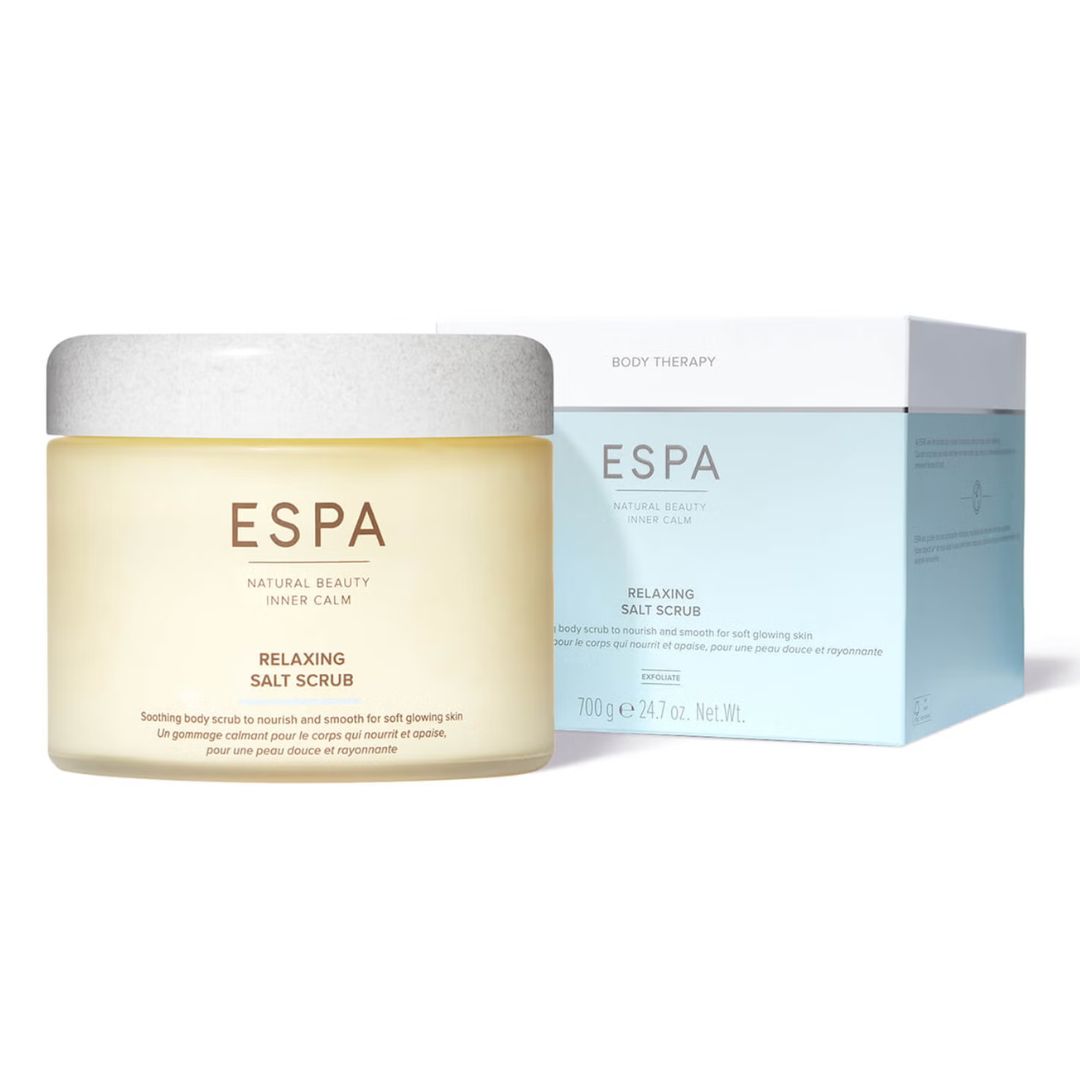
There is nothing quite like a good foot scrub to make you feel like a whole new person. Sure, that sounds dramatic, but tell me I'm wrong? This scrub is pretty abrasive, which is great for hard skin on the heels. I first like to soak my feet, then use a scrub, followed by a generous layer of cream (once polish has been applied and dried). A little goes a long way and the tub is huge so should last a good while.
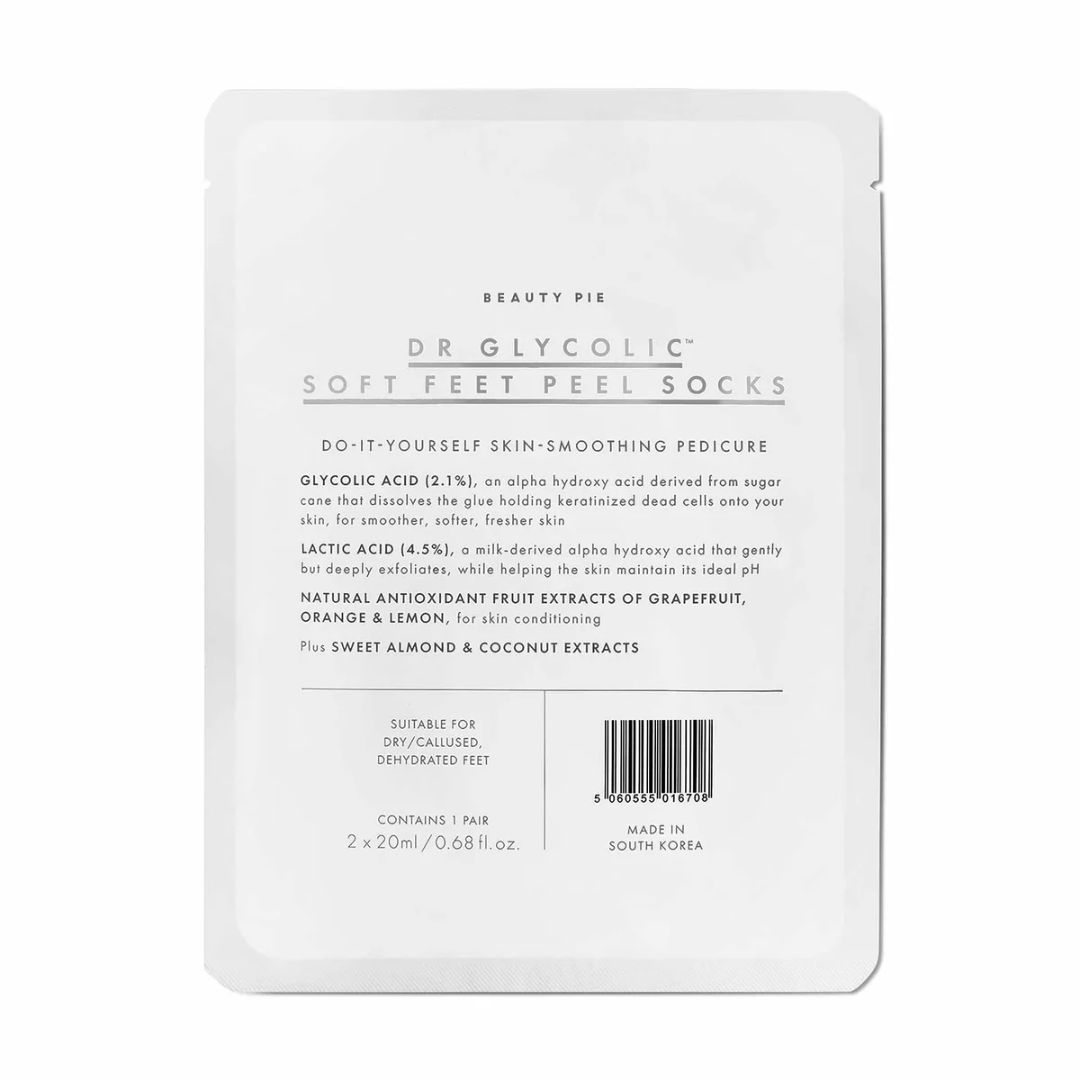
If you want a quick way to smooth baby-soft feet, an exfoliating sock if the way to go. You pop them on for 90 minutes, wash the leftover solution off and then let the dead skin on your feet peel across seven days. Make sure you use this well ahead of an important event, otherwise your feet will be peeling whilst barefoot.
How to paint your toenails
Painting your toenails is similar to your fingernails but a little more difficult for obvious reasons. I recommend getting some toe separators and a clean-up tool to give you the cleanest finish possible.
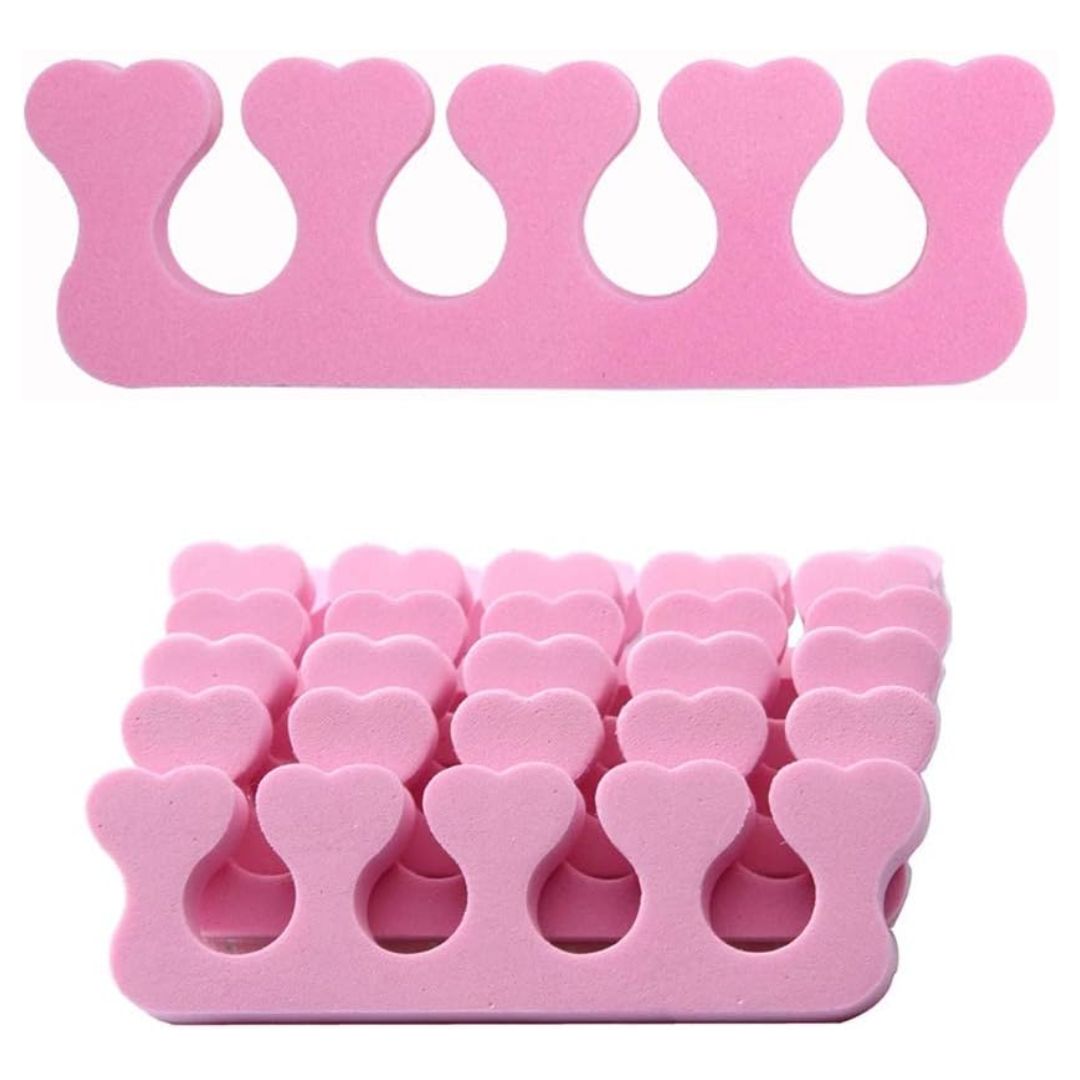
If you find that your toenail polish smudges every time you paint them, you can either use twisted loo roll and loop in-between the toes or a set of toe separators to make it easier to reach each nail.
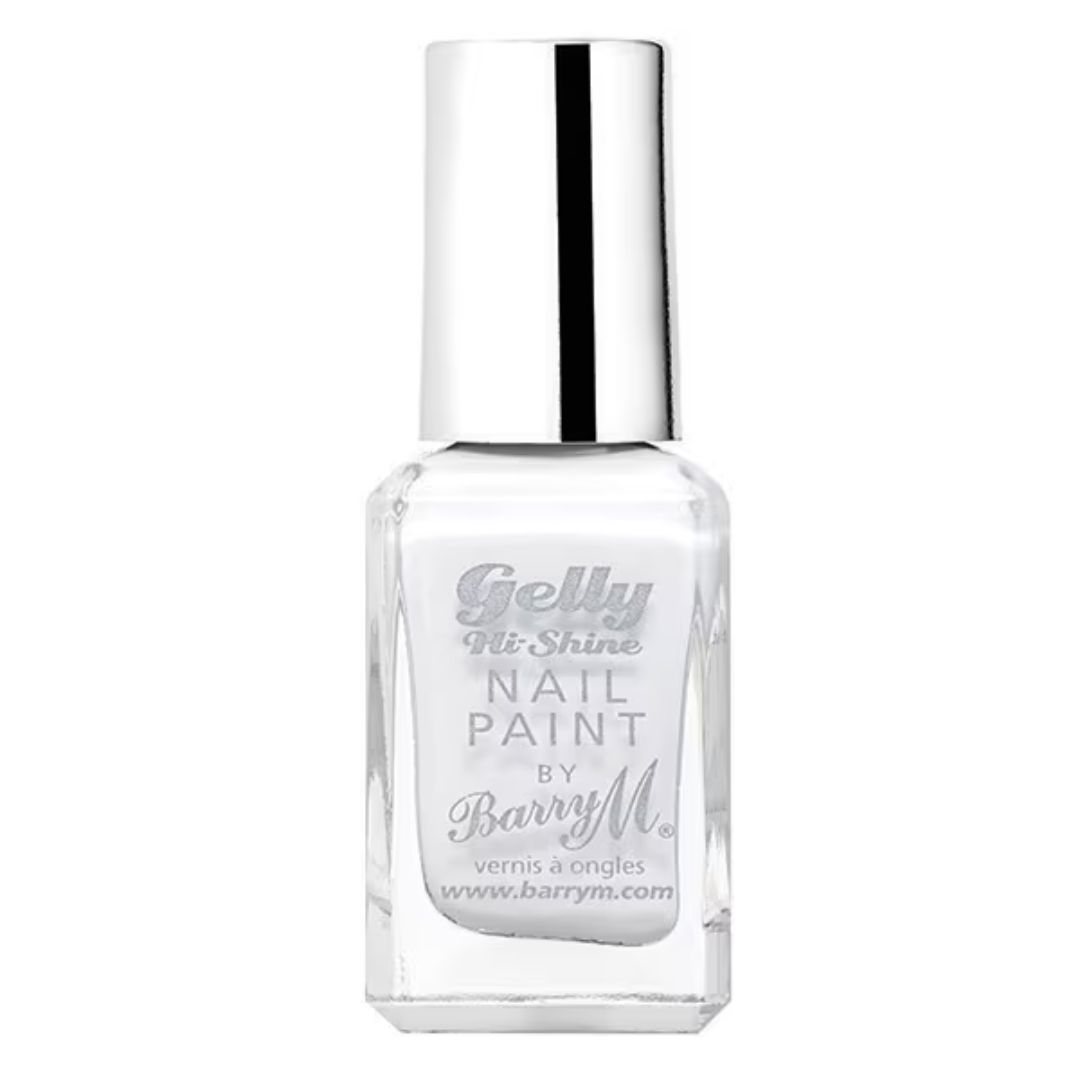
White nail polish is a staple shade for a pedicure, especially in the summer months when toes are peeping through sandals. I really like this shade, Cotton, from Barry M as it's affordable, has good colour coverage and dries quickly.
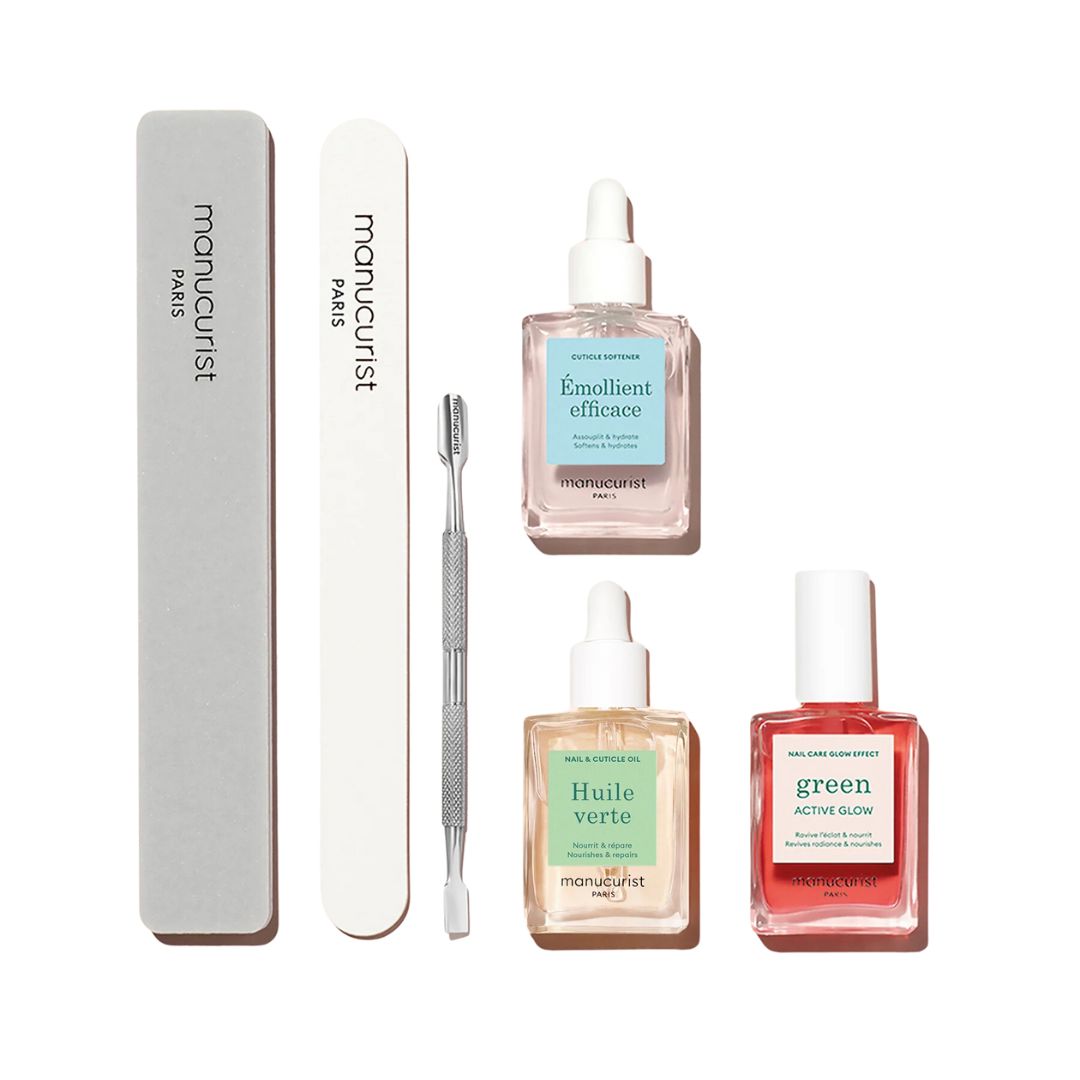
If you're not a fan of colours on your toes but still want them to look polished (pardon the pun), this Manucurist kit is great. It contains two files, a cuticle softener, cuticle pusher, Active Glow polish and cuticle oil. Not only does it keep your nails looking great, but also in tip top condition too.
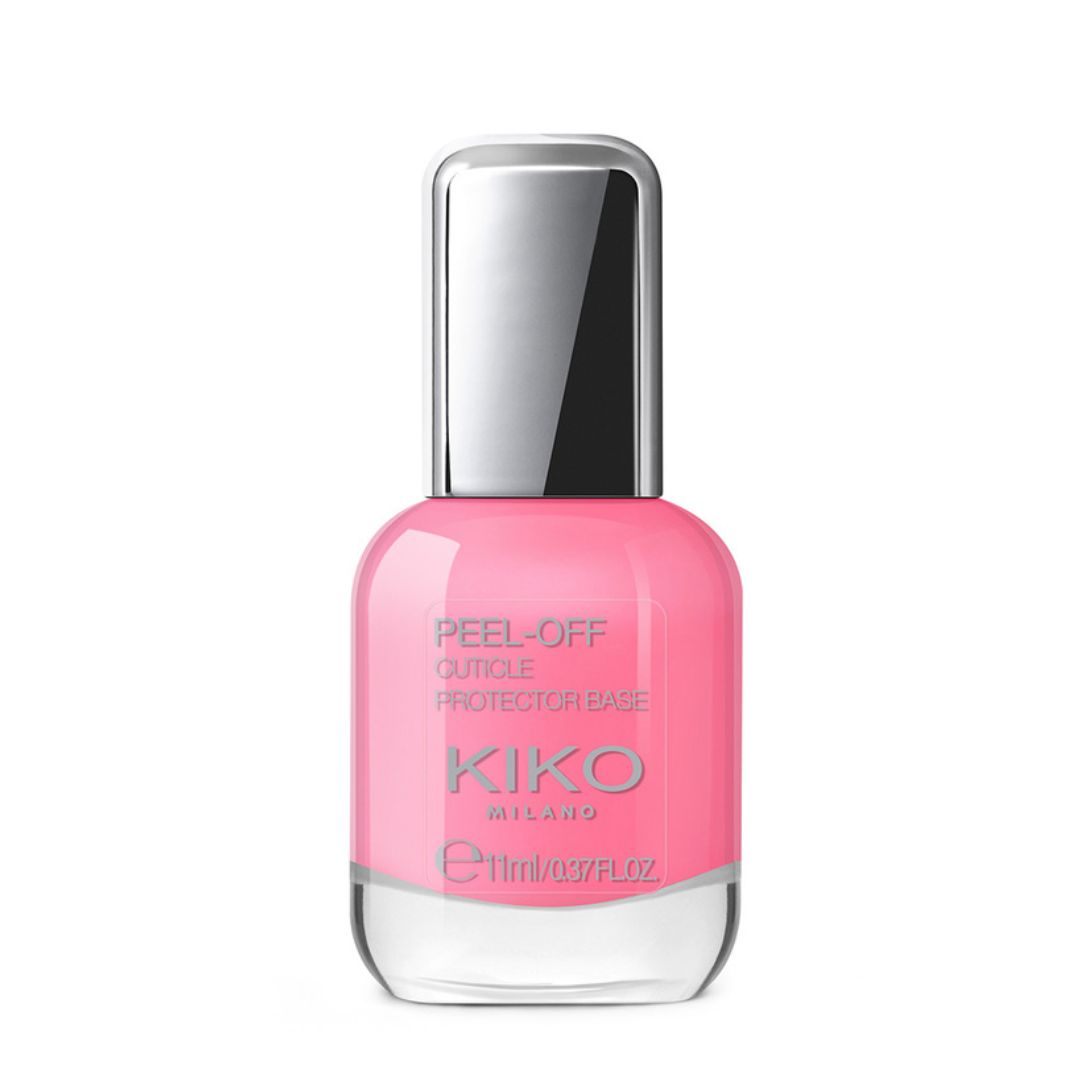
Really struggle to paint your toe nails without getting it all over your skin? Then try a peel-off cuticle protector. Paint it everywhere you don't want polish (so the nail side walls and cuticles) then paint your nails without fear of getting it on your skin, wait for them to dry and then peel off that cuticle protector—genius!
How to care for your pedicure
Just like a manicure, to keep your pedi look its best, keep topped up with moisturiser and cuticle oil, particularly before bed.
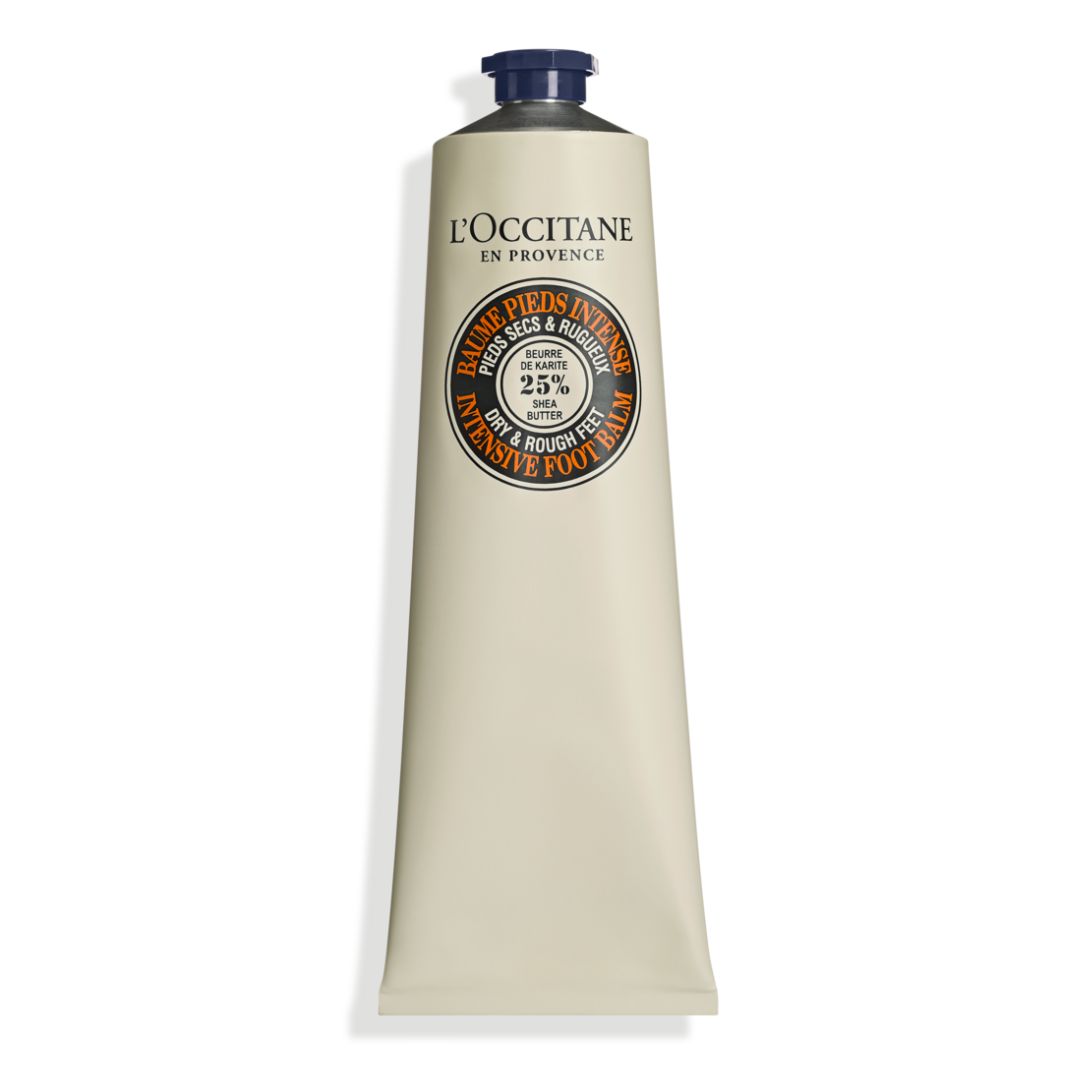
I swear by this foot cream for soft feet throughout the year. I slather on a thick layer as soon as I get into bed, then apply a really thin pair of socks. I let this soak in before removing the socks before going to sleep. I also love to use this as a hand cream before bed because it's so moisturising and soaks into the skin quickly.
Tori is a freelance beauty journalist and contributor for Marie Claire. She has written for various titles, including Allure, Glamour, Elle, Refinery29, Brides, and more. Currently training to be a nail tech, Tori is a total nail enthusiast and always has time to talk all things nail art. When she’s not writing about beauty and testing products, Tori can be found walking her rescue dog Pip, drinking great coffee, and eating as many croissants as humanly possible.
-
 Vintage sales, flower festivals and unique brunches - 7 fun and frivolous things to do this bank holiday
By Jadie Troy-Pryde
-
 How Ben Affleck feels about dating after his divorce from Jennifer Lopez
He's taking it slow
By Iris Goldsztajn
-
 Dior travels to Kyoto for a cherry blossom-inspired fashion show
Here's everything you need to know
By Clementina Jackson
