Hailey Bieber's make-up artist swears by this simple contour hack, and my make-up has never looked better
I'm pretty sure my cheekbones have risen in the process
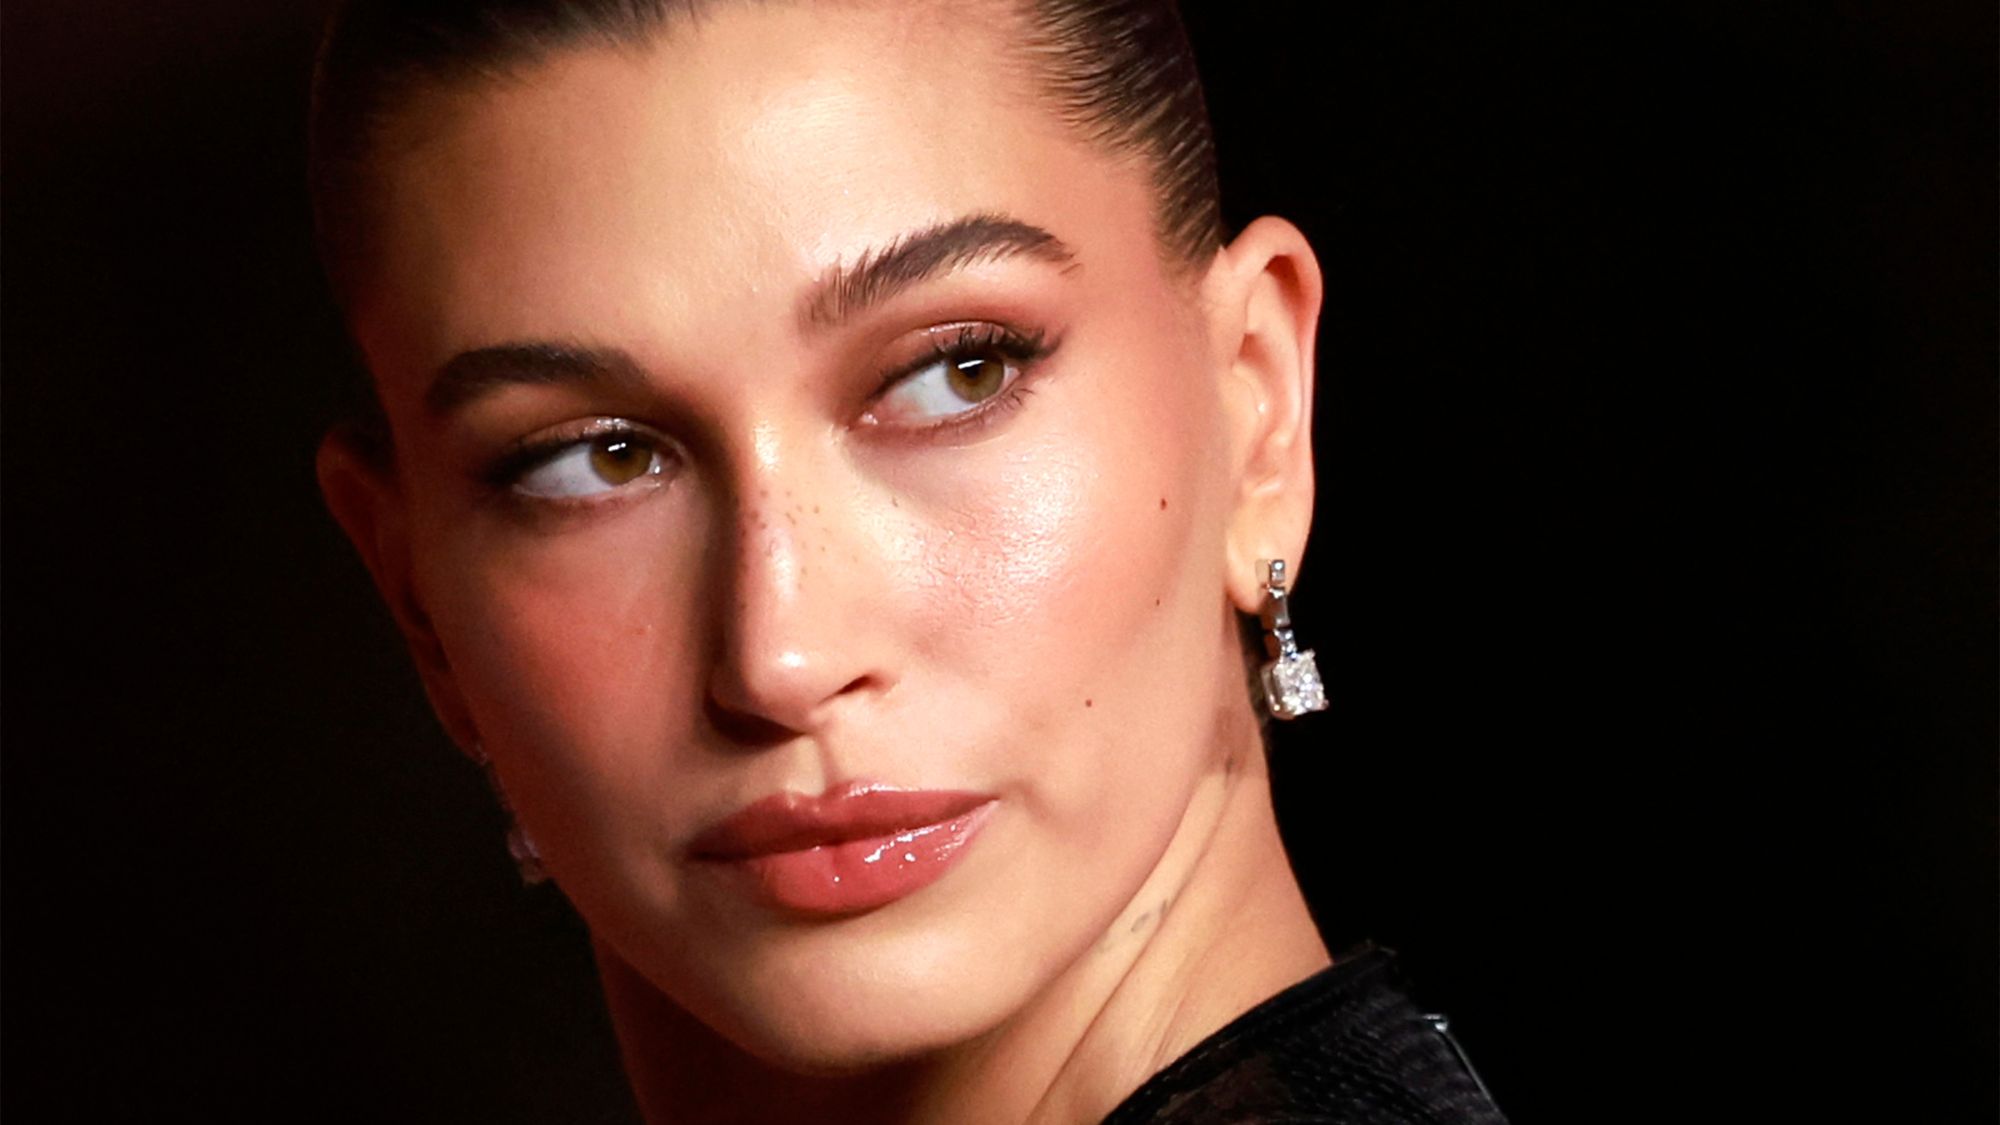

At the time of writing, the hashtag #maryphillipsmakeup, showcasing a certain Mary Phillips make-up tutorial, currently has 113.8 million views on TikTok, making it one of 2024's biggest make-up trends so far. Yes, that's right. While I've only just got my head around balletcore make-up (I'm in love, by the way) and bow stacking, there's already a new beauty craze on the block.
If you're currently wondering who Mary Phillips is, let me explain. Phillips is big news in the beauty industry. She is perhaps most well known for being the make-up artist (and genius) behind Hailey Bieber's make-up—and it's safe to say we all want to know Hailey's beauty secrets.
A post shared by Mary Phillips (@maryphillips)
A photo posted by on
And thanks to Mary Phillips, we have a very effective method of applying make-up that gives a seriously defined finish. The now-famous Mary Phillips make-up tutorial, which she shared on TikTok last year, shows exactly how she nails a flawlessly sculpted contour look that still delivers natural results.
The tutorial explains that nailing the perfect contour is not down to fiddly placement or even the product you use, at all. It turns out, contouring doesn't have to be complicated at all. The secret? Applying your contour before your foundation.
And, I'll admit, when I first saw it the whole thing sounded a bit daunting to me—following May's advice would totally flip my make-up routine on its head. In all honesty, I just couldn't see it working.
Having said that, my journalistic curiosity got the better of me, so I ended up trying it for myself. And while I don't like to through the word 'need' around when it comes to beauty trends, I really feel like you need to try this trend.
A step-by-step of Mary Phillips' make-up tutorial
@makeupbymaryphillips ♬ Lo-fi hip hop - NAO-K
Put simply, you need to forget everything you thought you knew about your make-up routine.
Marie Claire Newsletter
Celebrity news, beauty, fashion advice, and fascinating features, delivered straight to your inbox!
In her video, Mary explains that, to her, it just makes more sense to apply contour as a first step. “It’s like laying down the bones under the skin. So the contour and the highlight being the bones and the skin being the foundation."
Here's how to do it...
1. Contour the face
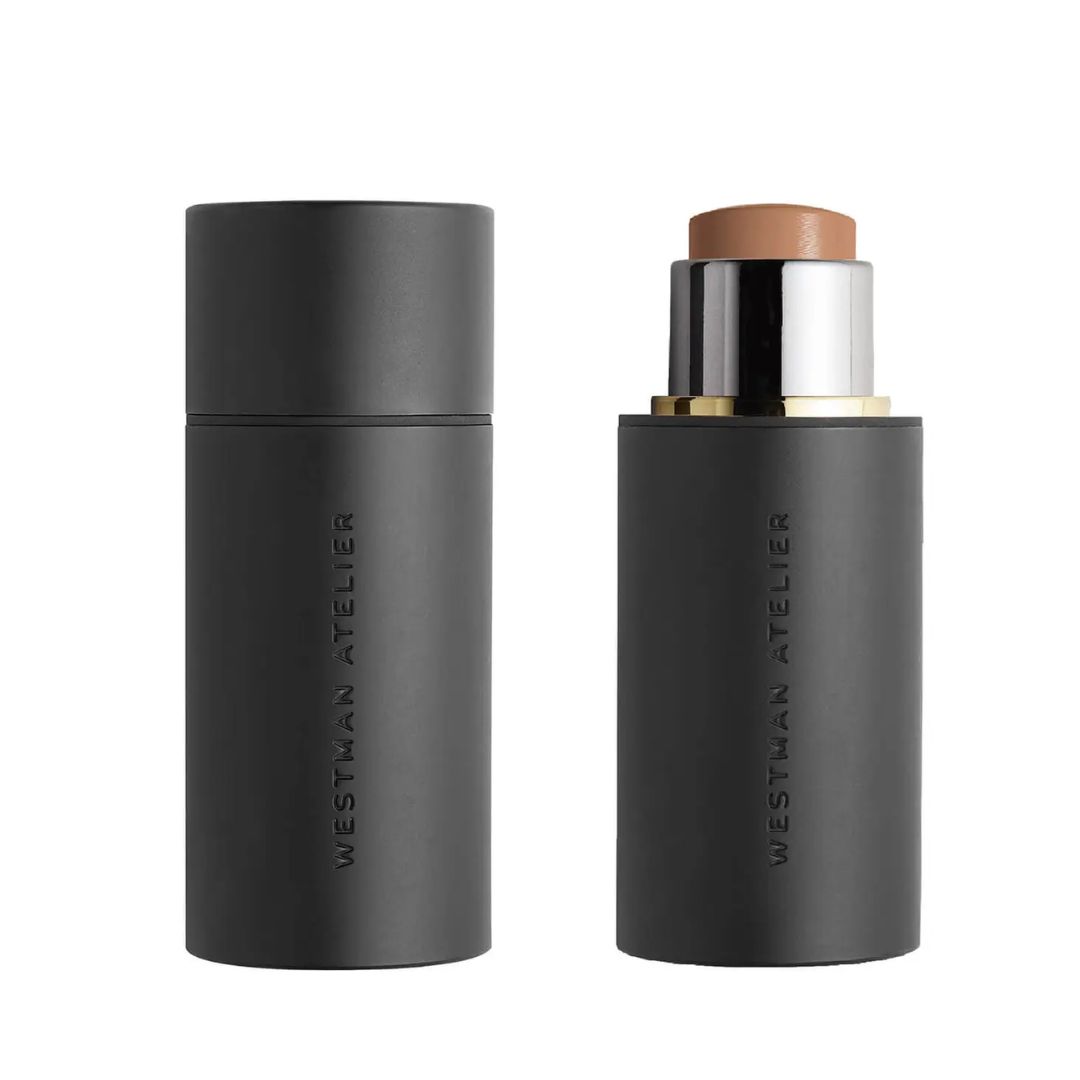
Start with a freshly moisturised and primed face. Then, place your favourite contour under your cheekbones. Mary draws a line from under the cheekbone/top of the ear and takes it all the way to the smile line.
Once you've carved out your cheeks, take the contour from the brow bone to the hairline and follow it around the hairline. Then contour from the middle of the chin and sweep the formula across the jawline.
For nose contour, Mary uses the Tweezerman Shaping Brow Brush and takes the contour shade down the sides of the nose, too. Use a brush to blend out and create a 'soft' finish.
2. Conceal and highlight
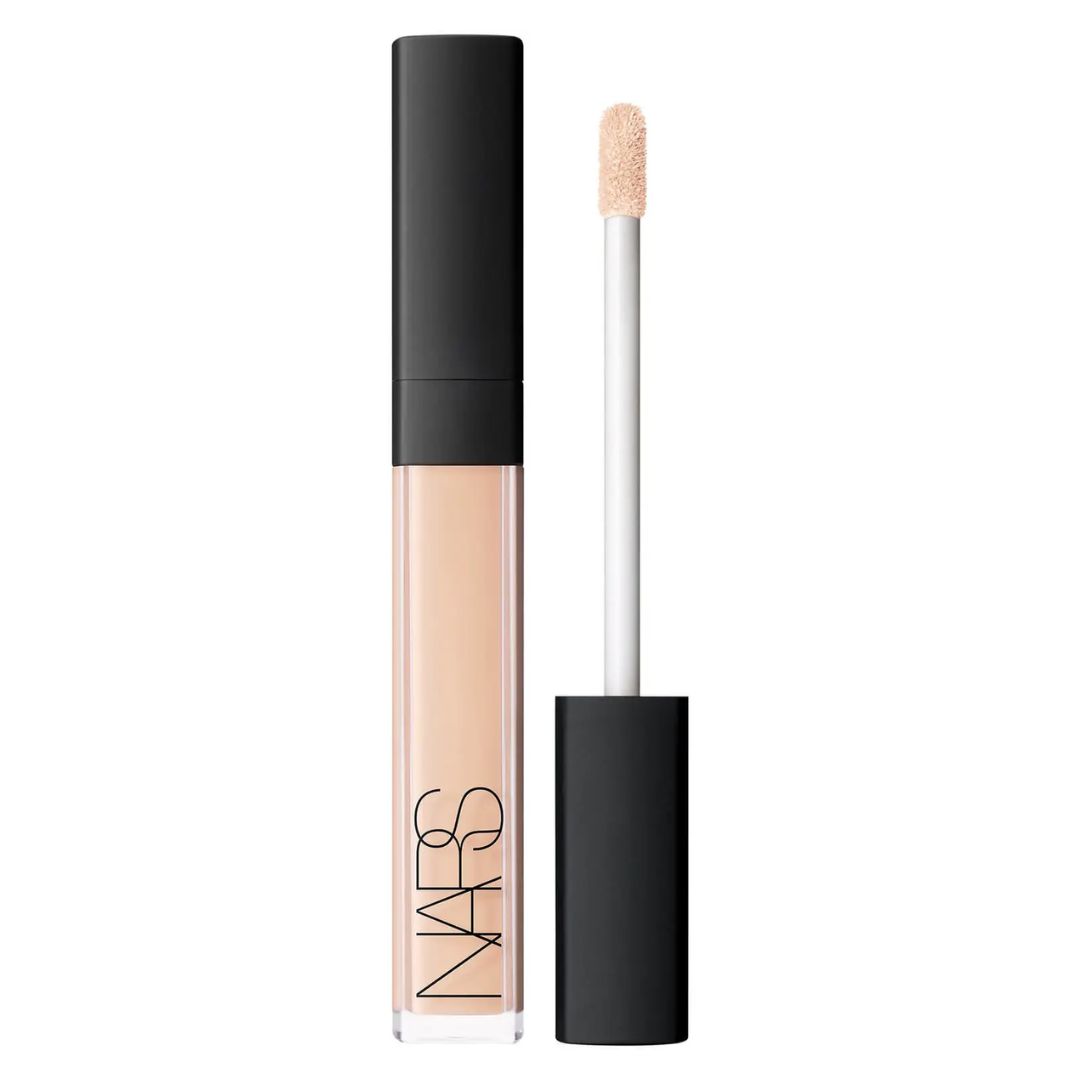
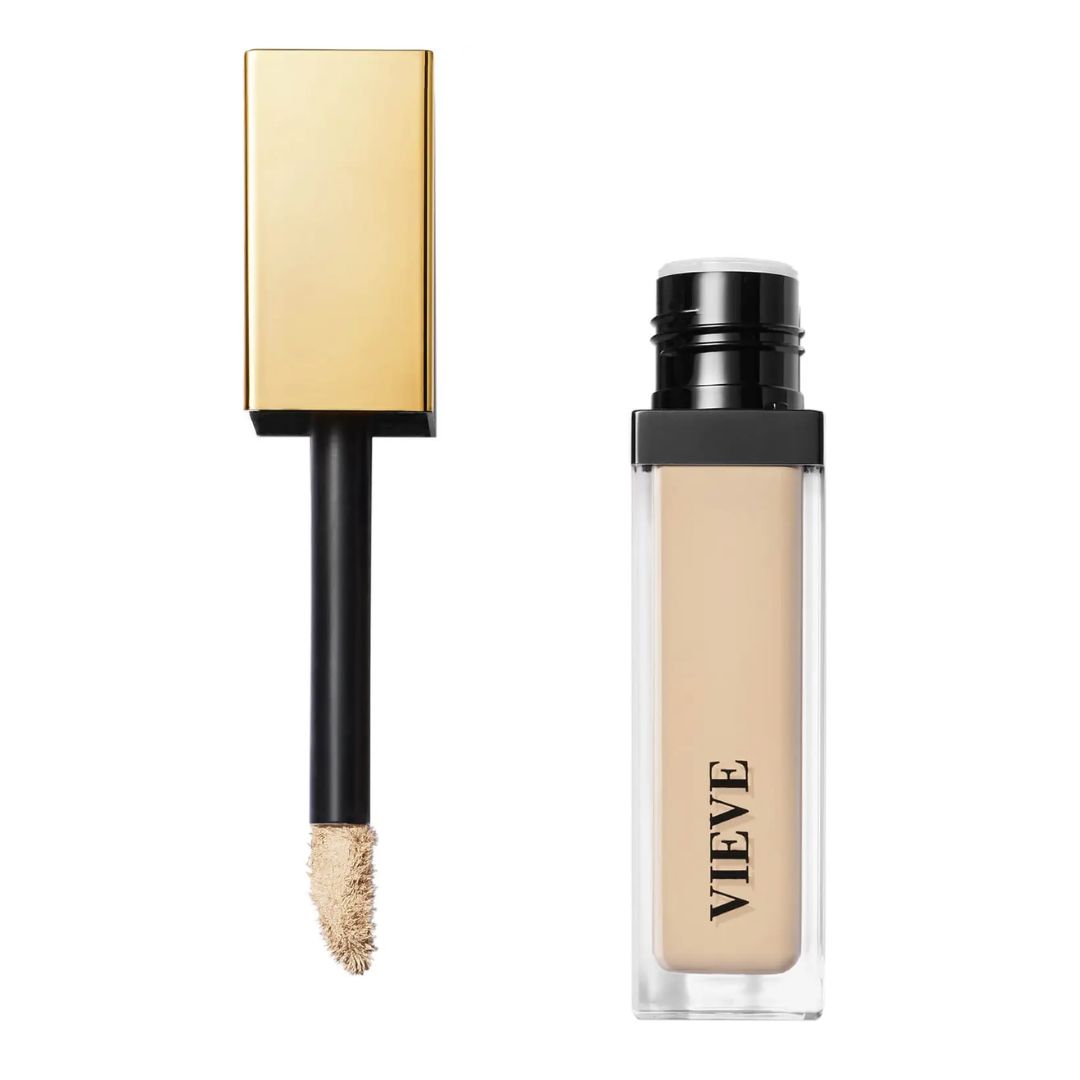
Once you've done your contour, use a concealer to highlight. Place your chosen concealer under the eye, in between your cheekbone and jaw contour, and a little between the eyebrows and forehead, too. Then, use a foundation brush or a beauty blender to smooth and blend everything together.
3. Foundation
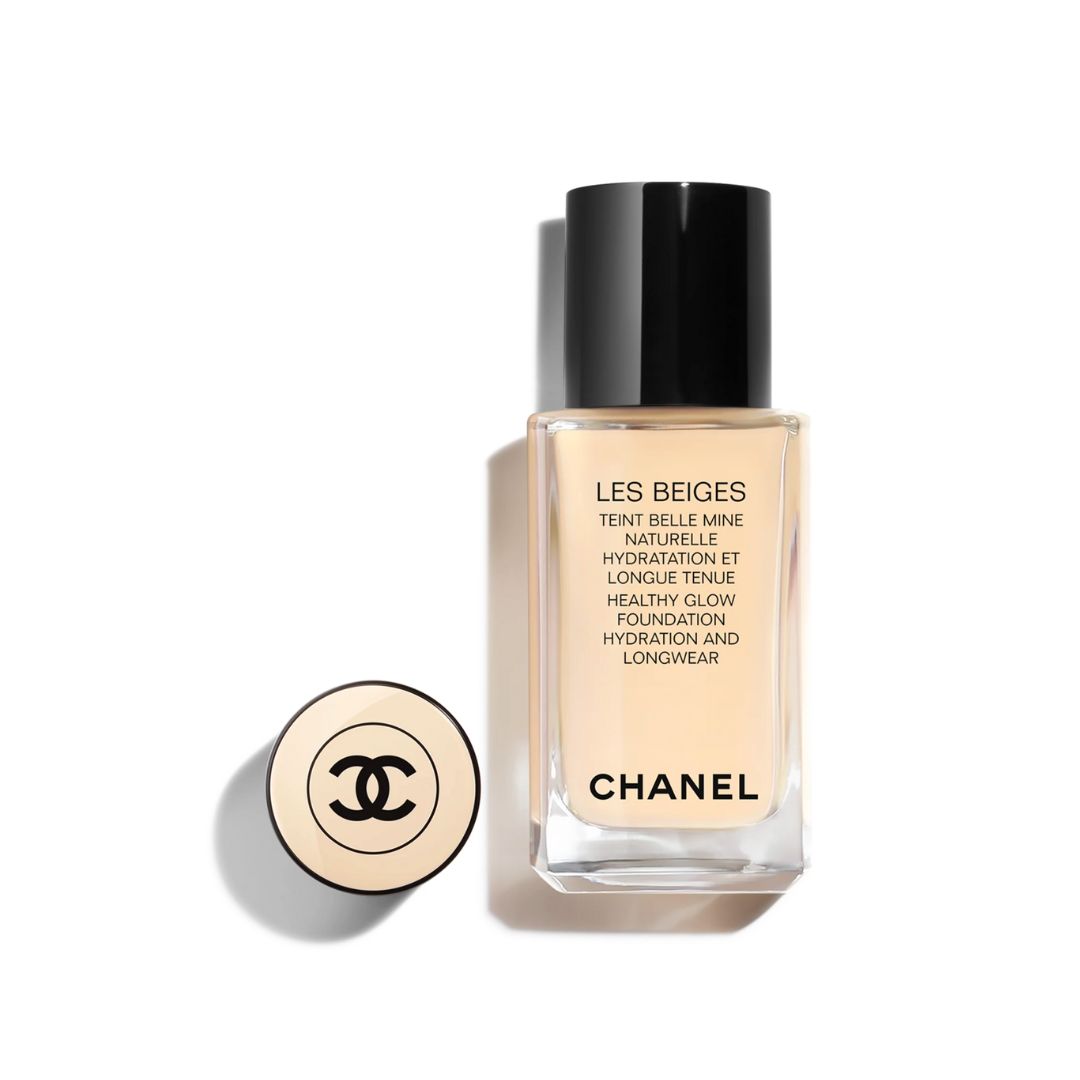
By now, your face may already feel pretty covered. So like Mary, you might not feel the need to go in heavy with foundation. To tie your base together, just add a small amount of foundation to any areas you want a little more coverage. Use a big brush to blend everything together. In the tutorial, Mary uses Chanel's iconic Vitalumière Foundation—which has sadly now been discontinued.
4. Blush
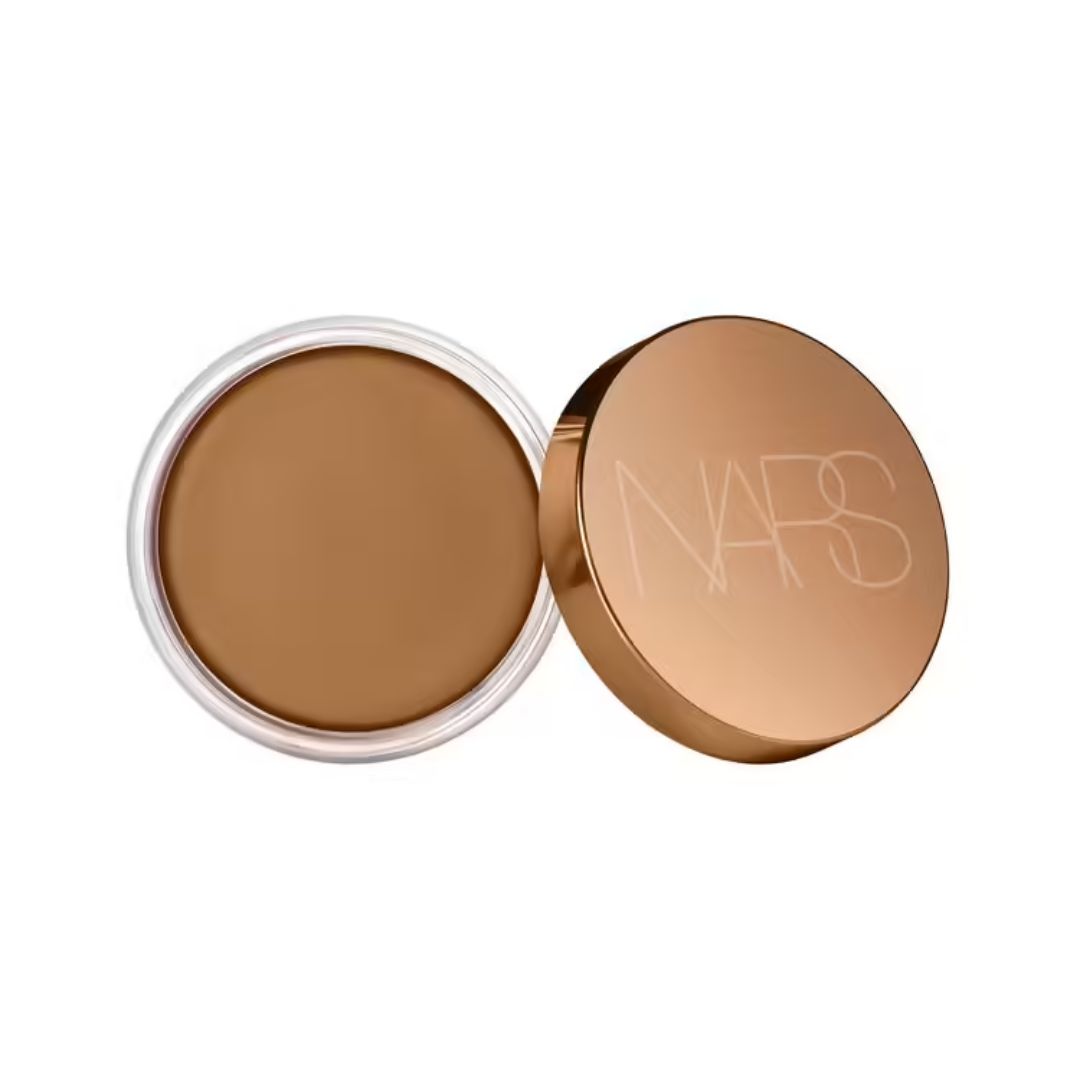
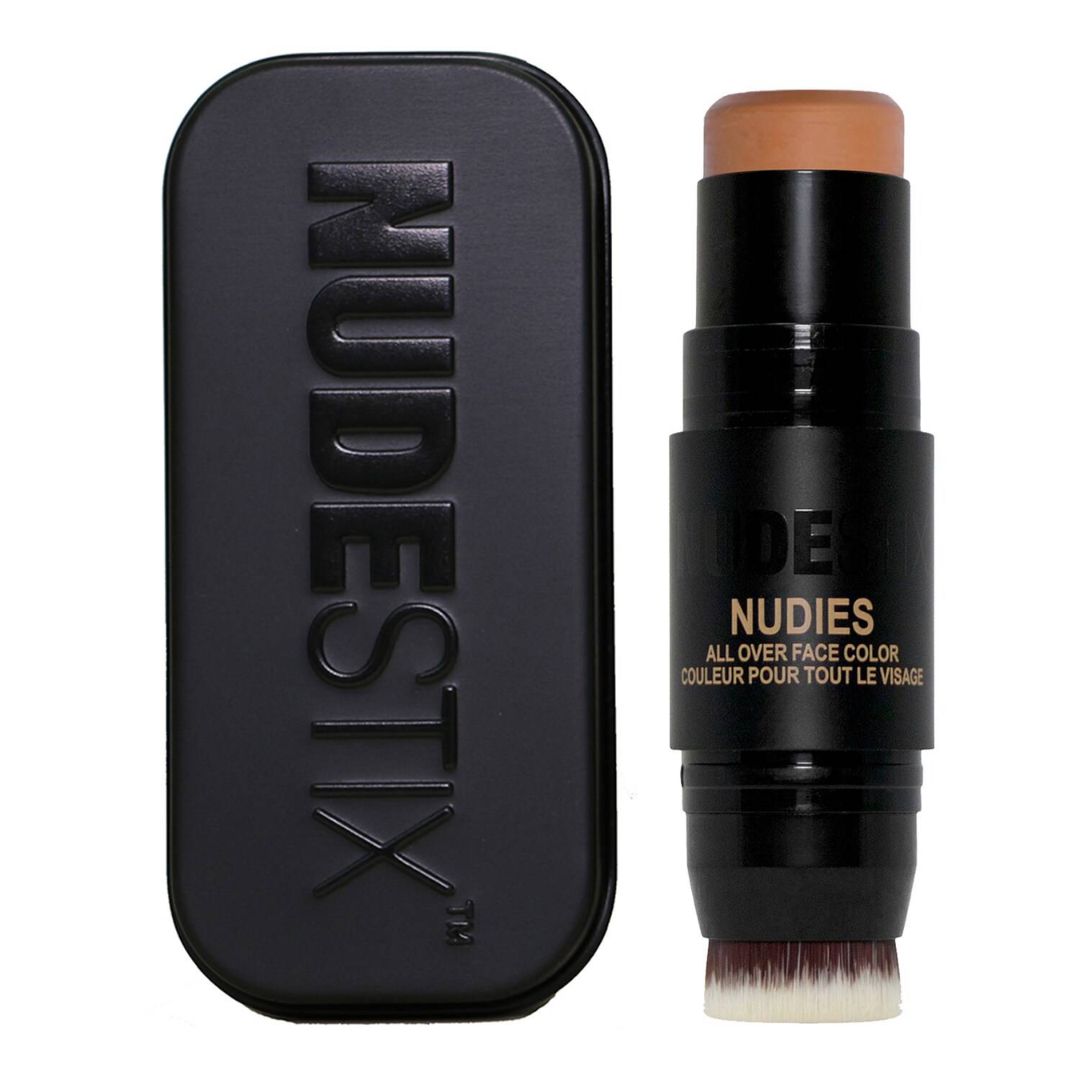
To finish everything off, apply your favourite blush across your cheekbones. If you're anything like me, you may want to add a little bronzer, too.
My verdict
When this make-up hack first came up on my For You page, I was more than a little sceptical. As someone who uses a full-coverage foundation daily, I didn't think my red acne scarring could deal with going straight in with contour—but boy, was I wrong.
I followed Mary's step-by-step apprehensively. How was this ever going to look good?! First, I started with the Vieve Skin Nova primer , which made my skin look glowy enough to not worry about the red marks glaring back at me in the mirror.
Moving onto the contour, I used the Charlotte Tilbury contour wand. If you are a fan of this too, you will know it likes to leak, so my contour came out pretty heavy. It ended up looking a little too dark and very blotchy. However, after adding lashings of concealer and some intense blending, I sort of loved it. I didn't even really need to add any foundation (although I did anyway). Once I finished with the blush, I was sold.
Despite the tricky start, the end result was the best my make-up has looked in, well, forever.
My advice? You have to try it, even if you are as sceptical as I was.
Dionne Brighton is a writer at Marie Claire UK, specialising in all things shopping, beauty and fashion. Born and raised in North London, she studied Literature at the University of East Anglia before taking the leap into journalism. These days, you can find her testing out the latest TikTok beauty trends or finding out what the next full Moon means.
-
 Penn Badgley and Blake Lively kept their breakup a secret from the Gossip Girl cast and crew - here's what we know about their former relationship
By Jenny Proudfoot
-
 Spring has finally sprung - 6 best outdoor workouts that are totally free and boost both body and mind
Soak in the nature and boost Vitamin D *and* endorphins.
By Anna Bartter
-
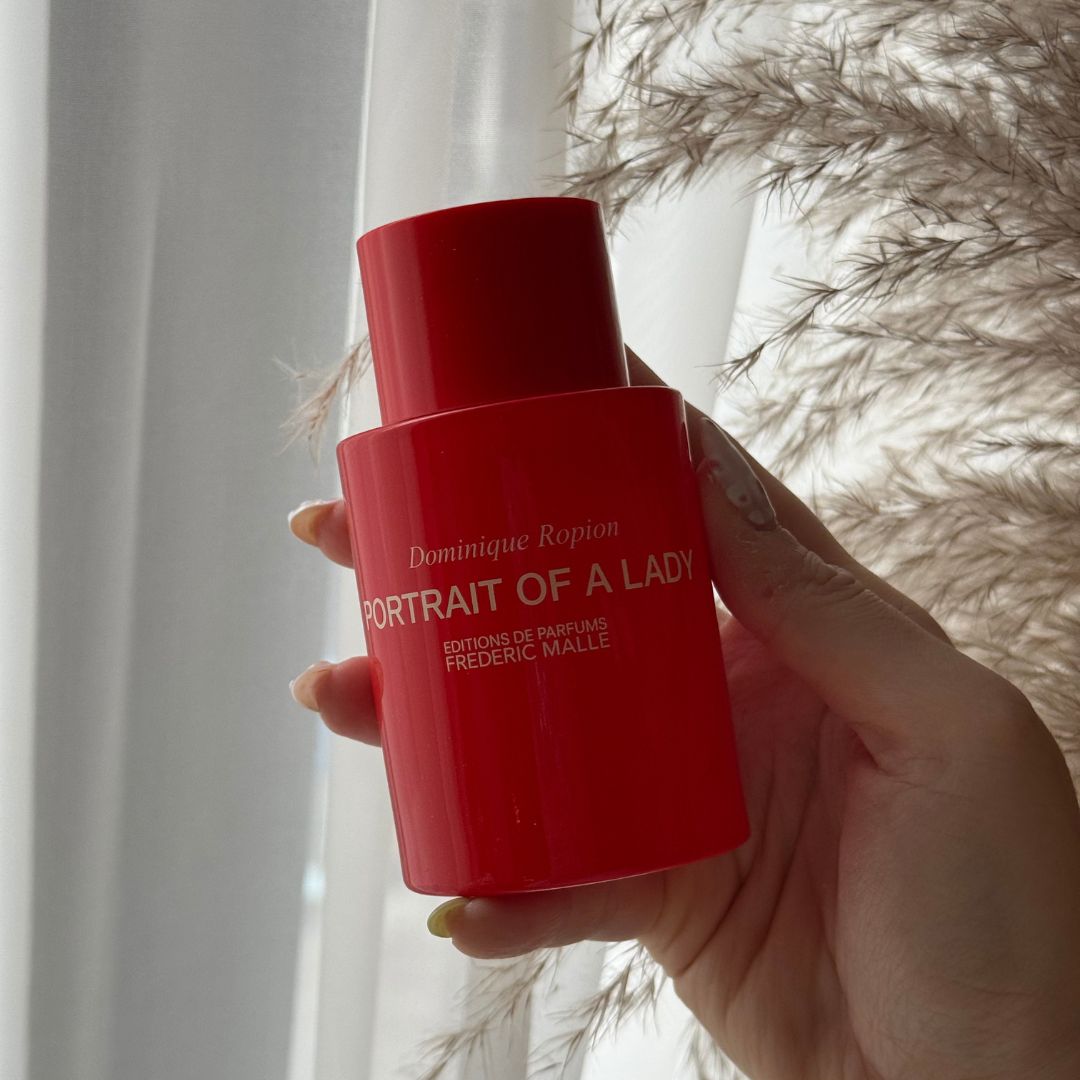 This iconic rose perfume is a compliment magnet—it makes me feel ‘put together’ after just one spritz
Grown-up and elegant, yet not at all dated.
By Denise Primbet
