Here’s how to do the cut crease eyeshadow technique like a make-up pro for bigger, brighter eyes
The genius make-up method will make your eyes look amazing

Laura Mulley
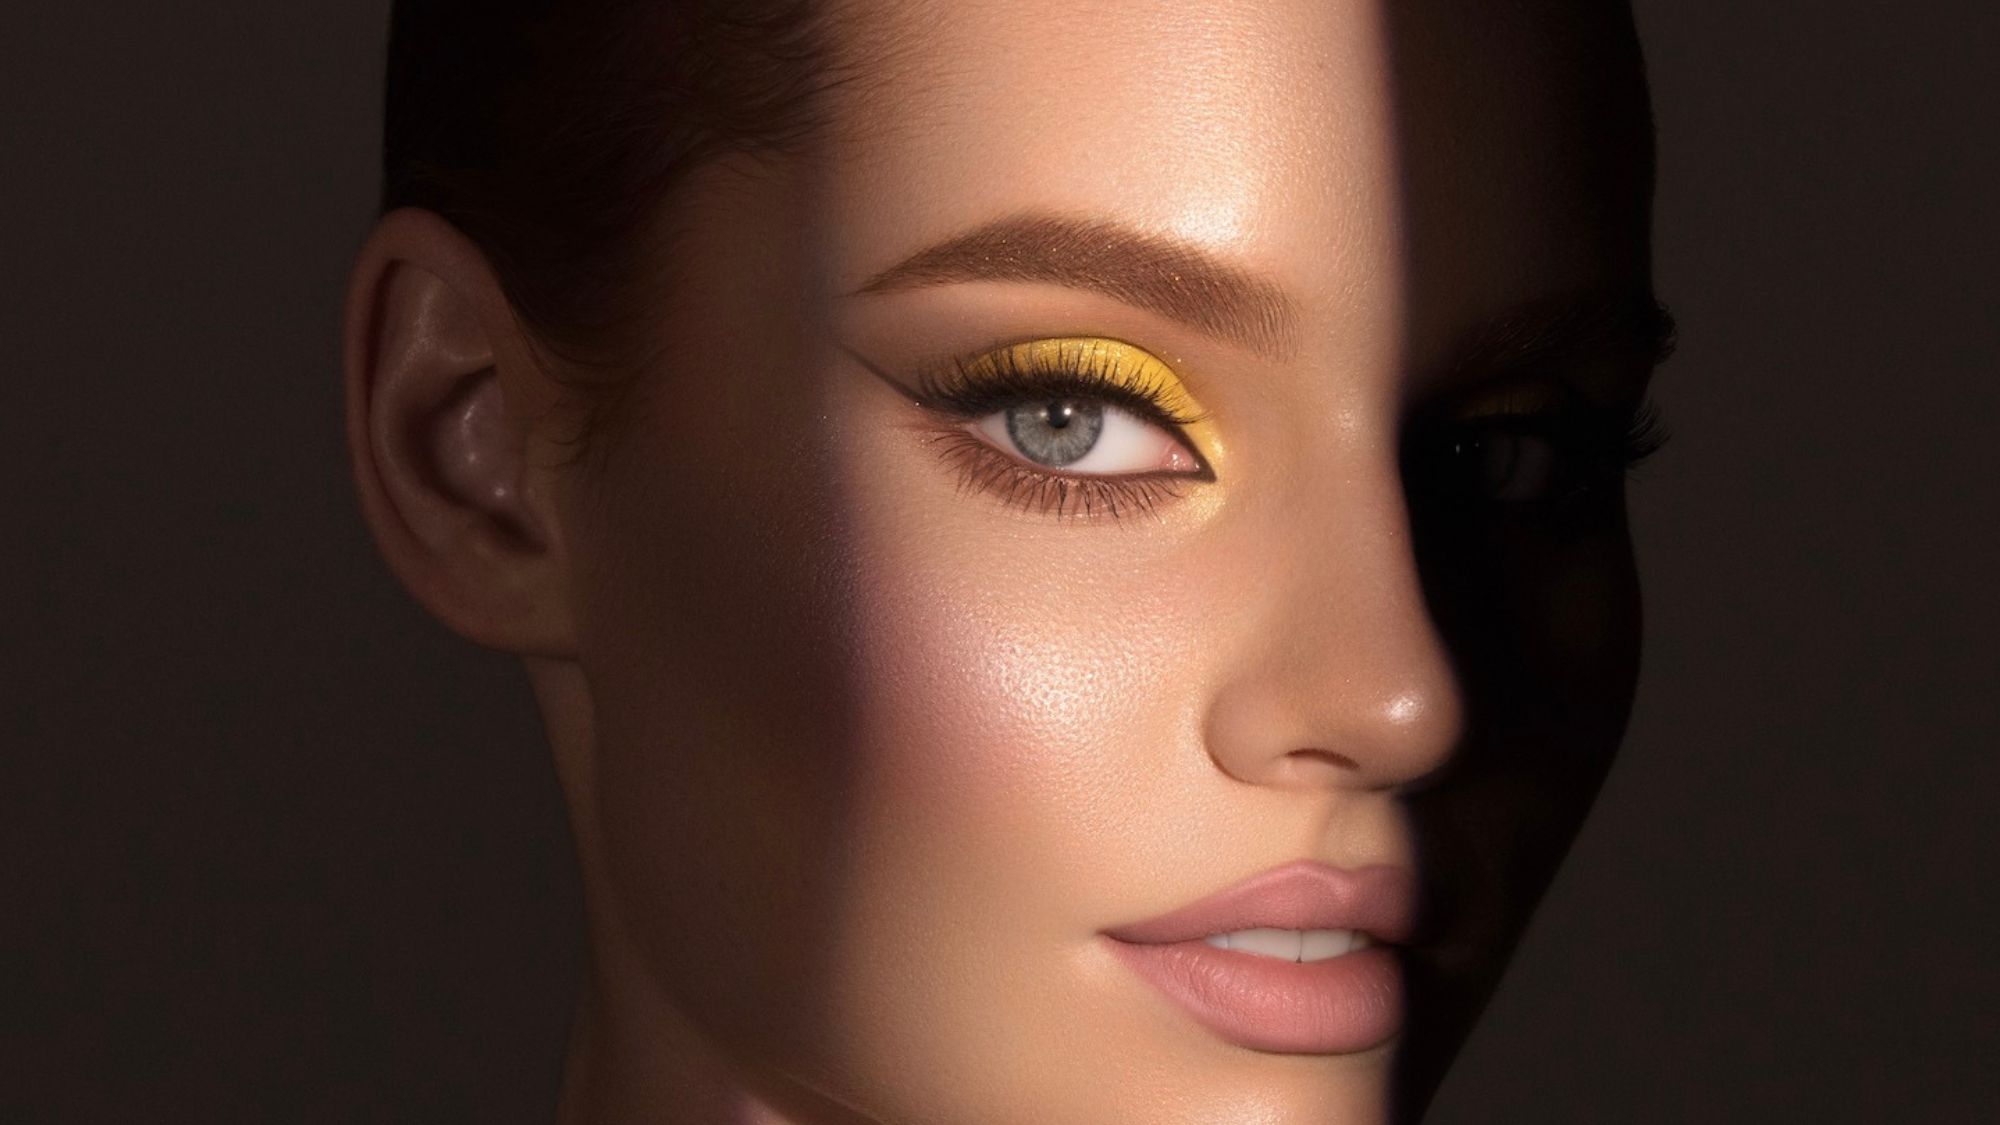
If you’re into make-up, even just a little bit, you’ve probably heard of the term ‘cut crease’—or at the very least, seen examples of it pop up on your social media feeds. An eyeshadow method that has actually been around for decades (more on that later), cut creasing has gone viral in recent years thanks to the likes of the Kardashians, who often favour this glam make-up look.
Although it’s been overshadowed (pun intended) somewhat in favour of make-up trends like quiet luxury and ‘90s grunge recently, cut creasing is a timeless eyeshadow technique that will make your eyes look bigger and brighter.
Keen to master the look? Here’s everything you need to know to do a cut crease, from the products you need to how to nail the technique like a pro…
What is a cut crease?
Cut creasing is an eyeshadow technique that's actually been around since the days of silent films. Employed as a way of drawing attention to actresses' eyes in black and white films, the style was softer than the modern version, but had the same premise. These days, it's all about the dramatic effect of defining your eye socket.
“The cut crease technique is essentially when you carve out the crease of your eyelid to create a dramatic contrast between the lid and area under the brow bone,” explains Caroline Forrest, make-up artist at THG Studios. “This will exaggerate your eyelid, making your eyes look bigger.”
“One of the best things about this look is that you can adapt it to suit your eye shape and change the colours up to your liking. The only rule is that the crease colour should be darker than the lid colour.”
Can a cut crease be done on any eye shape?
While your product placement and the finished look may differ from person to person, any eye shape can pull off a cut crease look, says Caroline. “The cut crease works especially well on hooded eyes as you can create the illusion of a bigger eyelid by carving out more of a crease.”
Celebrity news, beauty, fashion advice, and fascinating features, delivered straight to your inbox!
Tempted to give it a go? Here’s your step-by-step guide, and what products you’ll need to have to hand…
Products needed to do a cut crease eyeshadow look
Four of Caroline’s make-up bag must haves for doing a professional-looking cut crease.
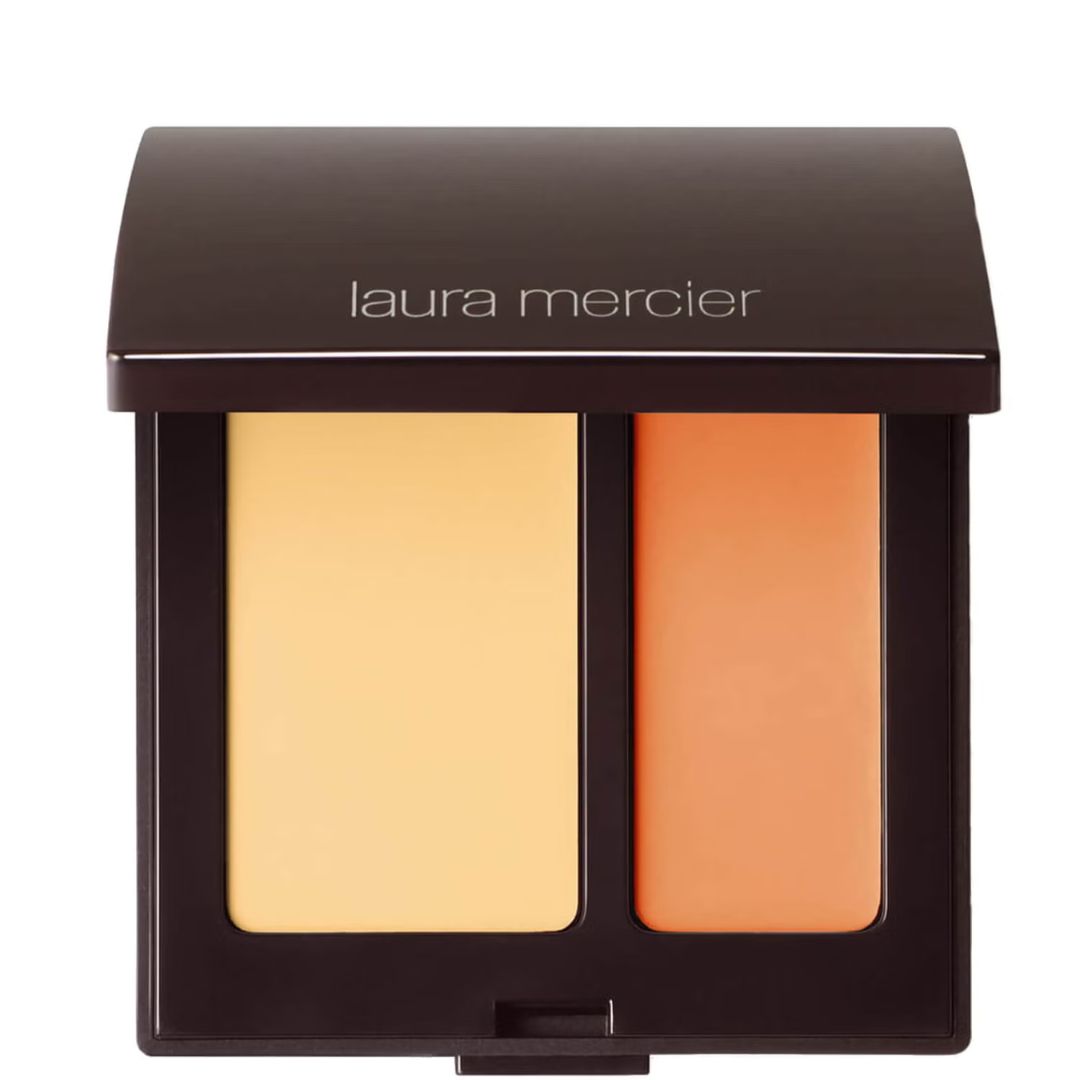
An absolute cult classic and a favourite with many a MUA—plus Marie Claire’s Junior Shopping Editor Valeza Bakolli—this concealer duo comes in a range of shades and can be used to cover everything from blemishes and dark circles to redness and discolouration.
It’s another option for priming lids as it dries without creasing, or it can be used with a flat-edged brush to carve out the eyebrows or today up any eyeshadow or eyeliner mistakes.
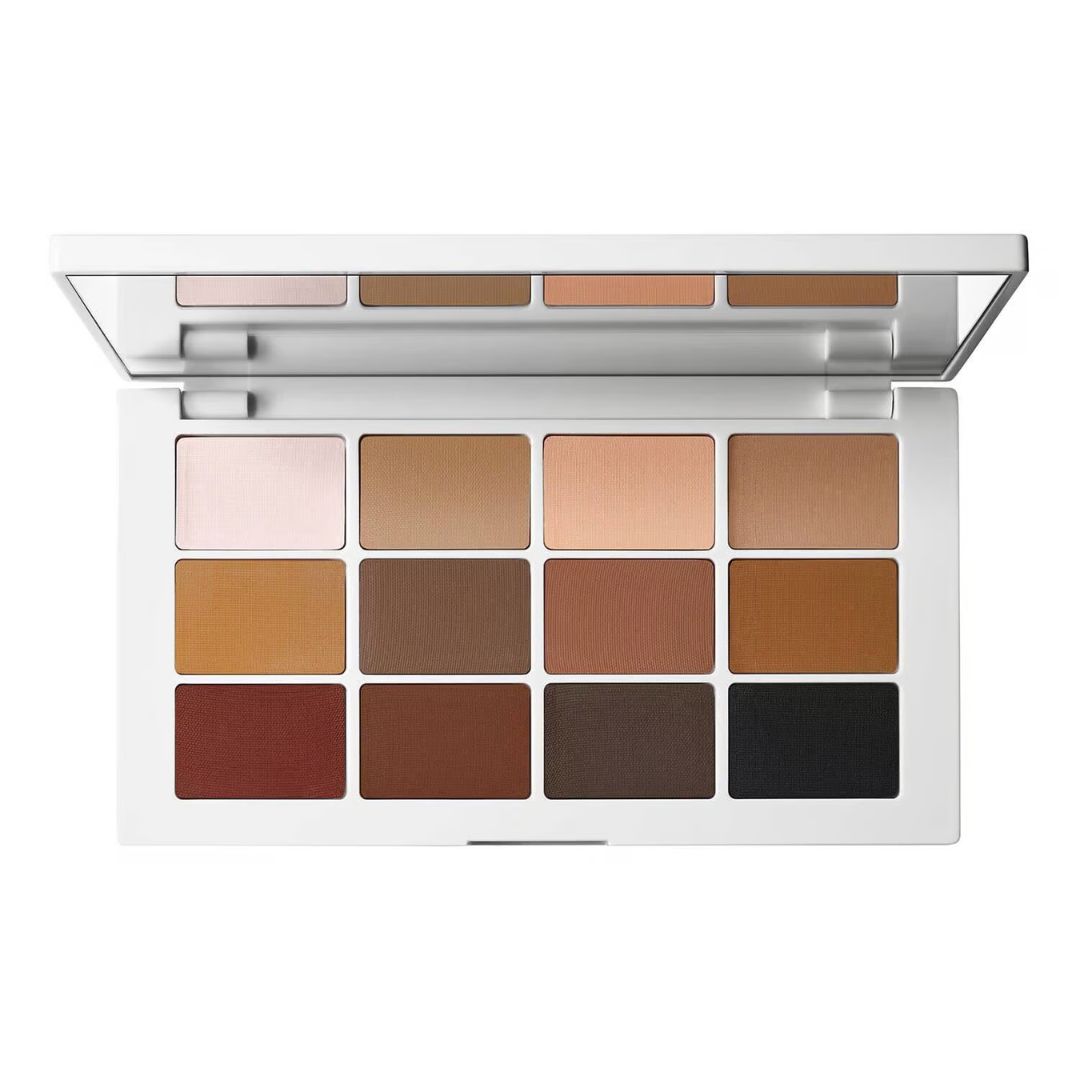
This pressed powder eyeshadow palette is a great one for beginners, with 12 shades of nude, brown and black that’ll suit all skin tones.
“This has a great range of shades to play around with, and the powders are really blendable and easy to work with,” says Caroline.
Step-by-step guide on doing a cut crease eyeshadow look
Step 1: Prep the eyelids
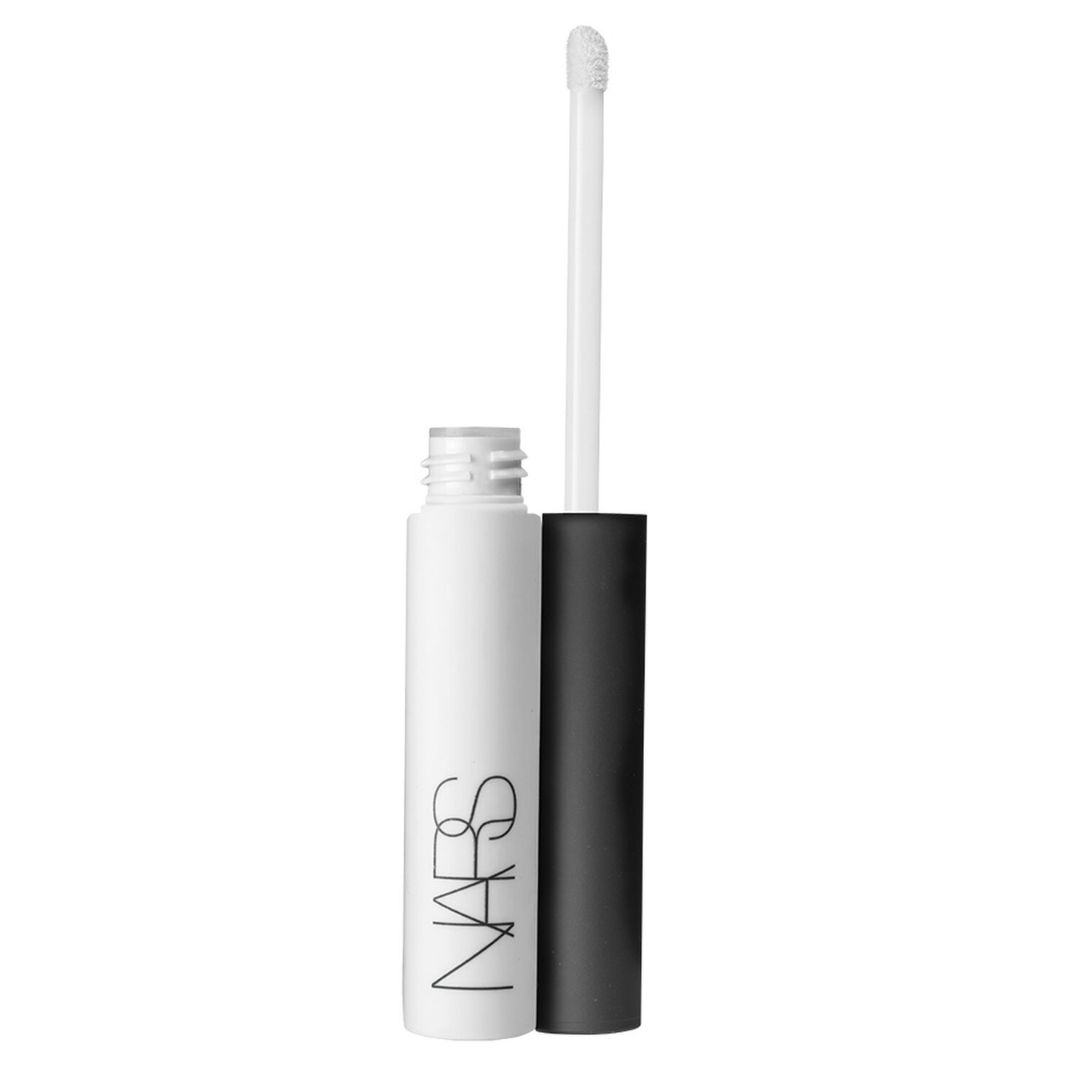
Apply a primer or concealer to your entire eyelid; cut creasing doesn't work if your eyeshadow blends into each other. “Pick something that isn't too creamy and will dry down nicely, like NARS Smudge Proof Eyeshadow Base,” says Caroline.
Step 2: Define the crease
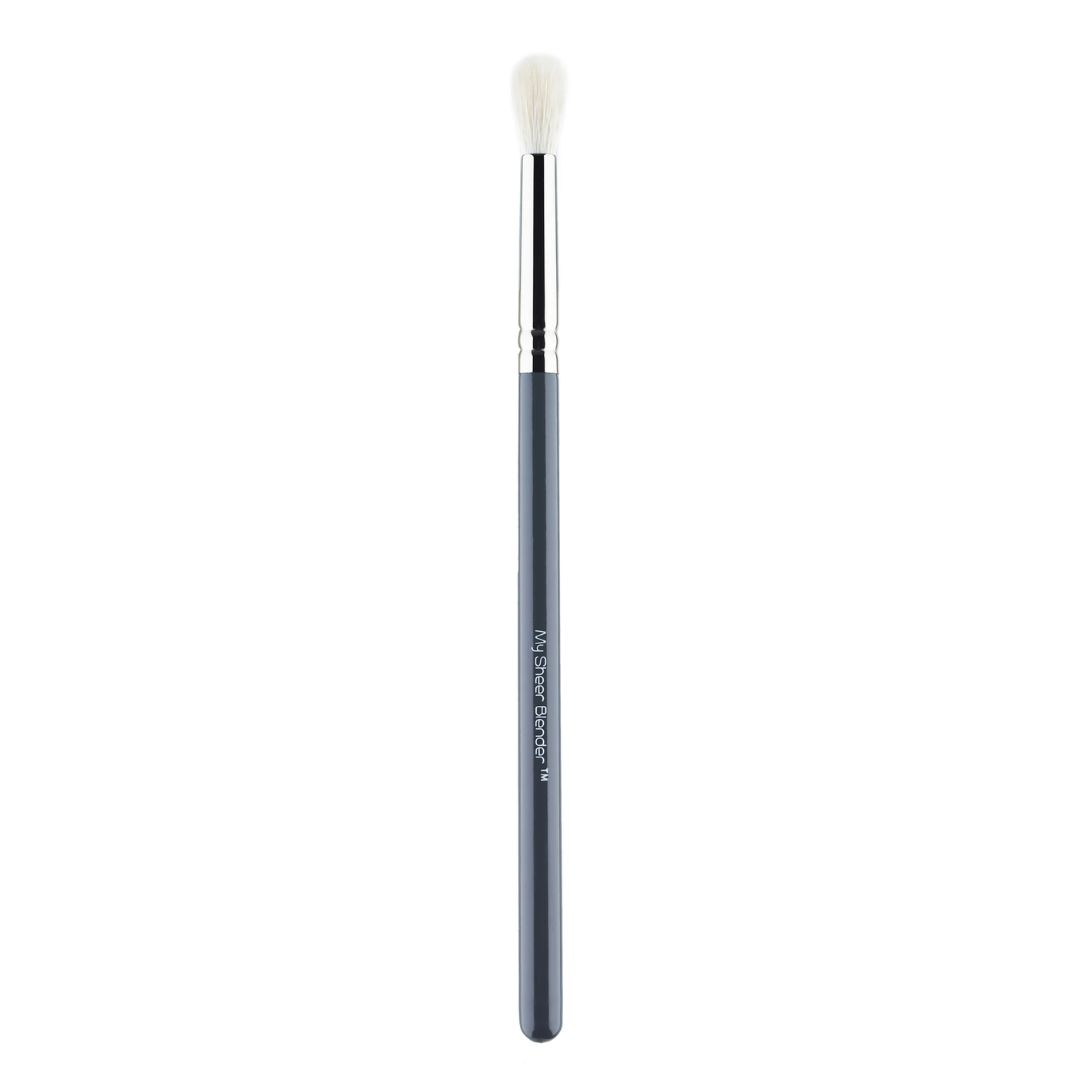
Next, create definition in the crease. “Sweep a fluffy brush just under the brow bone, where the brush naturally fits into,” says Caroline “You’ll be able to feel the gap between your brow bone and your eye with the brush; it might feel a little strange but this is exactly where your placement needs to be.
“You can make this as subtle or as bold as you like by building up your colour here.”
Step 3: Carve out the eyelid
Create a precise crease line and really make the eyelid stand out by applying a lighter colour eyeshadow over the entire lid, up to your crease colour. “Cream eyeshadow—or even concealer—works really well for this, as you can really cut into that crease line you’ve created,” Caroline advises. “Apply it all over your lid with a flat brush, creating a strong solid line under where you have blended your darker crease colour.
“You can play around with shapes here, either blending the lighter shadow out into a wing shape, or create an oval shape on the lid.”
Step 4: Dust with powder
If you’ve used a cream product, it’s advisable to go over the top with a powder eyeshadow or setting powder to set it in place and make sure that your stunning eye make-up look stays put all day (or night) long.
Step 5: Finish with mascara
If you want to make your cut crease eyeshadow look even bolder, you could then follow with a winged flick of black eyeliner. We’ll leave you to decide if this suits your eye shape, skill level or the finished look you’re going for, but the best liquid eyeliners will work best here.
Finish with a couple of layers of your favourite mascara. Finally, for added drama, add false lashes—this is optional, but looks amazing.
- Laura MulleyBeauty Contributor
