How to cut your own hair at home – the guide to getting it right
Don't fret, it doesn't involve a bowl


No, it doesn't involve a bowl
We'd never advise learning how to cut your own hair instead of making an appointment with your hairdresser. There's just no comparison.
But obviously over the past twelve months, we've had to take matters into our own hands (some of you have even been brave enough to learn how to dye your own hair). Now that salons are back open, we have access to the professionals again, but most salons are booked up for months (can you blame them?). So even though you might have managed to get an appointment booked in, it may not be for a while. There may come a time when you get desperate for a trim.
'I would never recommend cutting your own hair or fringe – regular Hare and Bone clients can receive complimentary fringe trims at our salon, which takes seconds!' says Sam Burnett, owner and Creative Director of Hare and Bone.
'[But] if it’s an emergency and you decide to trim your own fringe, make sure the hair is clean and dried in its natural texture and then, using good quality hairdressing scissors, trim with the points of the scissors, holding them at a parallel angle to the direction of the hair flow.'
With those tips in mind, follow the below step-by-step guides from hairstylist Lee Stafford to get DIY haircutting right.
How to cut your own hair shorter
As this is a dry cut, there's no need to wash your hair before you start. You must, however, ensure your hair is really smooth, especially if you have naturally frizzy hair because it can make the cut uneven.
Marie Claire Newsletter
Celebrity news, beauty, fashion advice, and fascinating features, delivered straight to your inbox!
Step 1: Tip your head upside down, brush your hair forward and gather it into a nice tight, smooth, secure ponytail that sits on your hairline in the centre of your forehead.
Step 2: Take a comb and measure from your hairline where you want your first layer to sit – this could be just below the cheekbones or the bottom of your chin, it's up to you.
Step 3: Hold your ponytail firmly, then take your hairdressing scissors and cut the hair in a straight line at the length you measured with the comb.
Step 4: Now that you have cut any excess length off, you need to tip your head forward slightly and put the comb behind your hair.
Step 5: Hold your scissors pointing directly into the end of the pony tail and chip into the blunt ends. This will help give the hair a softer appearance and get rid of that blunt look. When you can’t see any more hard edges you know it’s time to stop.
Step 6: Pull off the hair band and shake your hair so it falls into place and style it as desired.

How to cut your own hair into a bob or lob
Step 1: Start by pulling your hair into a clean and neat ponytail at the back of your head, it needs to sit as tight as you can get it at the bottom of your hair line, right in the centre.
Step 2: Take your hairdressing scissors and cut straight across your ponytail, underneath the bobble. This will result in your hair dropping just on top of your shoulders. If you need to, you can look in a mirror and see where your hair will sit before cutting it.
Step 3: Your hair will now fall into a choppy, graduated bob hairstyle or lob hairstyle, but can be a little blunt for some people.
Step 4: If you prefer something slightly softer then tip your head upside down so you are looking at the floor. Gently chip into the ends of your hair, holding your scissors at a 90 degree angle. This will create a softer, diffused line.
Step 5: Tip your head back over, shake it out and wear it poker straight or add some waves for movement.

How to trim your own fringe
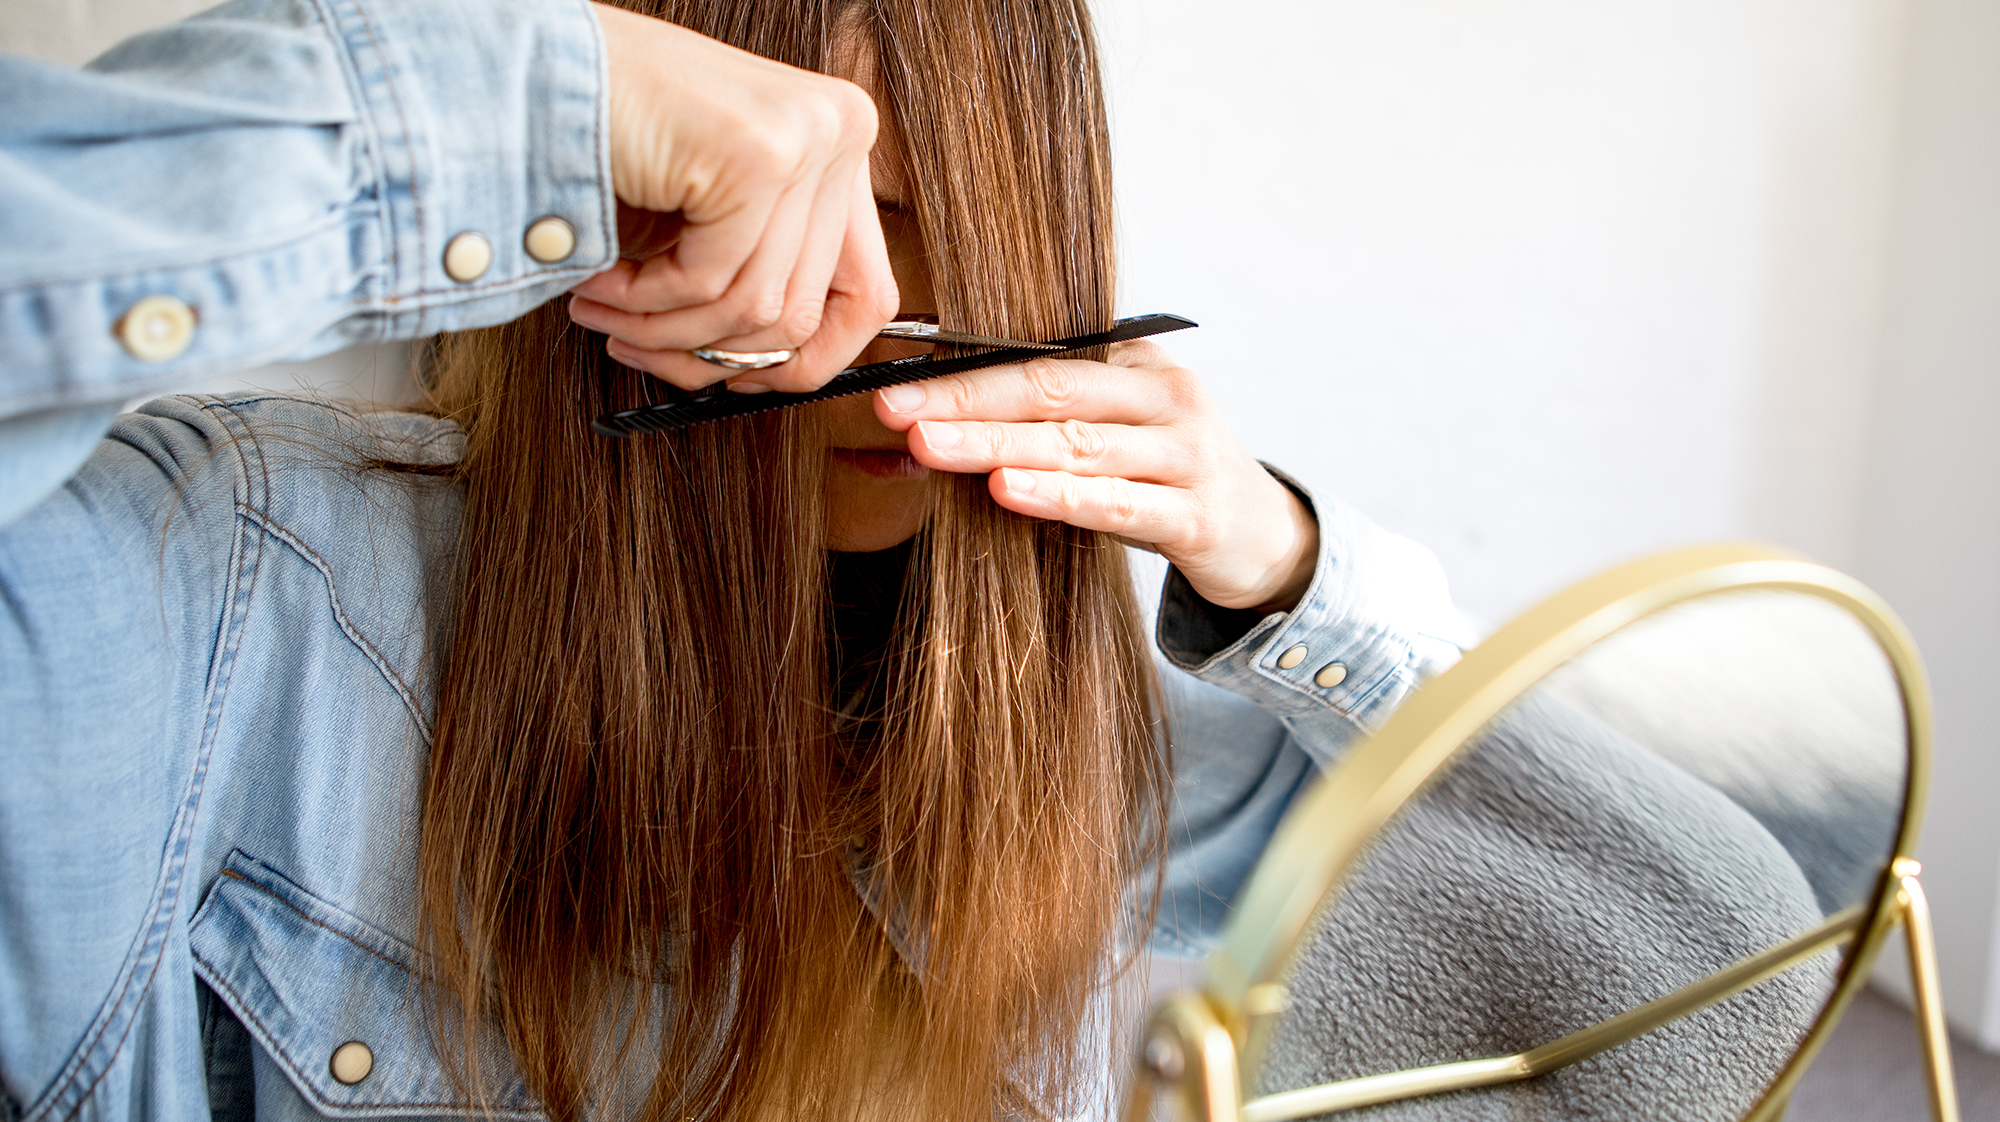
Step 1: Firstly, section your hair (so you don't include any hair your don't want in your fringe) and pin it back away from your face.
Step 2: Then, using hairdressing scissors – this is really important, as you will not be able to achieve the same look with household scissors, it will end up a mess – hold them at a 90 degree angle and gently chip into your existing fringe. This will thin out the hair, resulting in a light weight, natural fringe.
Step 3: Avoid cutting straight across your face because this will create a very blunt fringe, which can be difficult to correct later.
If these step-by-steps aren't doing it for you, why not follow along with Senior Beauty Editor, Katie Thomas, and Session Stylist Syd Hayes. They teach us how to cut your own hair.
Katie Thomas is the Senior Beauty Editor at Marie Claire UK. With over 10 years of experience on women's luxury lifestyle titles, she covers everything from the best beauty looks from the red carpet and stand out trends from the catwalk, to colonic irrigation and to the best mascaras on the market. She started her career on fashion desks across the industry - from The Telegraph to Brides - but found her calling in the Tatler beauty department. From there she moved to Instyle, before joining the Marie Claire digital team in 2018. She’s made it her own personal mission to find the best concealer in the world to cover her tenacious dark circles. She’s obsessed with skincare that makes her skin bouncy and glowy, low-maintenance hair that doesn’t require brushing and a cracking good manicure. Oh and she wears more jewellery than the Queen.