Beauty School Drop Out: 4 Things You Should Have Learnt To Do But Never Did
From liquid eyeliner to perfectly-shaped brows, you'll be graduating from beauty school in no time with our easy-to-follow guide.

From liquid eyeliner to perfectly-shaped brows, you'll be graduating from beauty school in no time with our easy-to-follow guide.
We’ll forgive you for having nodded off during the mechanics of soil erosion in year 12, we’ll even overlook the fact that your knowledge of algebra may have slipped by the wayside, but not knowing how to do a fishtail plait? There’s no excuse, thanks to our beauty crib notes, which will make mastering the perfect eyeliner flick as easy as A, B, C. So start swotting up now. Any questions?
How to apply eyeliner
'Liquid liner can be tricky,' admits Max Factor Ambassador and make-up artist to the A-List Caroline Barnes. 'However, there are little tricks you can employ to make it easier, although I always say that it’s practice that makes perfect.'
1. Start by using a little foundation and powder over the lids to create a smooth, even base which will help the product glide easier over the skin. When it comes to creating the perfect eyeliner look, the key is to get the pigment as close to your lashes as possible as there should be no gaps of skin between the root of the lashes and the lid.
2. Use a soft kohl pencil to faintly trace the initial shape making sure you sharpen your pencil first for pin-point precision. This will act as the perfect template.
3. Stretch your eyelid outwards and upwards and point the brush (if you’re using a gel eyeliner) or nib of the eyeliner pen right into the bed of your lashes, rather than going for a single stroke of product across the eye. This will create a really fine line which you can then add width to once you have established the shape you want.
Marie Claire Newsletter
Celebrity news, beauty, fashion advice, and fascinating features, delivered straight to your inbox!
4. Don't worry about matching the eyeliner exactly – it’s all about creating a line that flatters your eye shape as your eyes are sisters rather than twins so you’ll never get a perfect match. As long as you make sure the length is the same, nobody will notice.
5. Keep the line thin on the inner corners of your eyes and increase the width as you go as this is far more flattering. It’s also worth remembering that the smaller the lid, the finer your line should be whilst big, wide eyes can carry thicker lines.
6. Use a second mirror to see how the liner looks from the side, (or take a selfie!) as checking your profile can really help you get the best shape.

How to shape your eyebrows 'The best way to create your perfect shape at home is to start off by using a brow stencil kit,' says queen of facial topiary Shavata.
1. Try out different shape options to see which one suits you best. Hold the highest point of the stencil against the arch of your brow and see how it looks in the mirror from both up close and far away. I would always recommend going for the thickest brow shape you can, with an arch three quarters of the way in and a gradual slope towards the end. Use a pencil to trace in the outline of the stencil first to use as a guide before you start using the tweezers.
2. When plucking, always sit in front of a large mirror and use a magnified hand-held mirror simultaneously as this will give the most realistic view. As the hand-mirror helps with the detail, move from mirror to mirror to get both perspectives. For balance, it’s also easier if you go back and forth between each brow, tweezing a few hairs at a time. Overplucking and plucking above the brow should be avoided at all costs as hair doesn’t always grow back and you run the risk of permanently ruining your arch which is imperative for offering the most flattering shape.
3. If in doubt, my general rule of thumb for the perfect brow shape is:
Curved brows suit rounder faces. Oval and square face shapes suit thicker brows. Soft arches suit all face shapes as they provide a gentle lifting effect. Bold/straight brows work well on square faces. Don’t fight nature - go roughly with the shape you have for example if you have naturally thick brows don’t go for a thin shape as you'll be forever trying to maintain them.
And if your brows are a little follically-challenged? Here's how you can make the most of them:
1. Don't overdo the depth and colour of your brows as they will overpower the beauty of your own eyes. 2. Use a pencil or the stem of your brush and line it up with the inner corner of your eye. This is the spot to start your brow, so remove unwanted hairs and etch in a straight line (curving the line can make it look slug-like). Again, using the length of the pencil, angle it across your pupil as this marks the highest point of your brow. Finally, take the pencil out towards the outer corner of your eye as that marks as far as your brow should extend. 3. Sketching in faint hair-like strokes offers the most natural effect but take care not angle your brows downwards at the ends.

How to backcomb your hair 'Take the arm-work out of creating volume by learning how to backcomb properly,' says Ben Cooke. 'You don’t have to be vigorously back-brushing the hair for hours on end as this is only going to lead to damage. Instead:
1. Simply section the hair into manageable portions and using a strong fine-tooth comb, gently but firmly push the hair back towards the scalp right down to the root in one fluid motion.
2. When you’ve achieved your desired shape and height smooth out the top section to cover the backcombing, add a little dry shampoo to add bulk and spritz with a little hairspray to set.

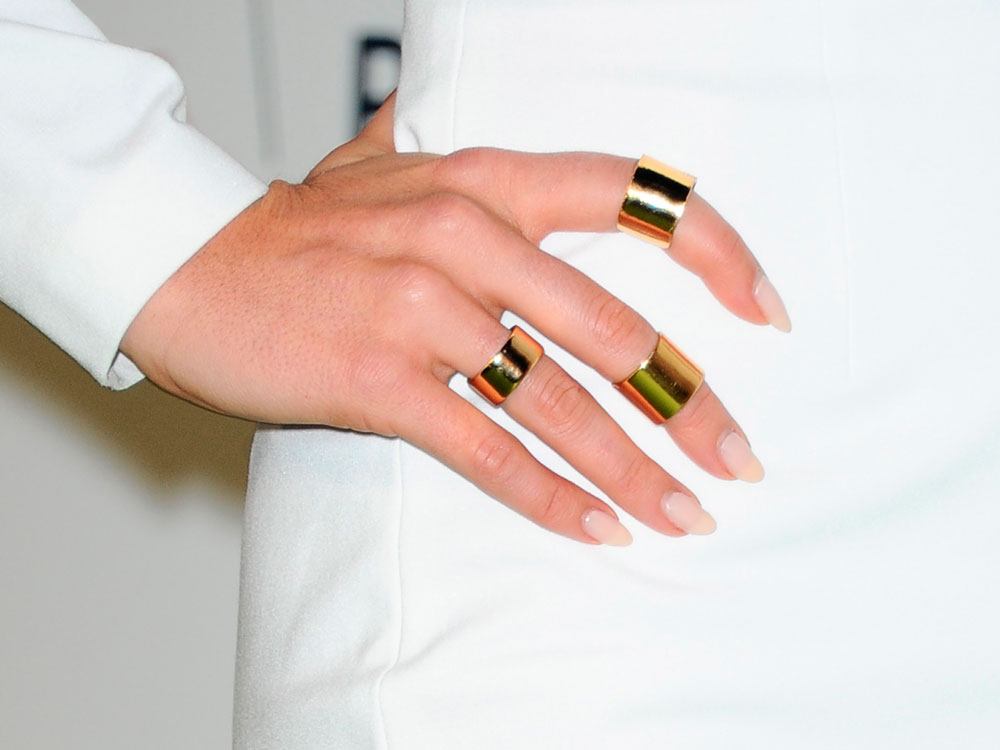
How to do a French manicure 'Prep, prep, prep is the key to the perfect French manicure,' says Revlon Nail Ambassador and manicure maven Jenny Longworth. 'I can't stress enough the importance of good prep as this will make the world of difference to the longevity of mani.
1. Start by gently buffing the nail, and then using a cotton pad soaked in remover, de-grease the nail plate by wiping it over. A base coat is imperative, acting as an anchor to lock your neutral colour into place (I love Revlon's Quick Dry Base Coat). Always apply two thin coats of colour to alleviate streaks and for any patches simply dab into place.
2. Paint your white tip horizontally, from one side to the other. Do two coats and then tidy up the line by using a concealer brush dipped into remover.
3. Finish with a top coat, running it along the edge of the tip to cap the nail as this will help prevent chipping and to extend the life of your French manicure, reapply a top coat every 2 to 3 days.

And for your homework, Caroline Barnes would like you to write out the following lines:
1. I will not to darken my foundation with bronzer, instead I will simply change my shade of foundation.
2. Heavily powered skin does not equal perfect skin. I will promise to use a blot powder only where needed.
3. I will not end my makeup at my jaw-line, instead I will continue with the product down my neck for a more natural finish.
4. I will not use lots of eyeliner without mascara. Mascara is the most flattering way of opening up your eyes but eyeliner alone shrinks them.
5. I will not let dark, heavily defined brows take away the beauty of my eyes. Instead I will simply enhance their natural shape and mimic their natural colour.
-
 Prince Harry's "proud" words about wife Meghan Markle are going viral
By Jenny Proudfoot
-
 Sources have opened up about Timothée Chalamet and Kylie Jenner's "intense" start to the year
By Jenny Proudfoot
-
 Two Hollywood actresses were offered the role of Carrie Bradshaw before Sarah Jessica Parker
By Jenny Proudfoot