I just sat down with a celebrity tan expert and he told me that these are the only tanning tools you need for a streak-free glow
Your ultimate at-home tan kit
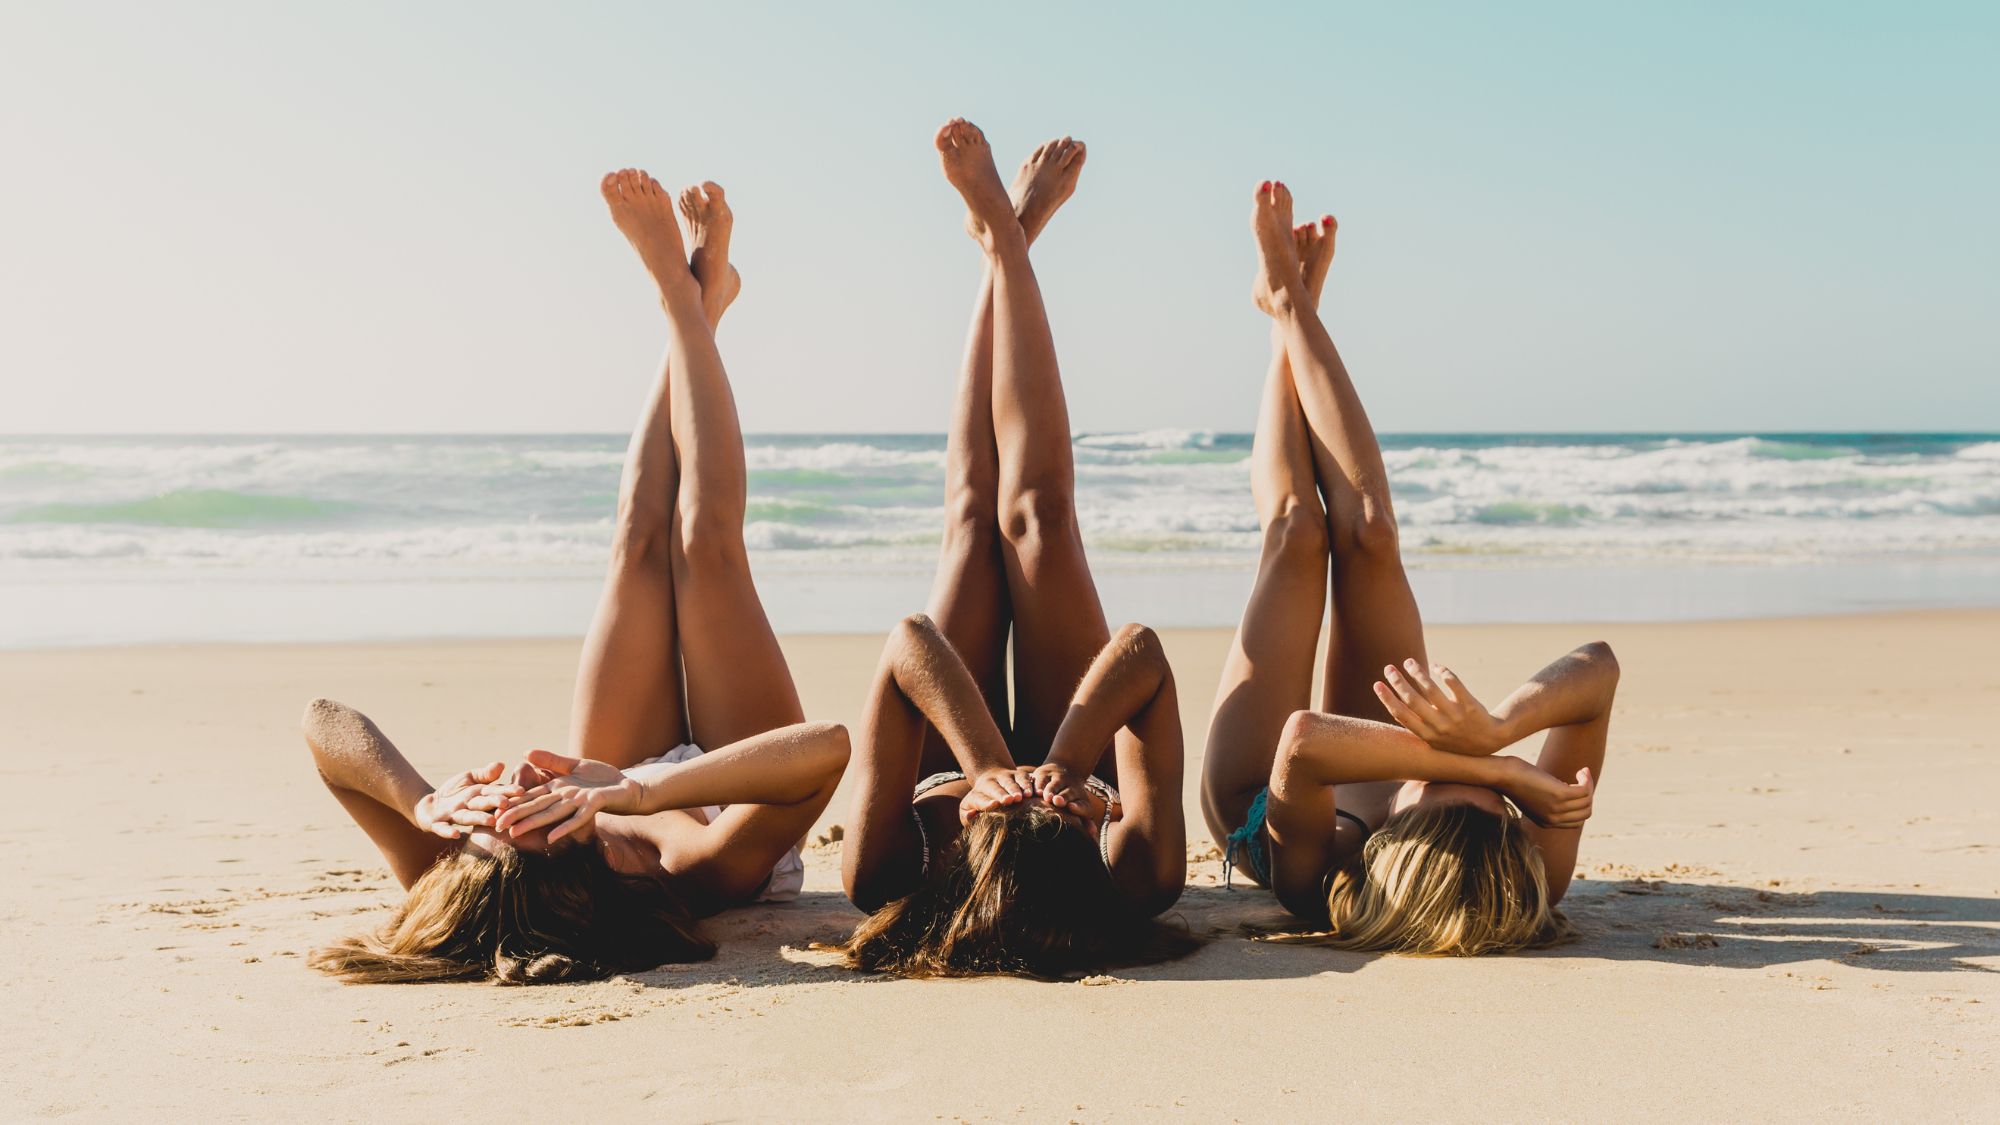

Glowy skin looks good all year-round, but spring’s arrival always accelerates my desire to get my face and body looking a little more radiant. However, I’ll be the first to admit that I’m not the most skilled at applying tan at home and prefer, instead, to opt for gradual tanners and tanning waters which tend to offer a subtle wash of colour—and are therefore more forgiving if you miss a patch. But with so many brilliant fake tan products for face and body on the market now, I decided that it was high time I got to grips with how to perfect my at-home tan routine so that I can enjoy gorgeously sun-kissed skin this summer. And who better to help me create the ultimate kit of tanning tools than renowned tanning expert James Harknett.
With over 23 years of experience tanning celebrities and supermodels, plus a residency at the W London Hotel where he offers bespoke air brush tanning (that we at Marie Claire have deemed the best in London), there is nothing that James doesn’t know about creating the perfect glow. From prepping the skin to correcting tanning mishaps, keep scrolling for the very best tanning tools and tips that will help you create a salon-standard tan at home.
1. Hair removal and exfoliation
James couldn’t stress enough that the first step in creating a perfect at-home tan is to get your hair removal right. “Hair removal can make the skin uneven as its stripping the hair follicle and taking off the dead skin cells, so doing it on the right day is crucial to help the DHA [that’s dihydroxyacetone—the active ingredient in self-tan] to bind evenly to the skin.”
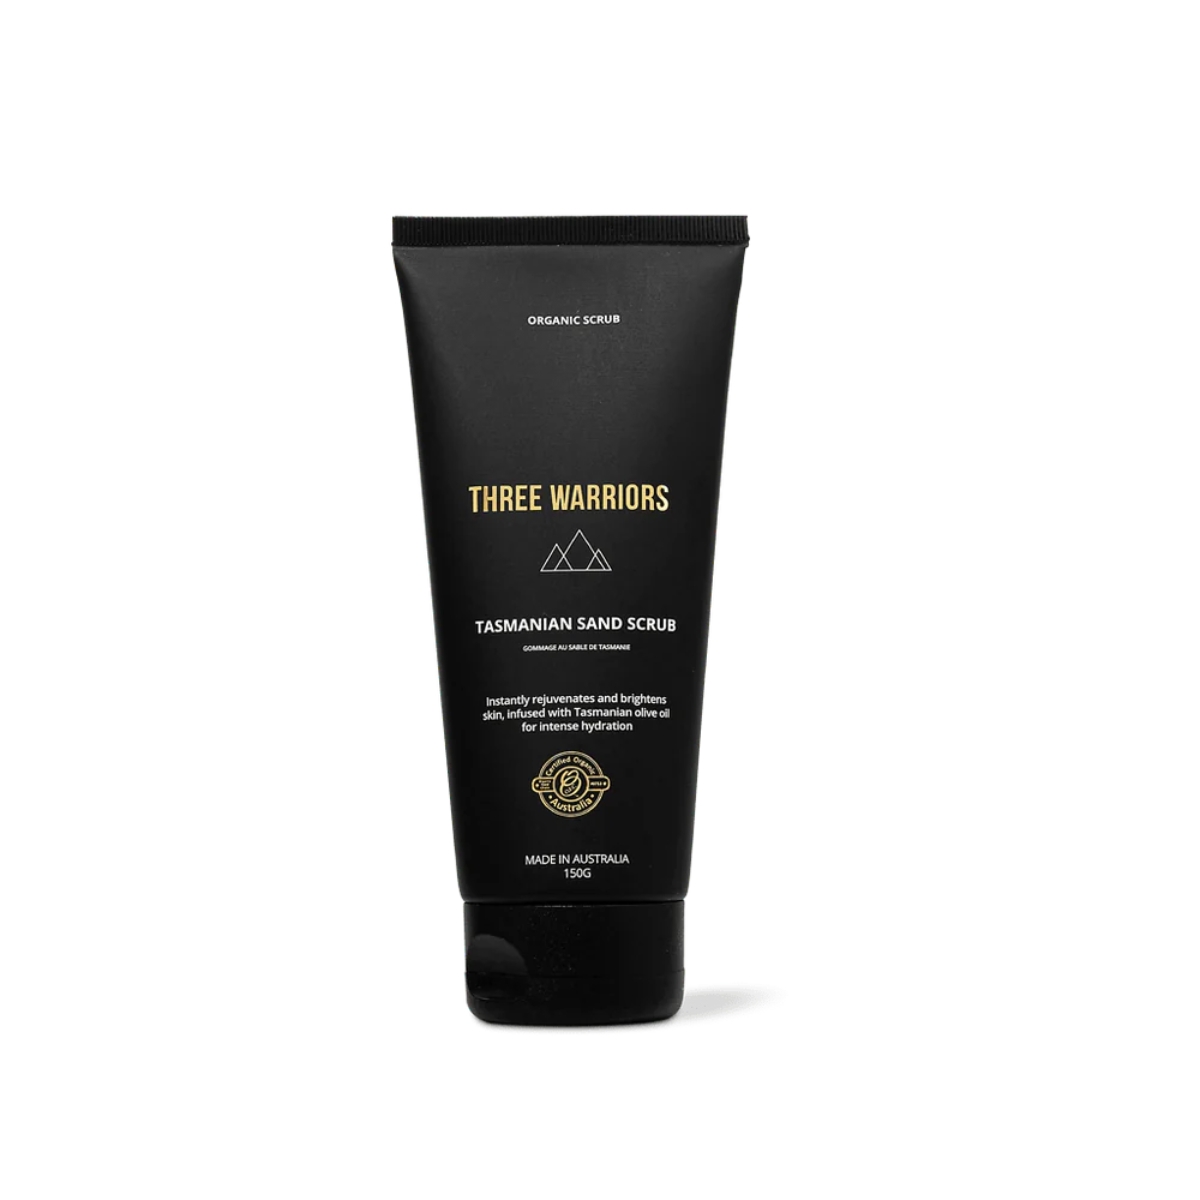
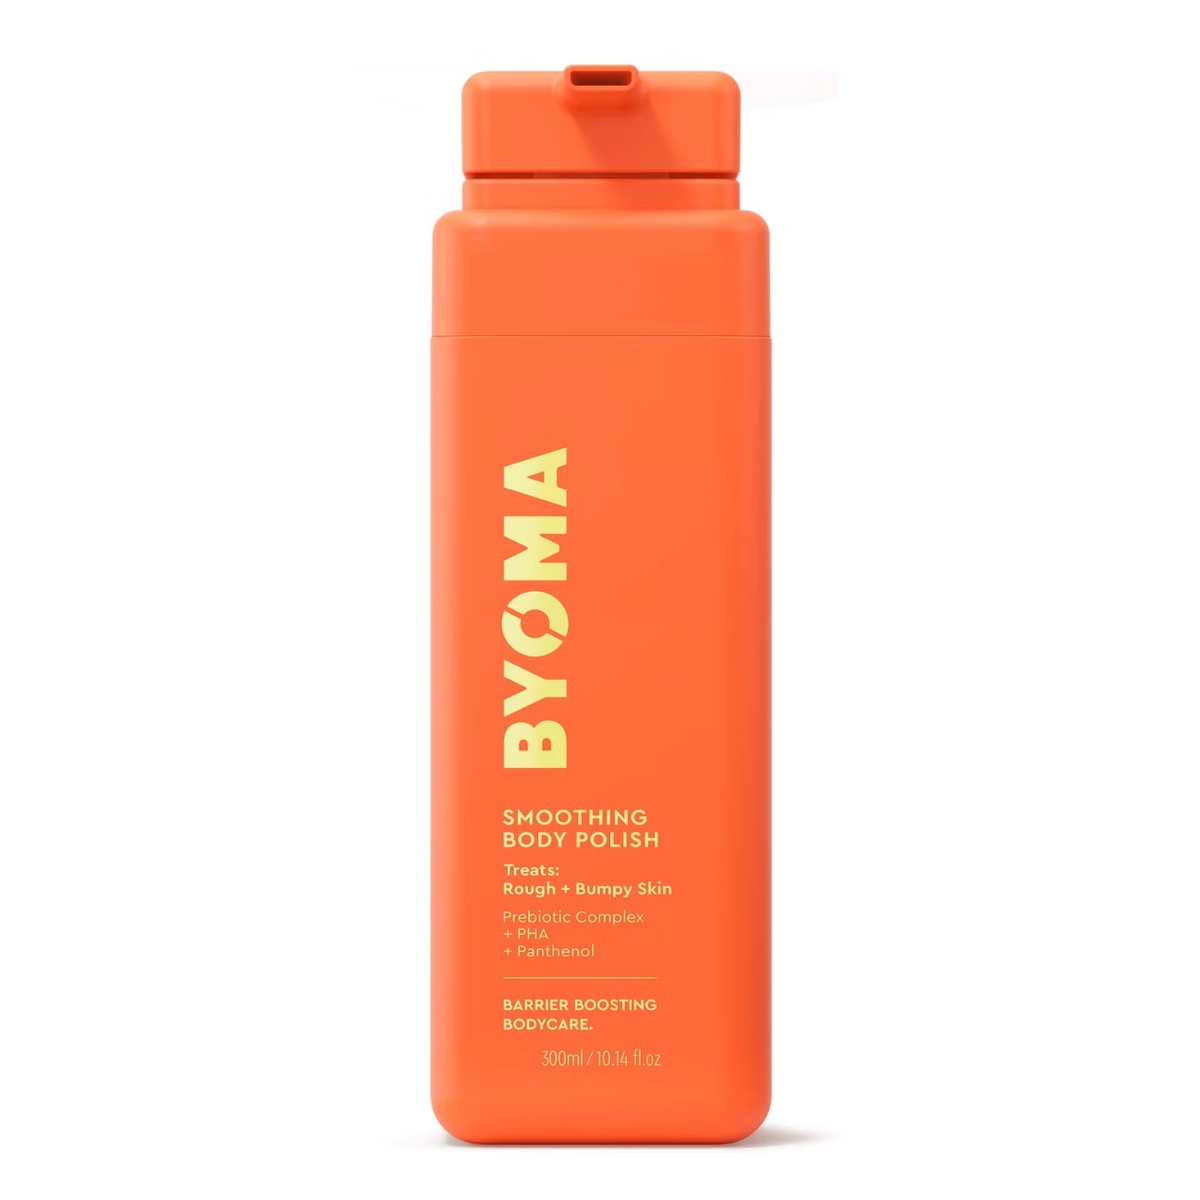
He suggests exfoliating the skin first to combat any ingrown hairs, while smoothing areas that tend to be a bit more dry. “Focus on areas like the knees, the heels and the elbows because these areas don’t produce natural moisture in our body the dead skin cells build up and this is where tan can end up looking darker. The same goes for areas like the underarms or anywhere that bra straps sit as tan can also cling here,” explains James.
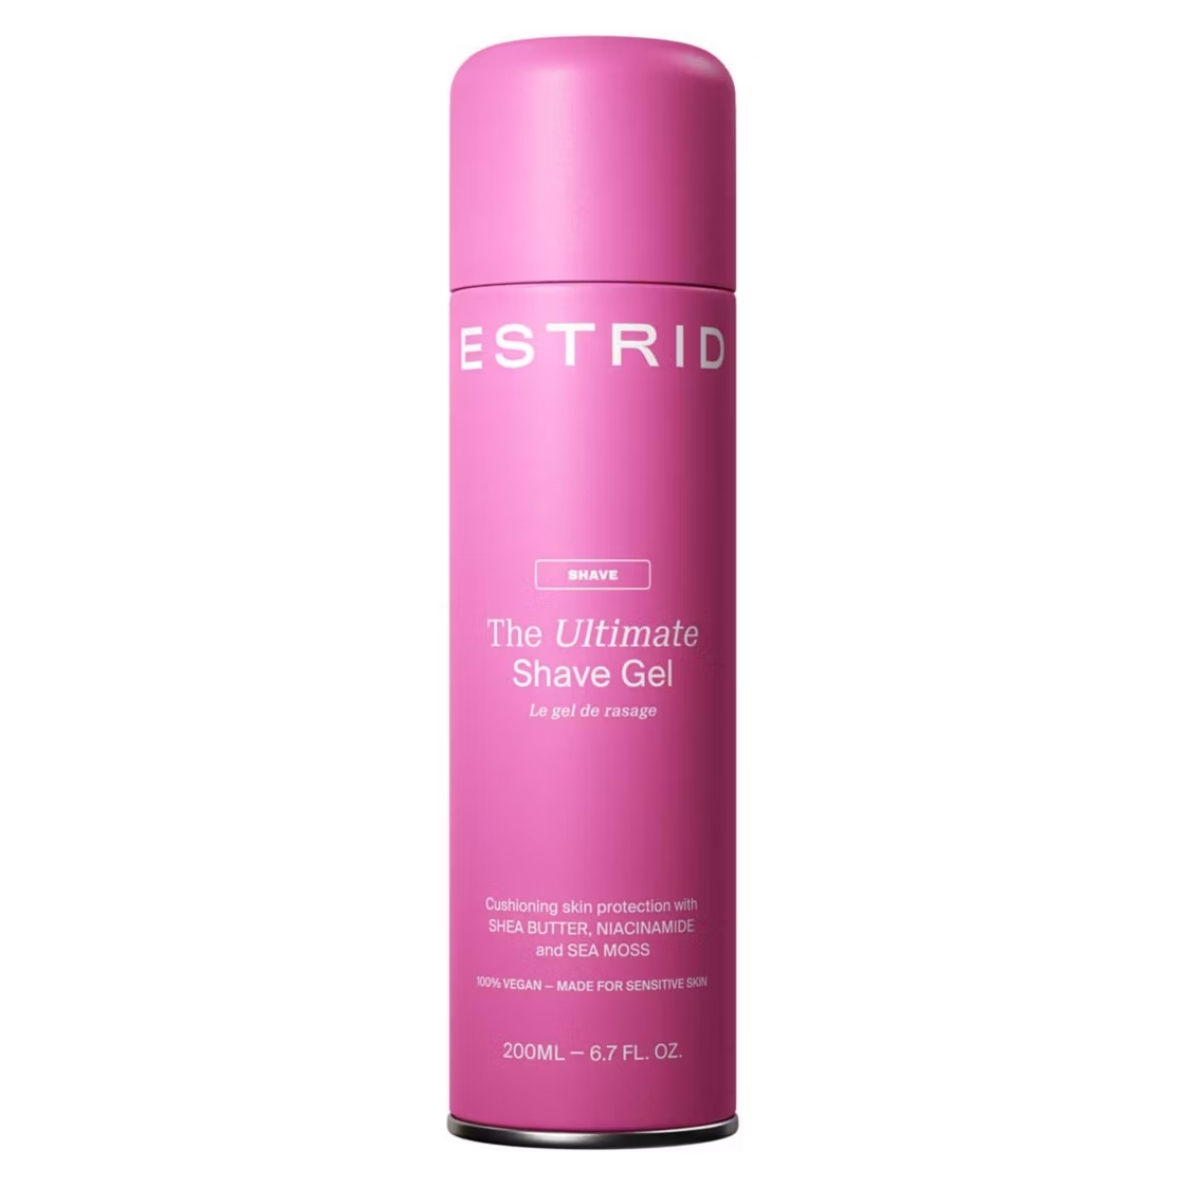
Once you’ve scrubbed your skin, if you’re shaving then James suggests using a generous amount of shaving foam or cream to really lubricate the skin and prevent any nicks or razor burn which could affect how smoothly your tan applies. “Do this then leave it 24 hours before you do any tanning—the exfoliation and the hair removal will mean you have a perfect, clean canvas for your tan to cling evenly to the next day,” says James.
2. Moisturise dry areas
Okay, your skin is now smooth and ready for tan. James insists that skin is kept free of any oils or traces of body lotion so that your tan can fully adhere to your skin. However, there is one exception and that’s in areas that are particularly prone to dryness or can give away the fact that you’ve been tanning. “Use a small amount of moisturisers around the kneecaps, elbows, down the back of your heels and over your feet so that your tan doesn’t collect and look too dark in those areas,” suggests James.
James also advises applying a bit of a barrier to any sunspots or pigmentation, as tan can tend to look darker on those areas, and to fair eyebrows. “I always have q-tips and Vaseline and apply just a little bit to those areas as it makes a great barrier,” James explains.
Marie Claire Newsletter
Celebrity news, beauty, fashion advice, and fascinating features, delivered straight to your inbox!
4. Mitts and brushes
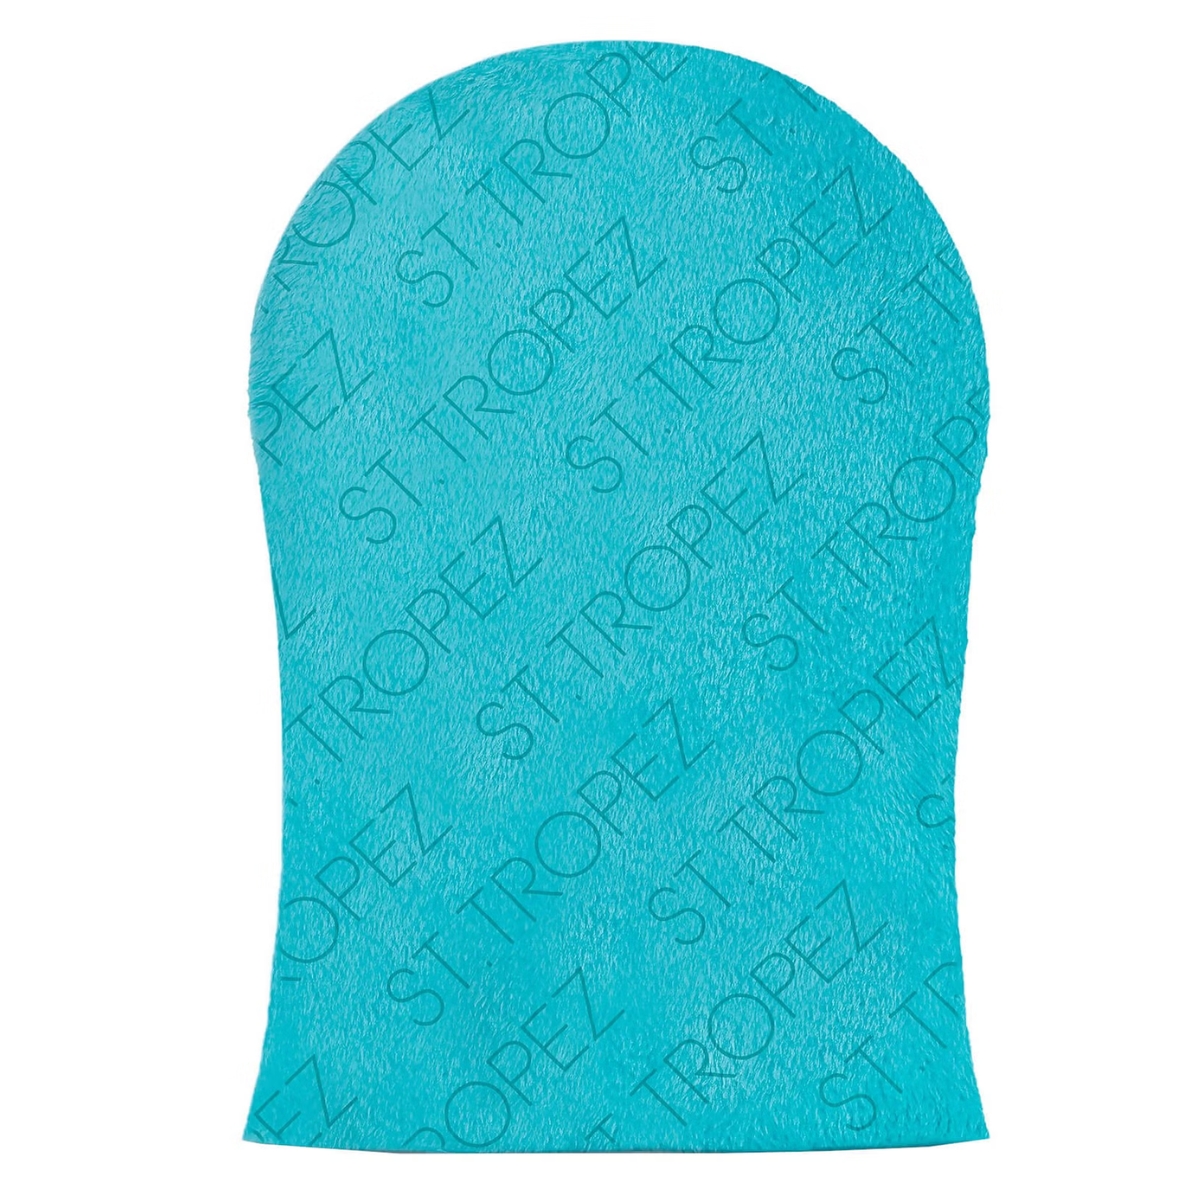
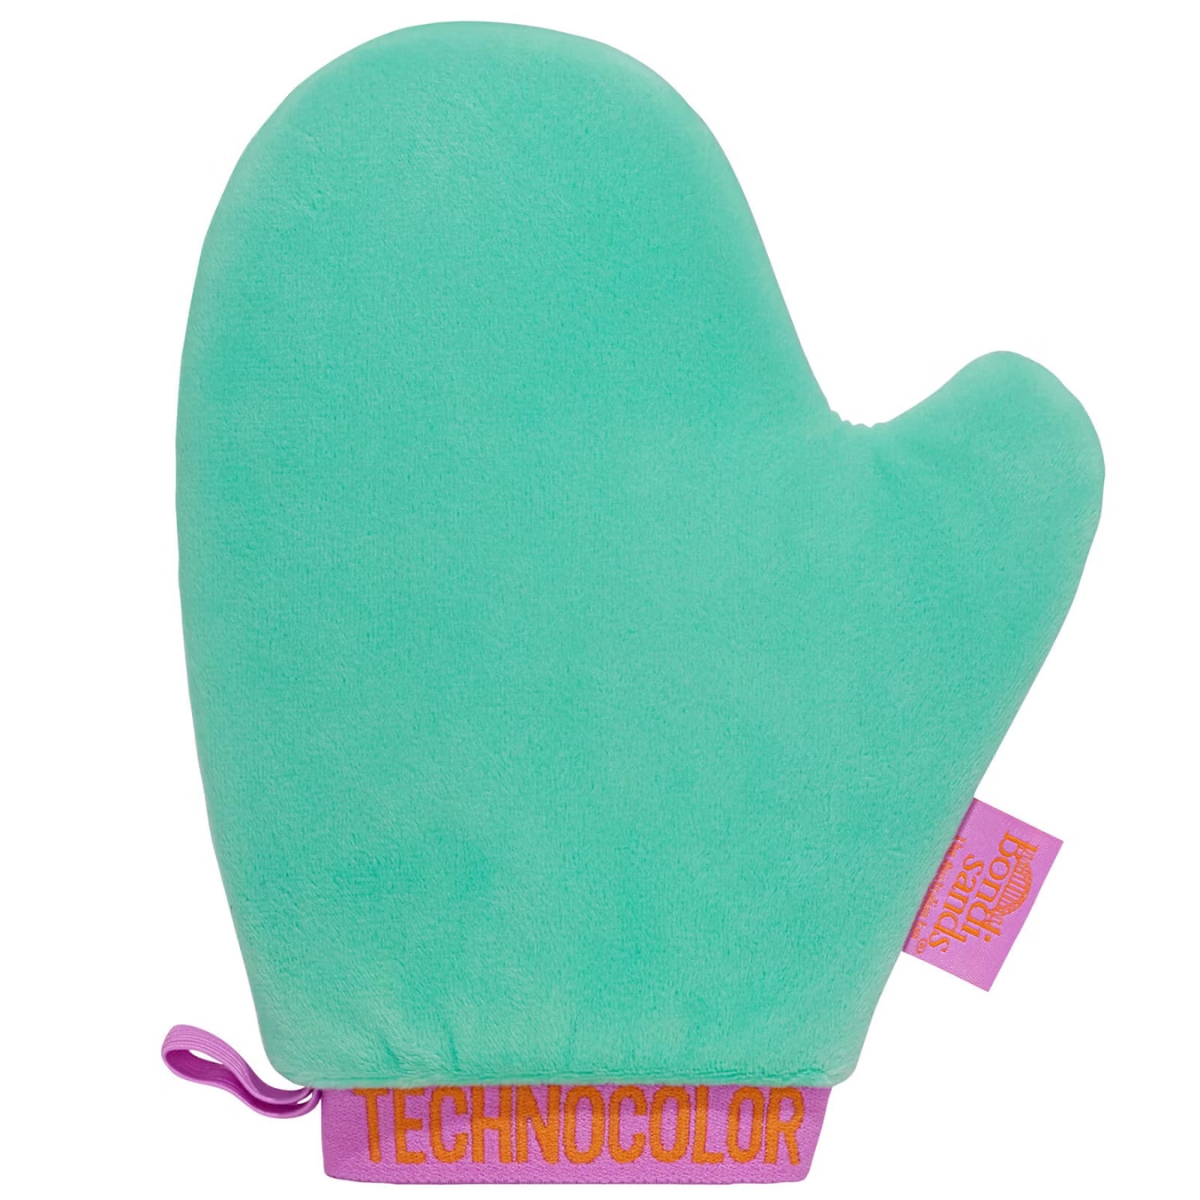
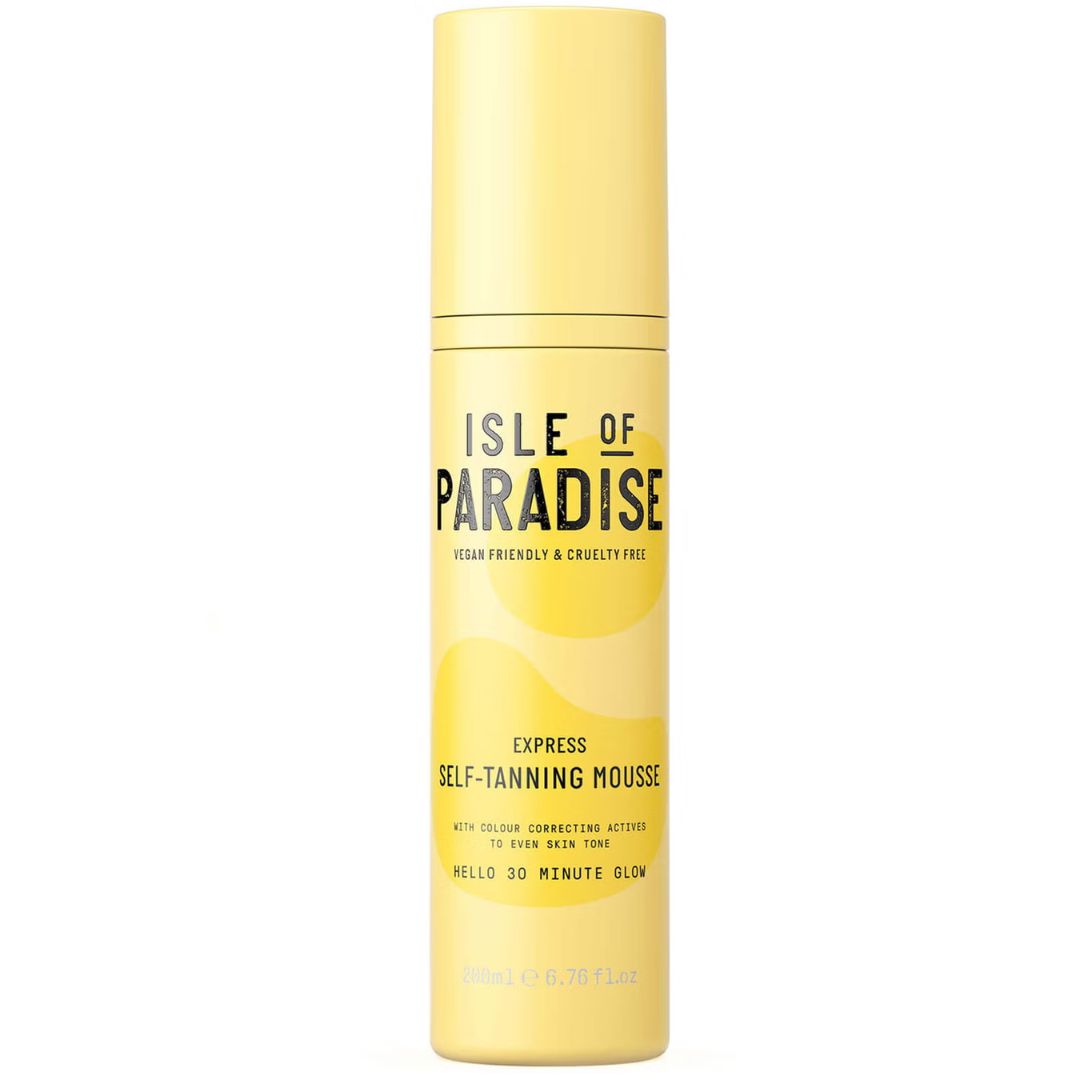
I’ve always been a bit haphazard when it comes to tan application, so I was keen to know which tanning tools James recommended for actually getting the product onto your body and it turns out that a mitt is the ultimate tanning tool. “A foam tanning mitt is fantastic for really smoothing the tan in and dispersing the product really evenly so that everywhere is covered and therefore there are no blotches or streaks,” explains James. Plus, whether you’re working with a liquid, mist, lotion or a mousse, a tanning mitt will work. “Just make sure that you wash it in between uses and it will come up as good as new,” advises James.
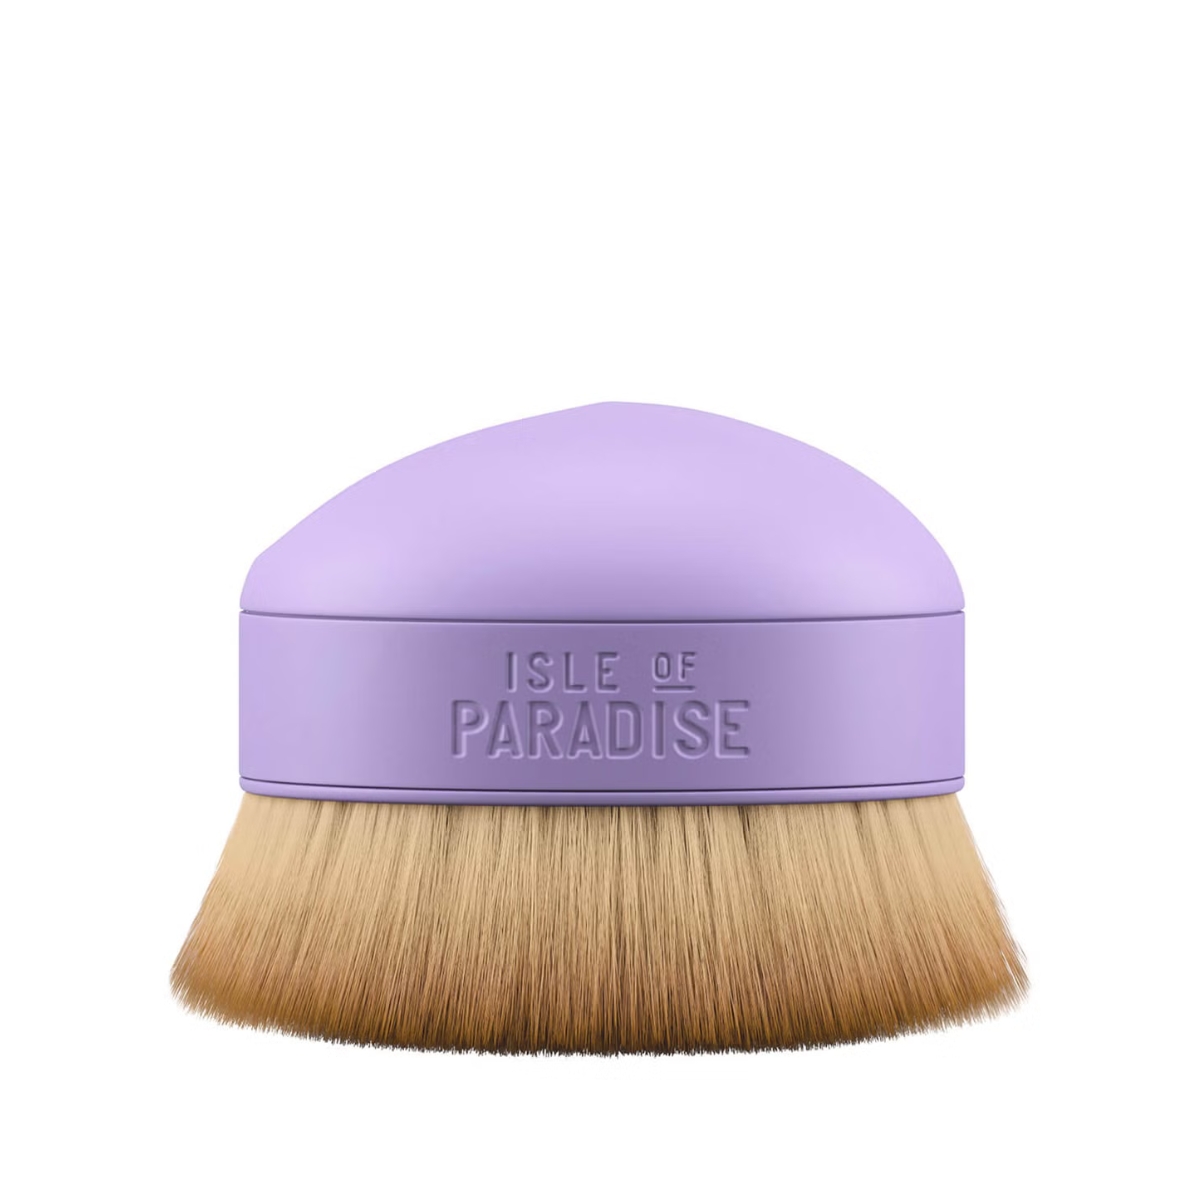
Tanning brushes are also a great tanning tool and make a brilliant addition to your kit for focusing on areas that might be a bit harder to blend. “There are some really beautiful small brushes on the market now which buff the tan gently into the skin and are great for graduating your tan towards your wrists, hands and heels where you don’t want the colour to be too built up,” says James.
4. Back applicators
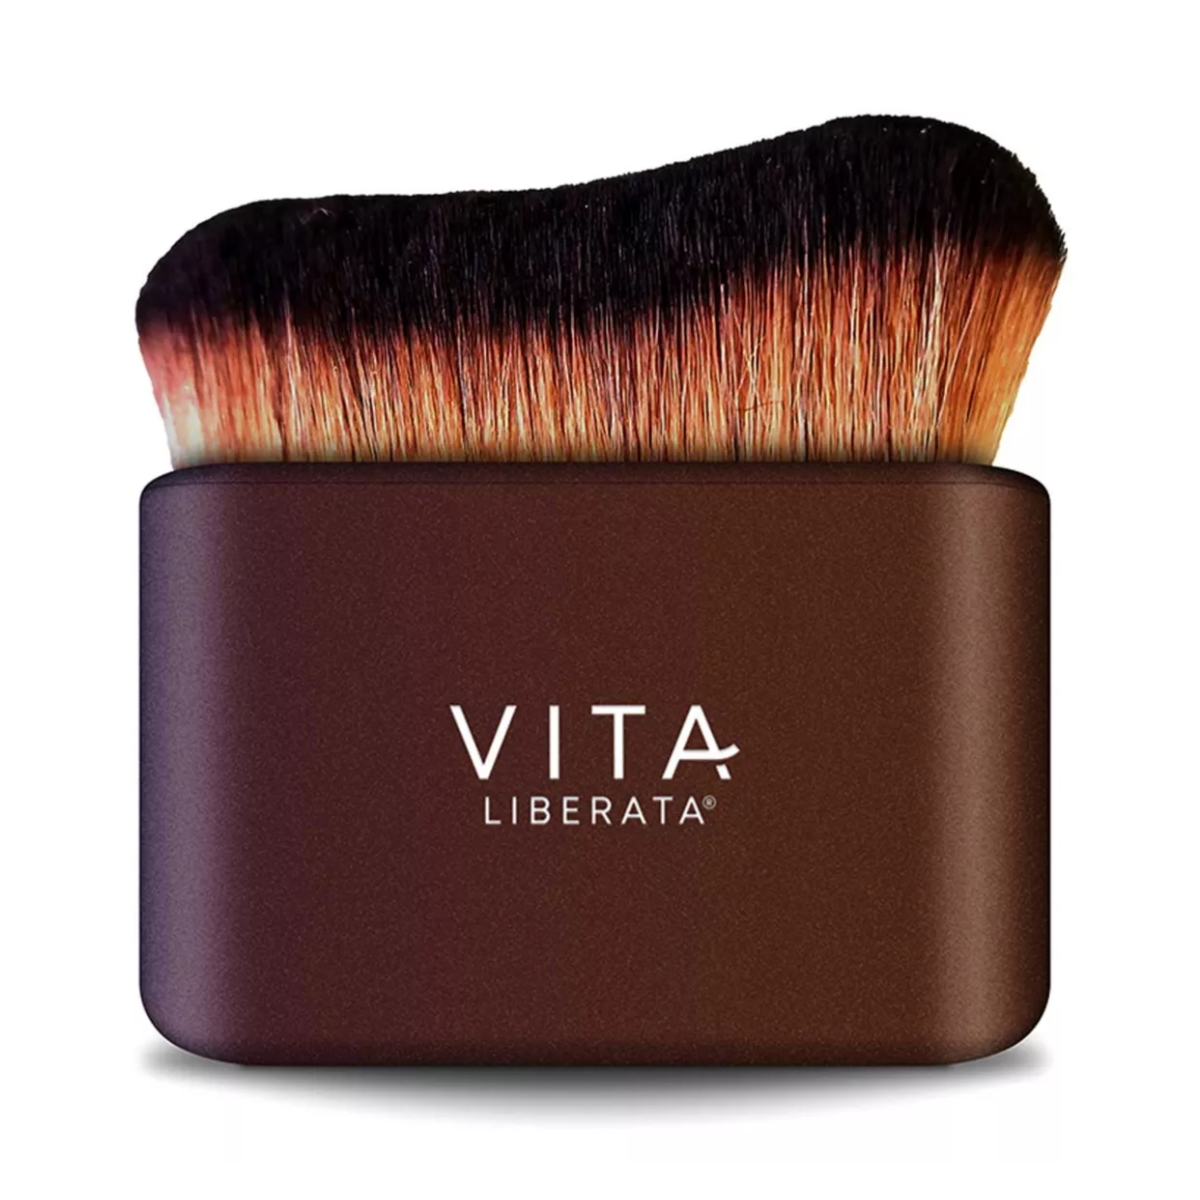
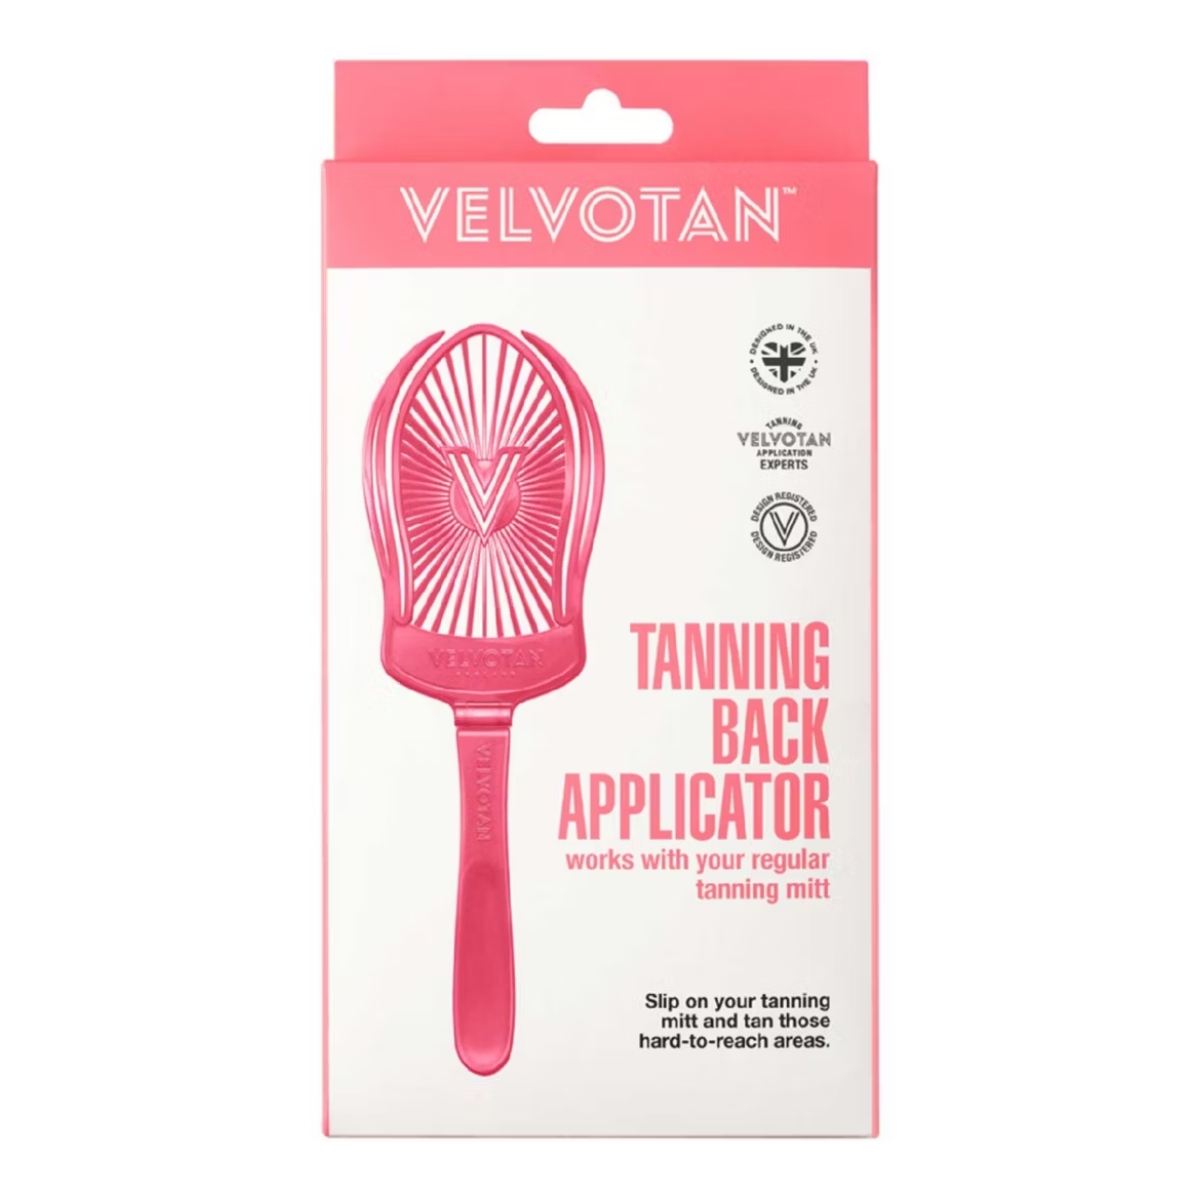
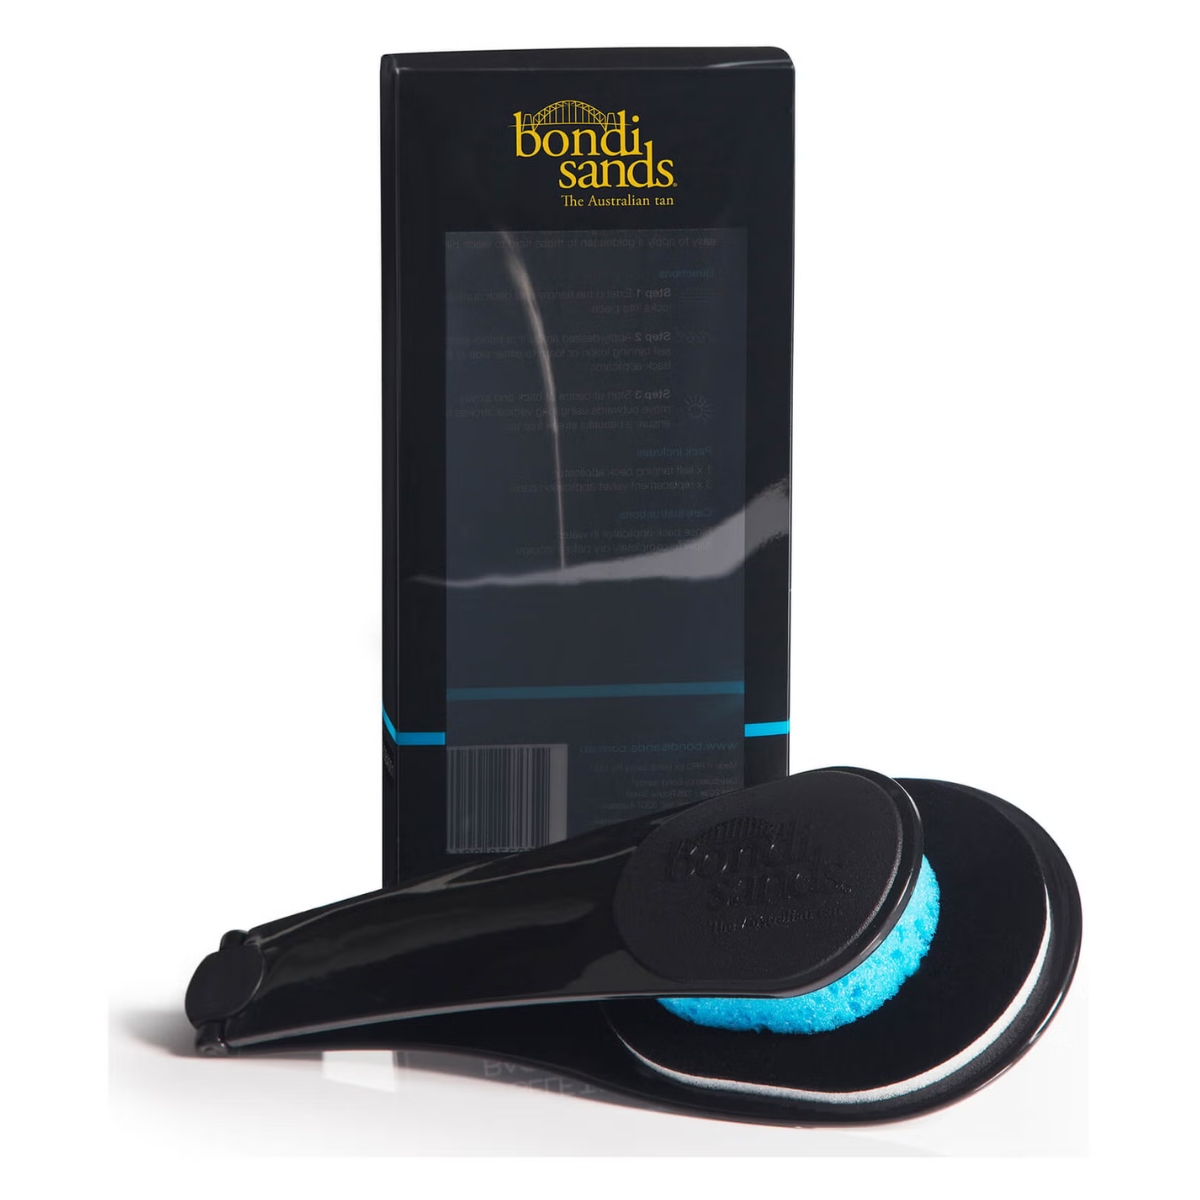
Anyone who has ever used fake tan will know the struggle of applying it to your own back. Most of us tend to either ask someone, forget it entirely, or attempt to contort ourselves into some rather interesting positions in order to get some colour between our shoulders. However, James suggests looking into back applicators as a tanning tool if you tan regularly and you want to make sure that your entire body is even in colour. “There are some great little gadgets and back applicators on the market right now which you can open up, put your mitt or tan inside, and use for your back,” says James.
5. Fixing tanning mishaps
Anyone who has faced a tanning mishap will know the frustration of carefully applying your chosen tanner only to wake the next day to streaky legs or patchy arms. To avoid this in the first place, James recommends using a tan with a guide colour which makes it easier to see exactly where you’re applying the product and will hopefully minimise the chances of you missing a spot. Plus, following the preparation steps above will really help to make sure that your tan applies evenly.
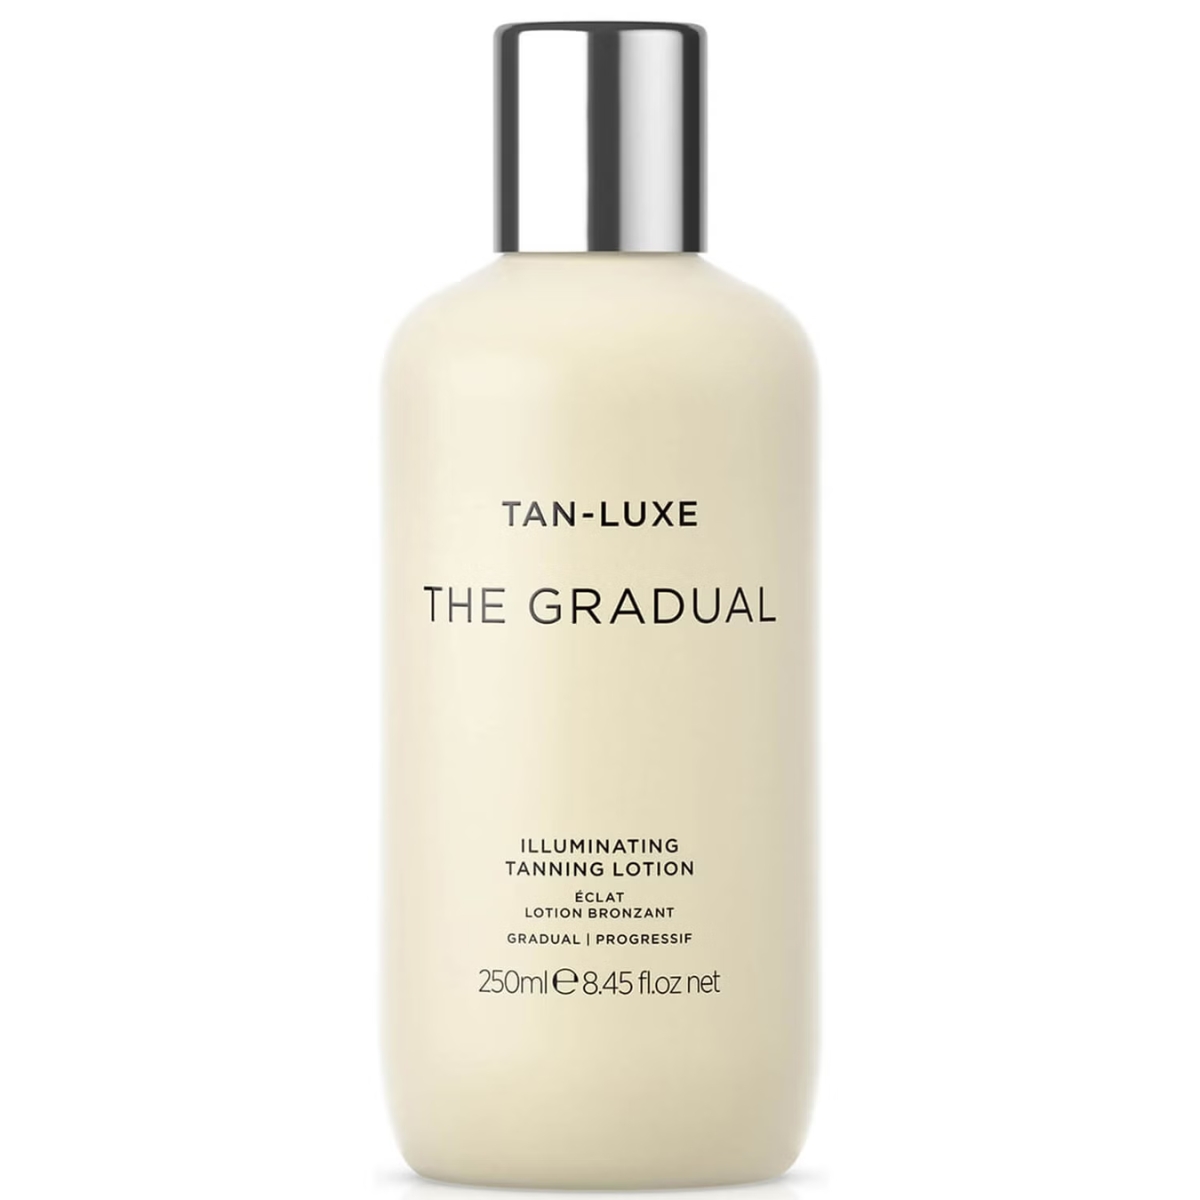
“However, if you do have an area of skin that you’ve missed—which is what usually causes streaks—then using a bit of gradual tan just in that area will help to fill in a small mark,” advises James. He is also an advocate for touching up any small patches with something from your makeup bag, like a bronzer, just to even out the skin if you have an event or something that day.
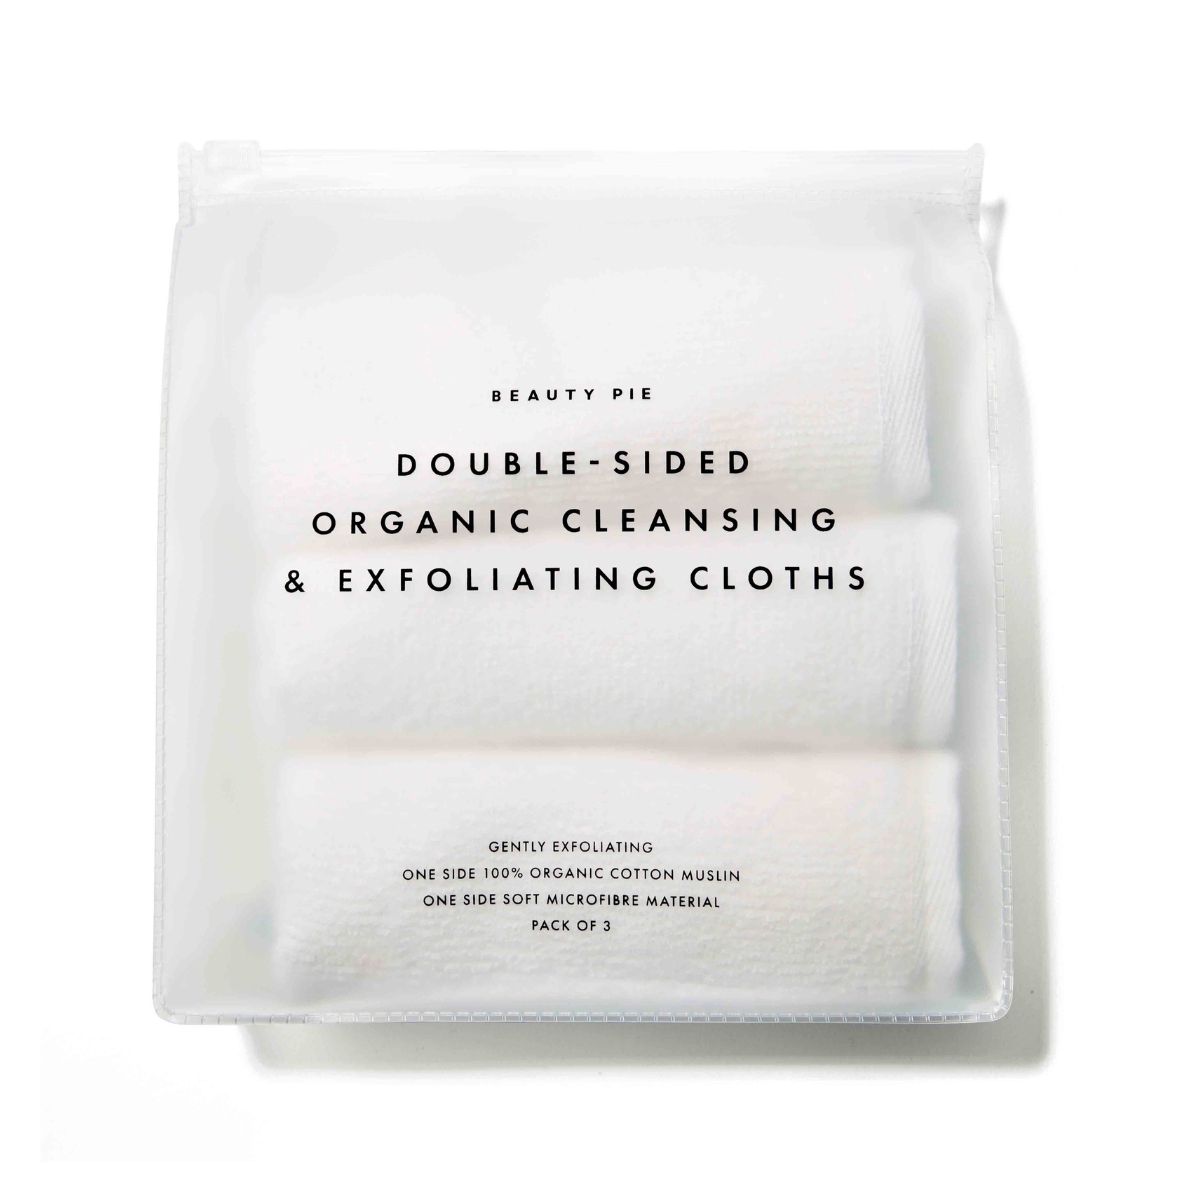
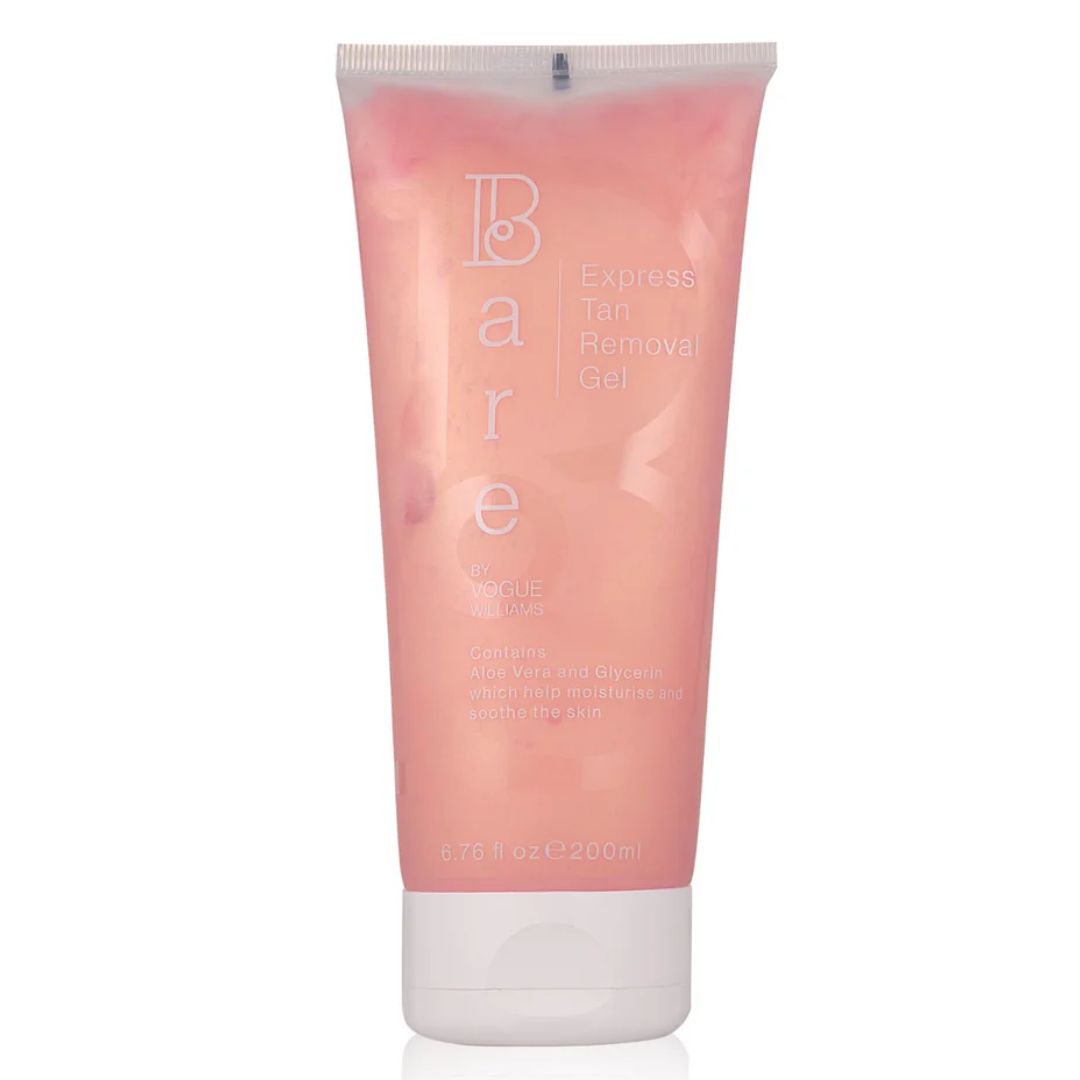
And while there are some great fake tan removers on the market, James recommends two more basic tanning tools for fixing any mishaps—a flannel and a body scrub. “Take a very hot flannel or face cloth, with a little bit of scrub on it, then start kneading it into the skin and you’ll find that the combination of the heat, the cotton cloth and the water will start to buff off the skin and lift some of that colour away,” explains James. “Remember, the tan is in your skin so you can’t get rid of it completely but you can definitely fade it down.”
6. Setting powder
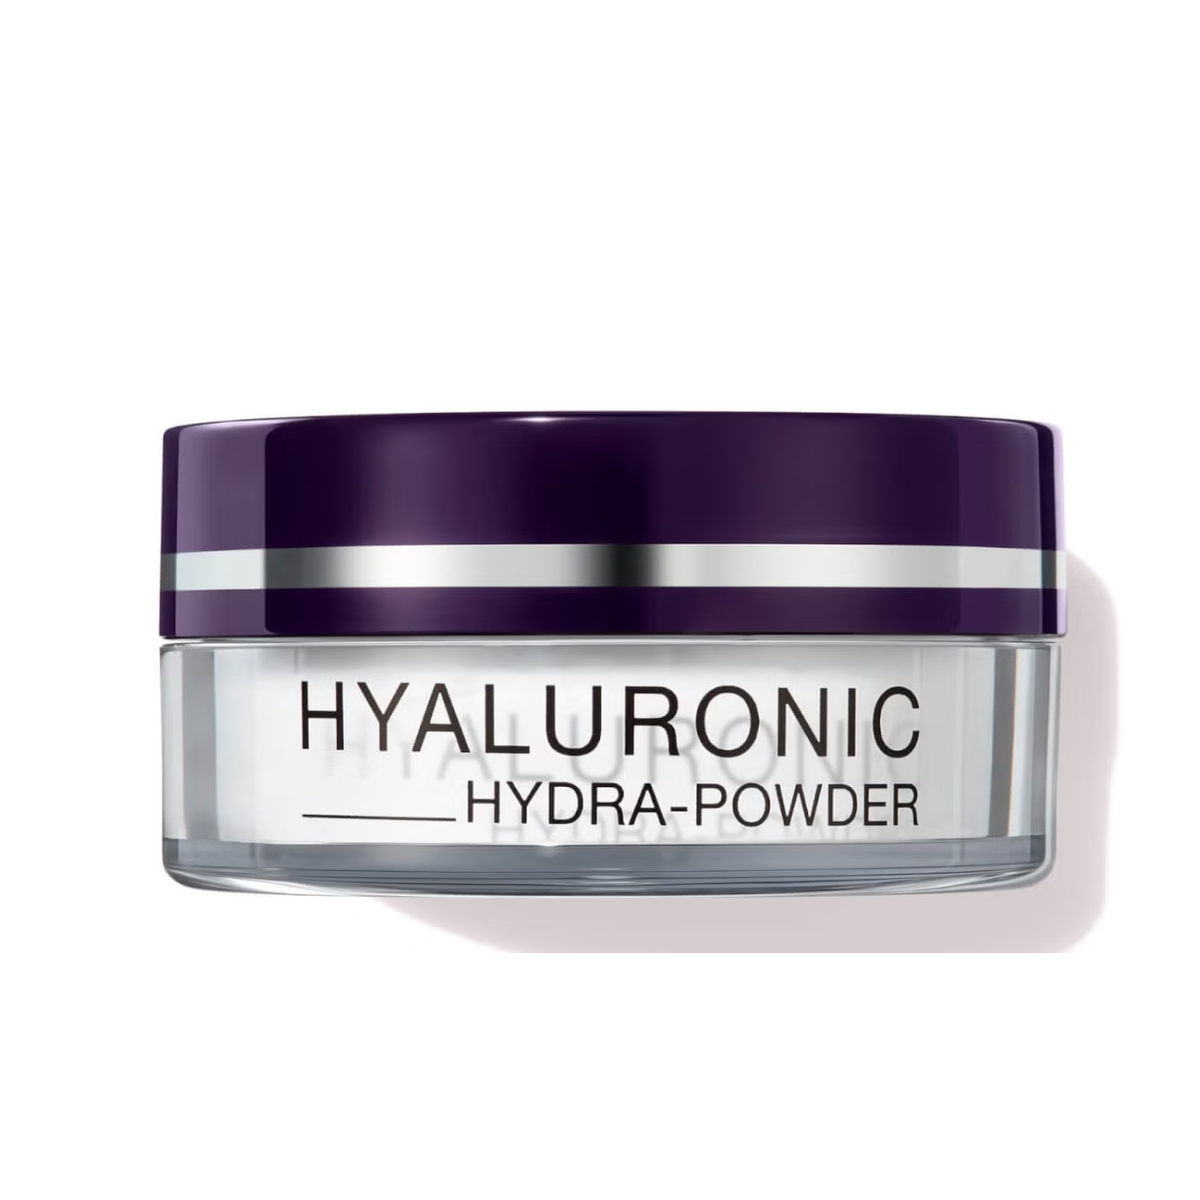
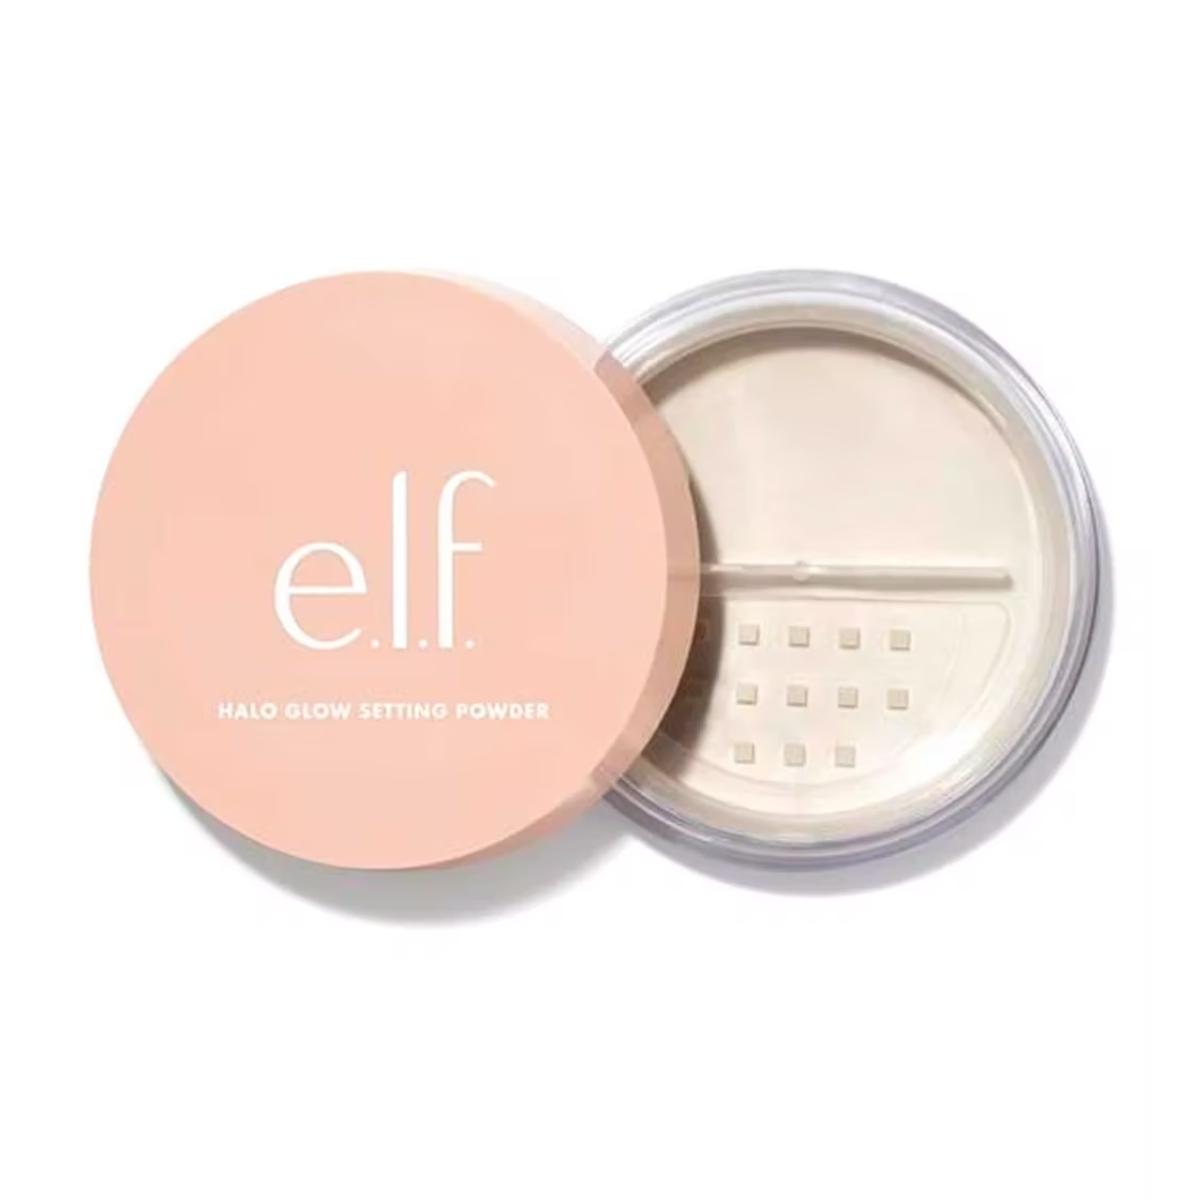
Now that your tan is in place and you’re glowing evenly, James’s final addition to the tanning toolkit is a setting powder. “I use a little powder disperser and apply baby powder or a setting powder and puff the product under arms, onto the inner arms and anywhere that clothing straps are going to sit to create an invisible shield so that nothing can chip away your tan and make it look patchy,” says James.
Mica Ricketts is a freelance beauty editor and contributor to Marie Claire. She has written for titles including Refinery29 and Who What Wear UK, and also works with beauty brands on content messaging and marketing copy. She was previously Who What Wear UK's beauty editor. As someone that has tried basically every acne product on the market, she has a particular passion for debunking skincare myths and finding products that work. Plus, with two small children at home she is all about time-saving beauty routines that boost glow and disguise dark circles.
-
 Anatomy Of A Wardrobe: TV presenter AJ Odudu is carving out her own lane, one show-stopping look at a time
Watch as we take an exclusive look inside AJ's wardrobe
By Lily Russo-Bah
-
 This perfume has been an icon for over 20 years, and for good reason—it’s soft, elegant, and oh so feminine
Feminine but not *too* sweet
By Lucy Abbersteen
-
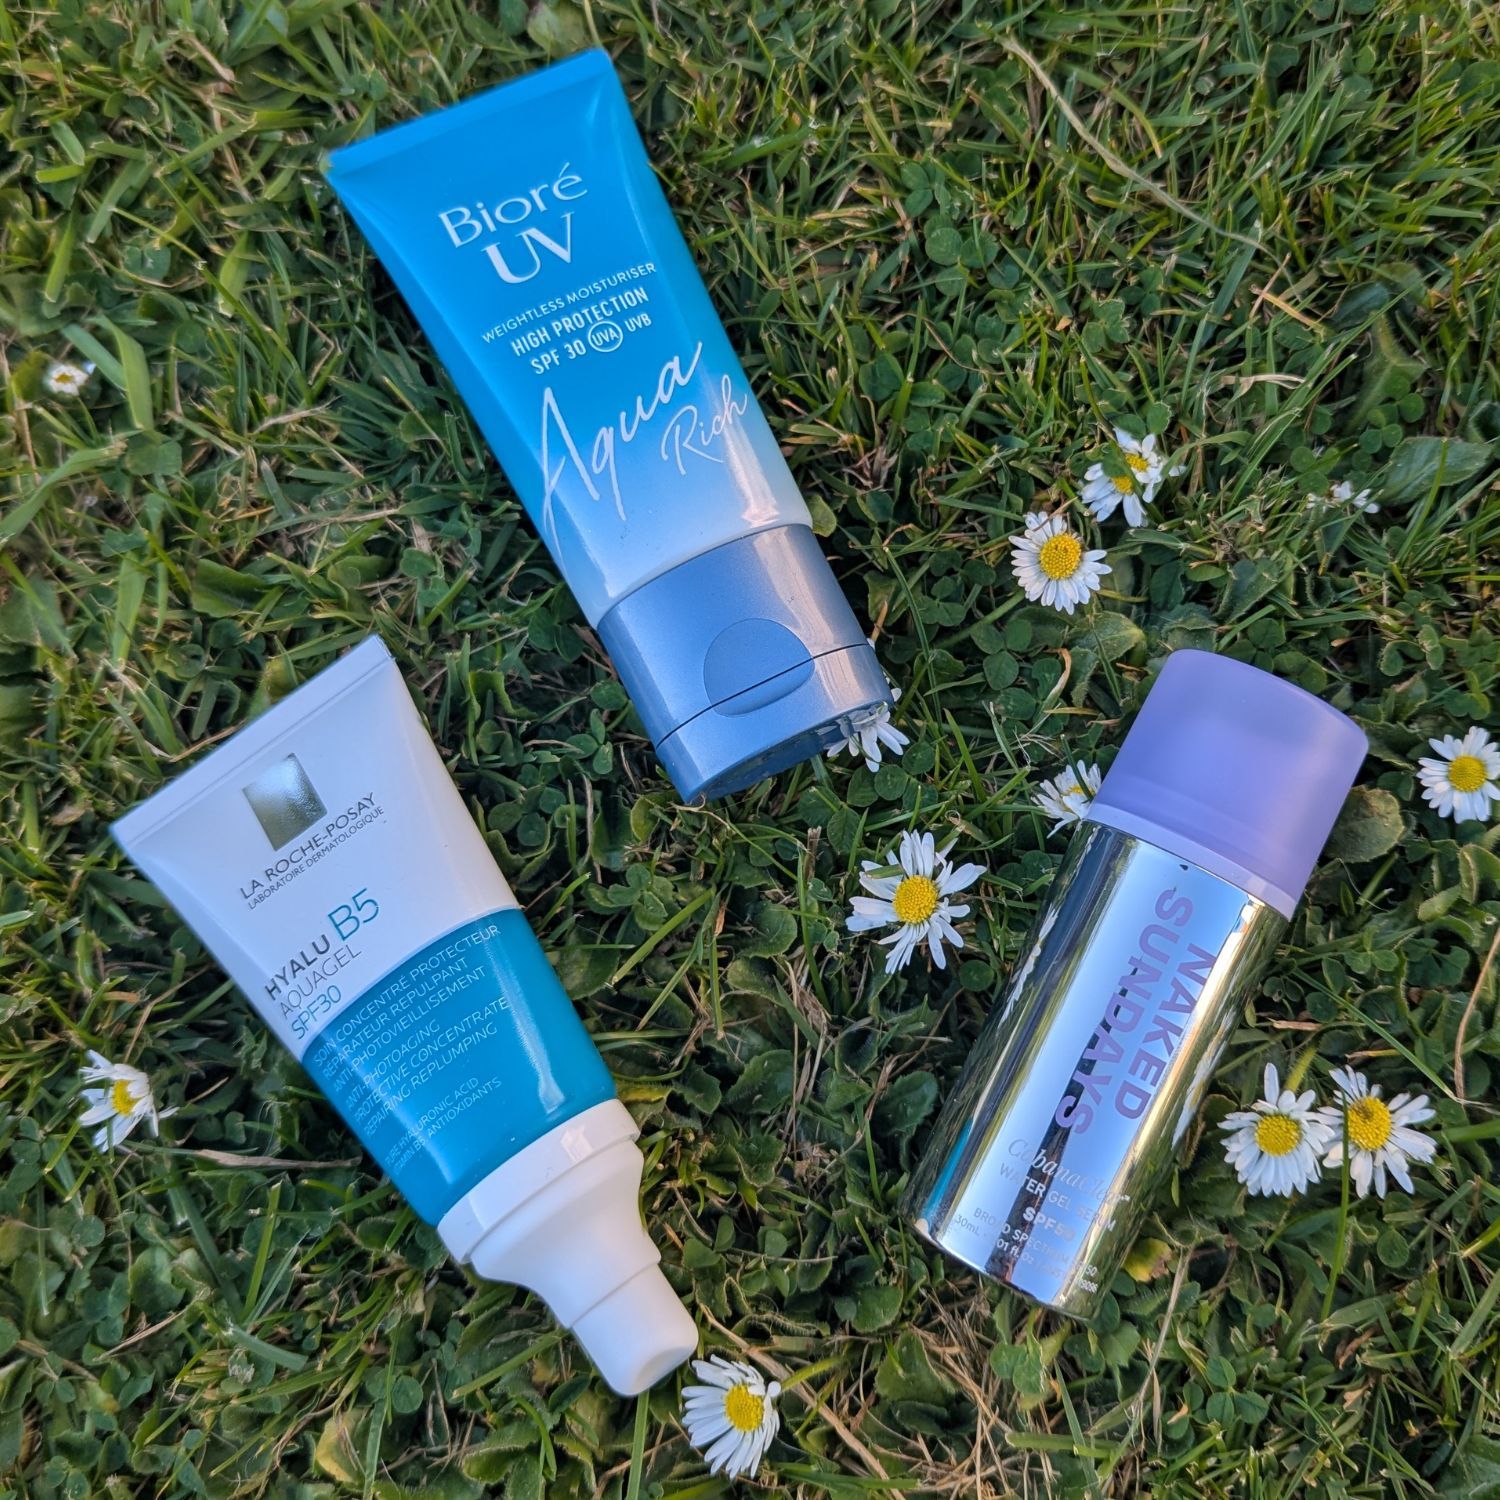 I’ve searched high and low for the best lightweight SPFs—these hydrating, water-based ones are a total game-changer
No excuses
By Jazzria Harris
